Some right hand drive swaps bring many complications while others are a walk in the park. When I originally bought this truck, I toyed with the idea of doing a RHD swap just for fun. While it was an idea in the back of my mind, I never really justified spending the money on a useless mod. My truck is a functional, often daily driven, shop truck meant to haul tools and materials. I need functionality and of course the performance factor.
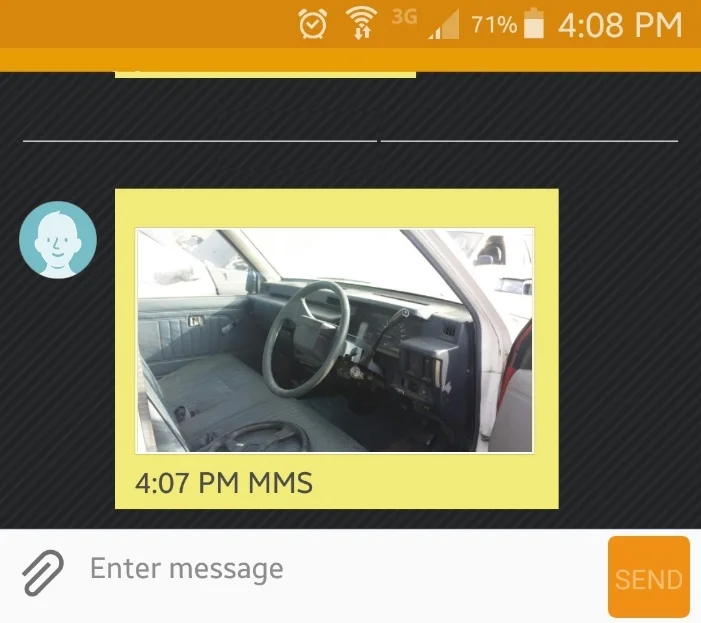
I consider myself extremely lucky to have a lot of good friends always looking out. One busy weekend almost made me lose the only realistic opportunity I had for RHD. It started with a "troll pic" in a text received from my very close friend. I simply couldn't believe my eyes.
I immediately called him back and was about to chew him out for buying a RHD Mighty Max just to spite me (at least, that was my first impression). He immediately dispelled my initial thoughts of his purchase and said: "No, dude. I'm at the yard and there a Righty Mighty sitting right in front of me completely un-molested. It looks like it was just put here."
My heart sank. I was right in the middle of a client meeting and couldn't make it to San Diego on the fly to go grab it and I knew it wasn't going to last there. I simply had to stick to my integrity and practice the rule of Client's priorities before my own.
A few hours later, I received another picture message: "Come get it when you can." He pulled and bought everything.
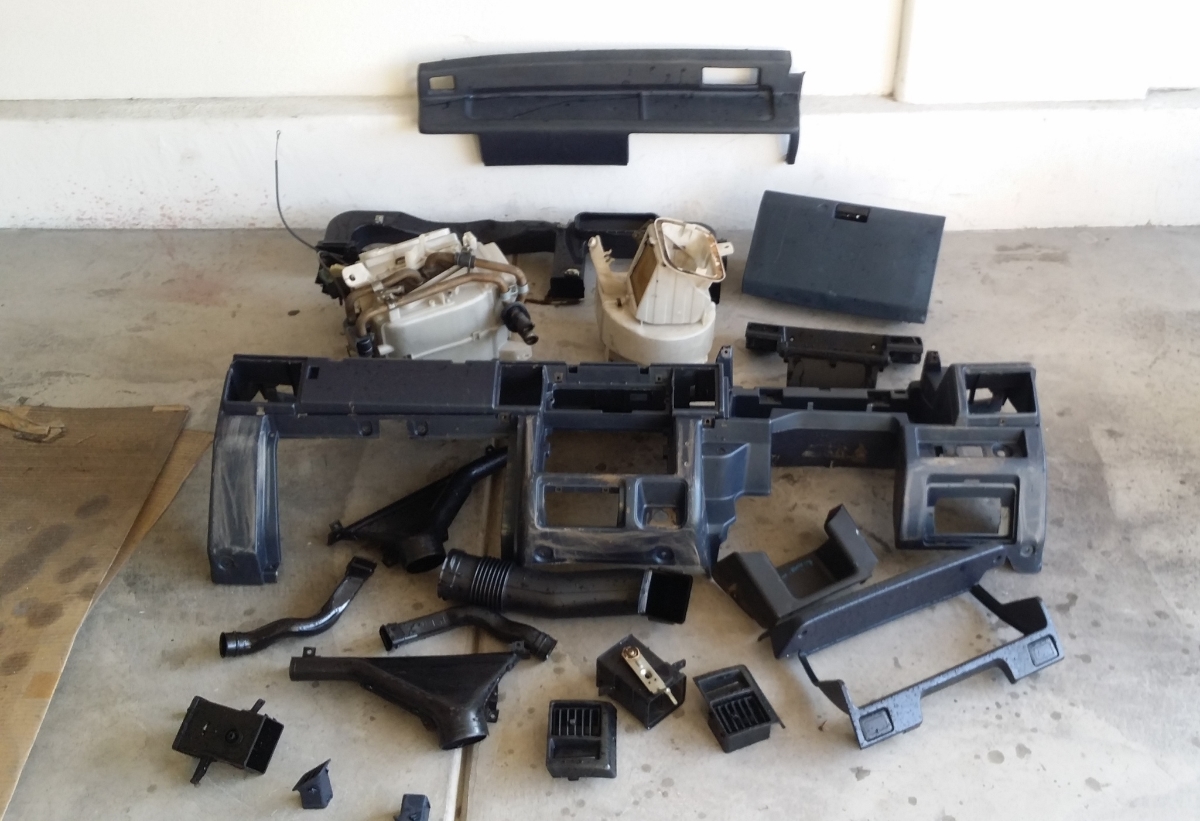
Two weeks later, I made the trip down to San Diego to grab everything. Every single part I needed was there and ready for me to take back and get started.
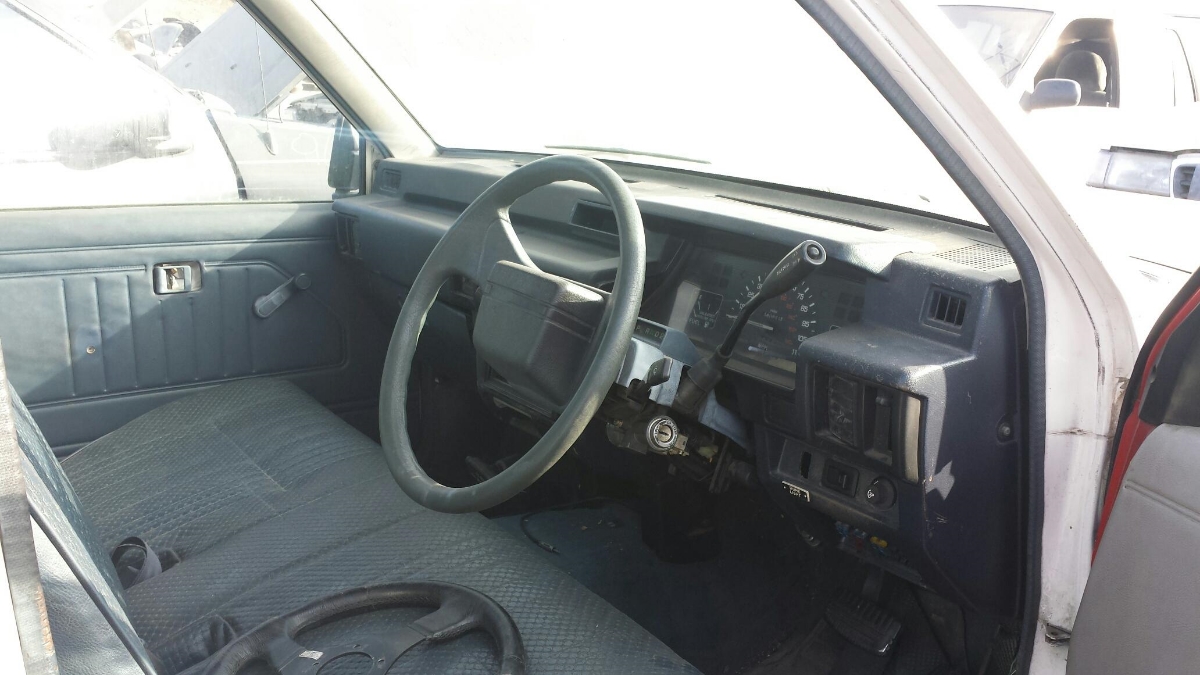
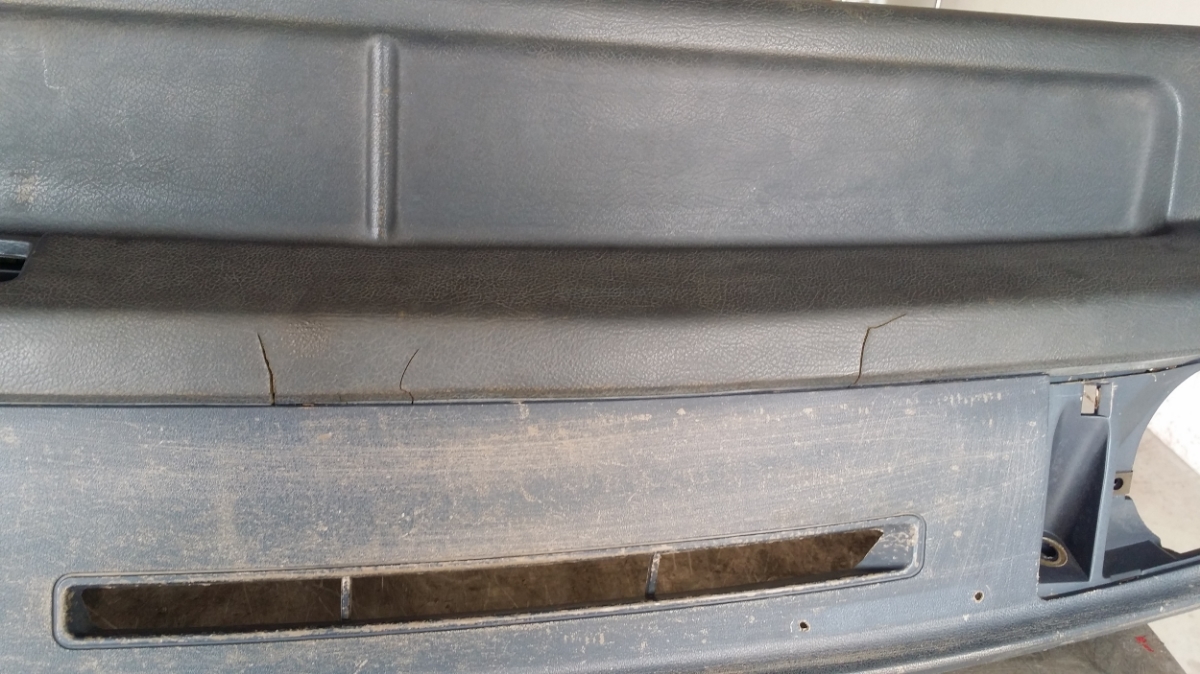
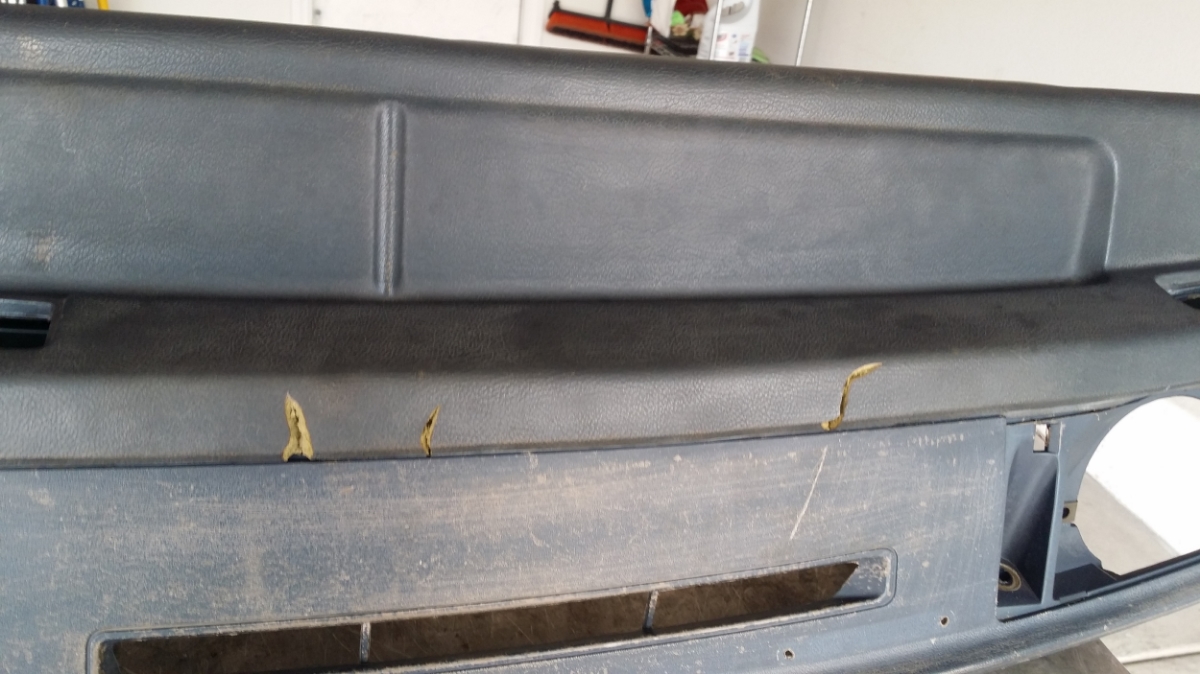
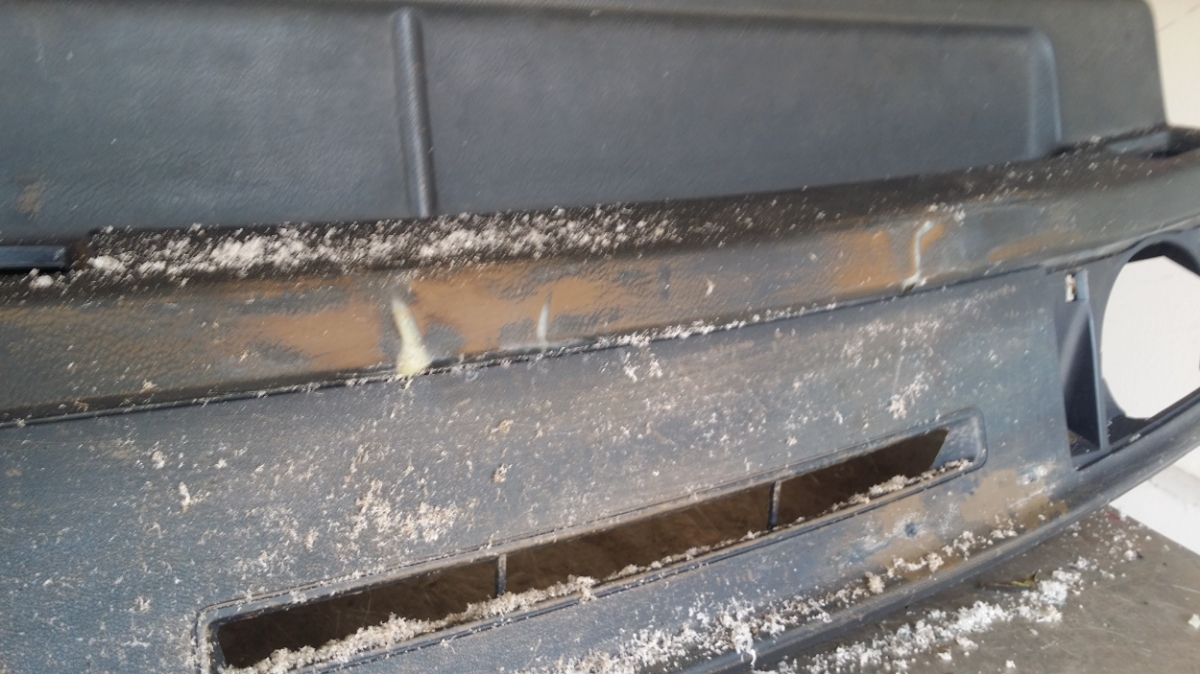
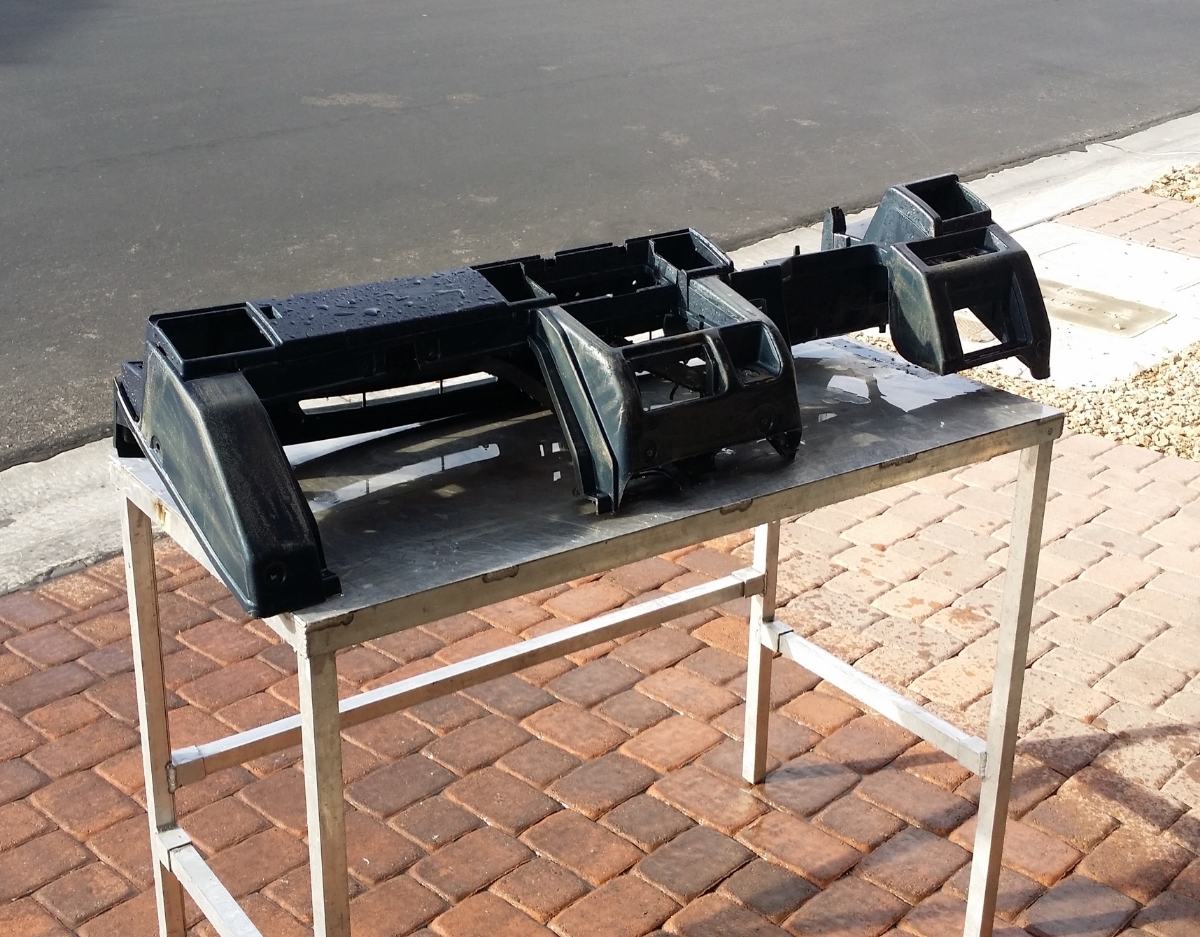
I was stuck right in the middle of the SEMA builds at the time the dash was found and purchased, so I couldn't get right to work on the swap like I really wanted to do. The dash also needed a bit of attention. I tracked the history of the truck and it turns out this was a RHD converted California highway/roadway maintenance truck. As a result of no AC and lots of sun beating down on the truck, the dash pad had a bit of warping and cracks. I couldn't be too choosy for the price and convenience of a complete RHD swap in the US, so I had to address the problems before I did the install.
I only had a matter of a day in between client build for SEMA 2014, so I had to work quickly on my repairs and reconditioning. I also wanted to dye the dash black to match the rest of the truck interior I previously did.
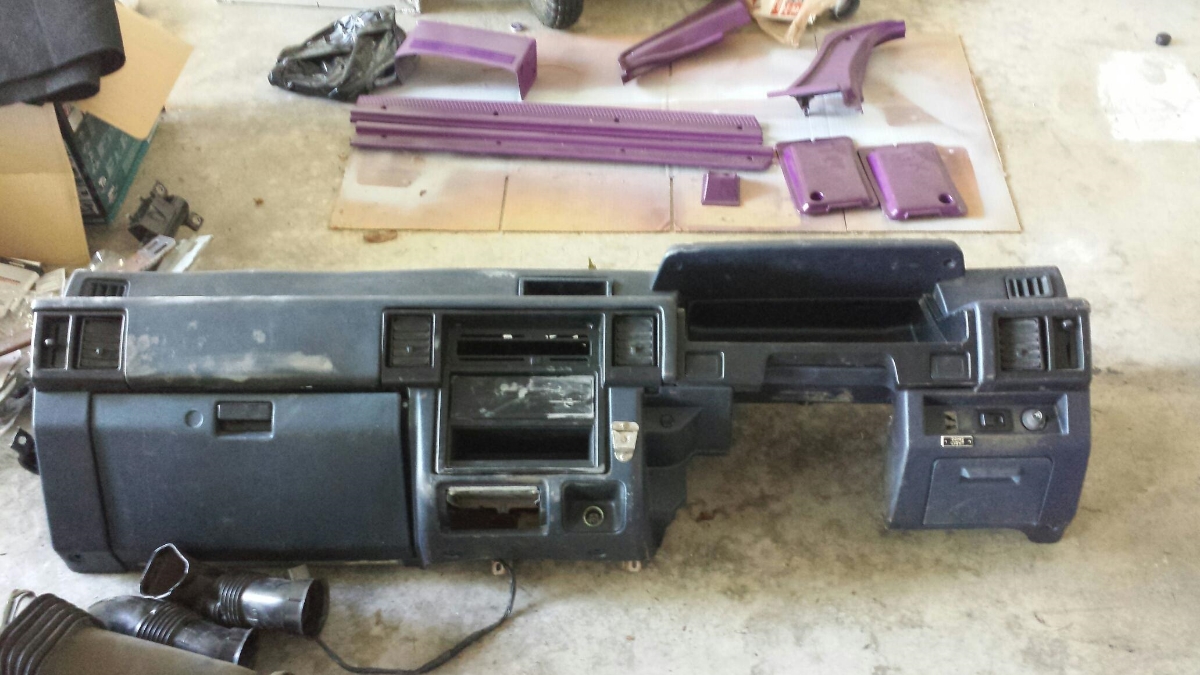
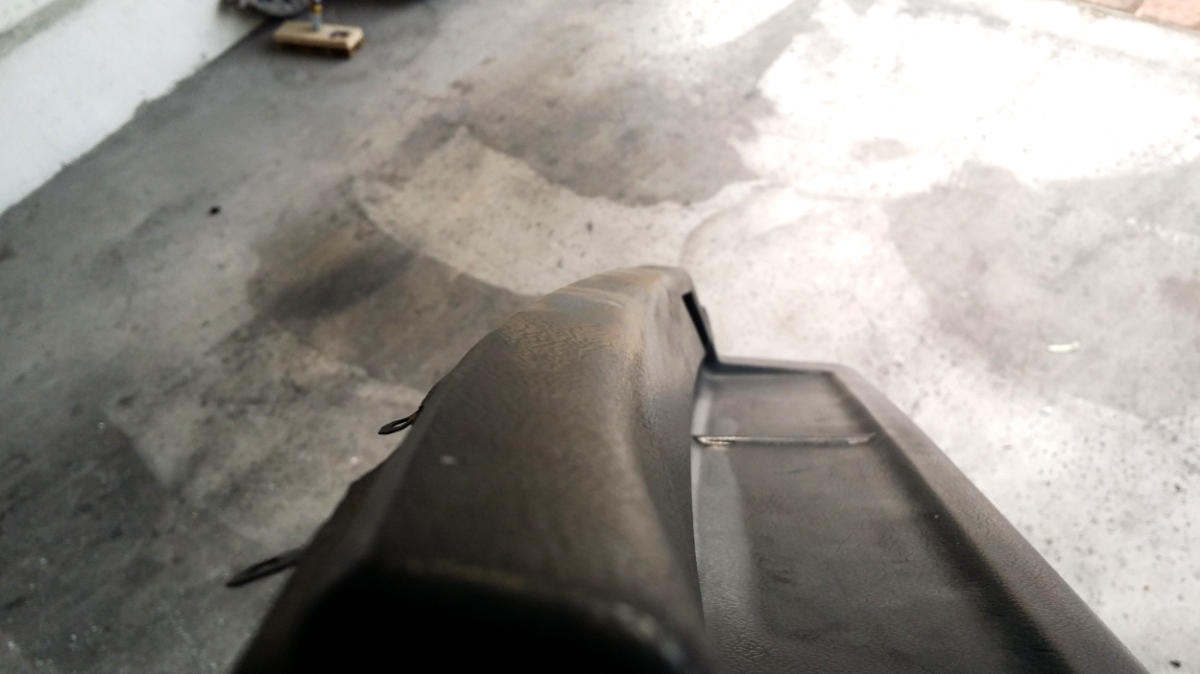
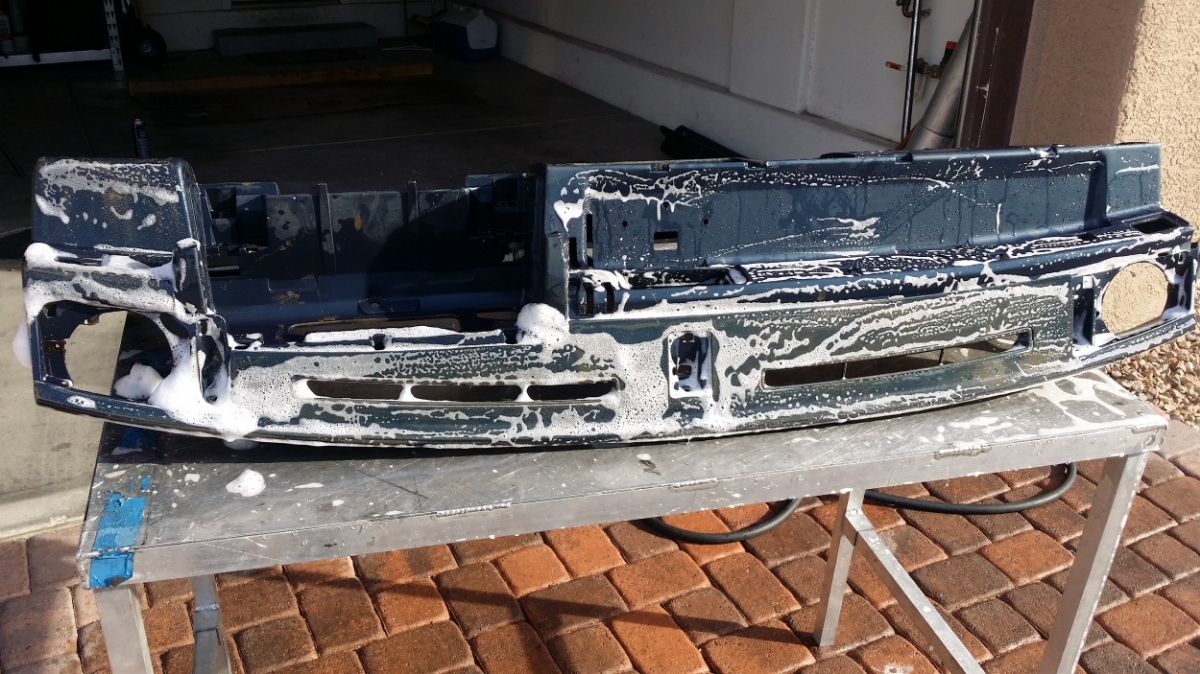
I wasted no time tearing it all down the moment I had some free time. Every piece was cleaned, stripped and prepped for dye and future reassembly.
The dash pad had some heat distortion to it (not pictured) which needed to be fixed. Simply put, if heat distorted it, heat will put it back. It only took a moment to mold it back to the dash with a heat gun.
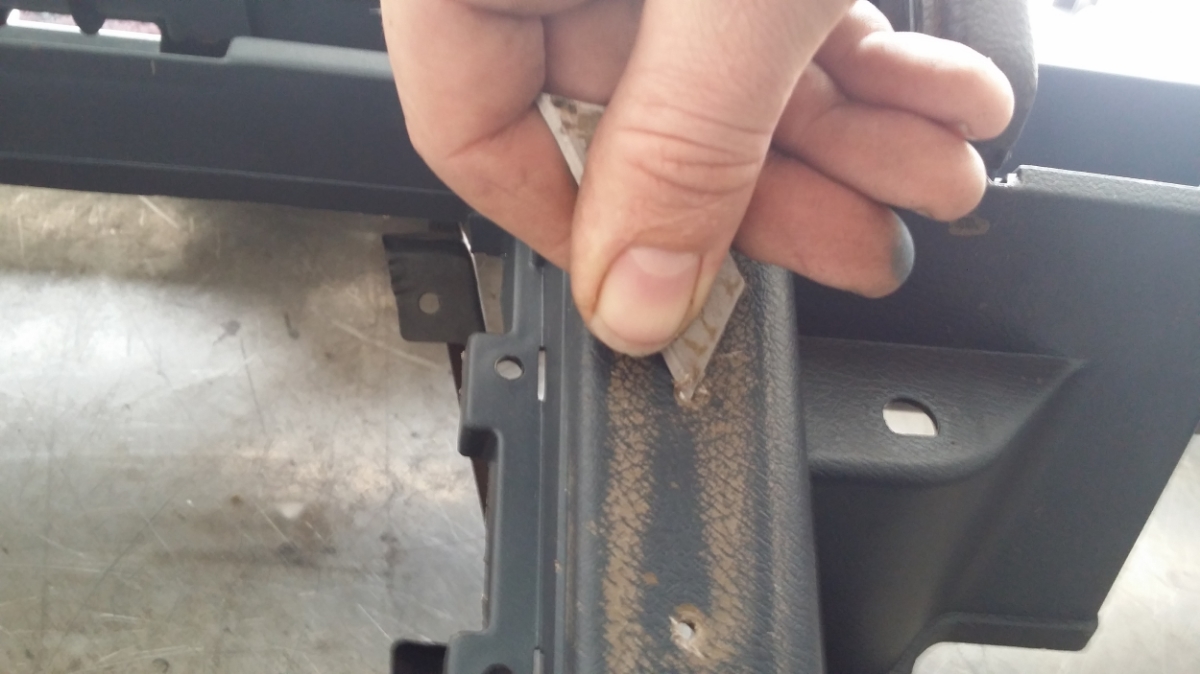
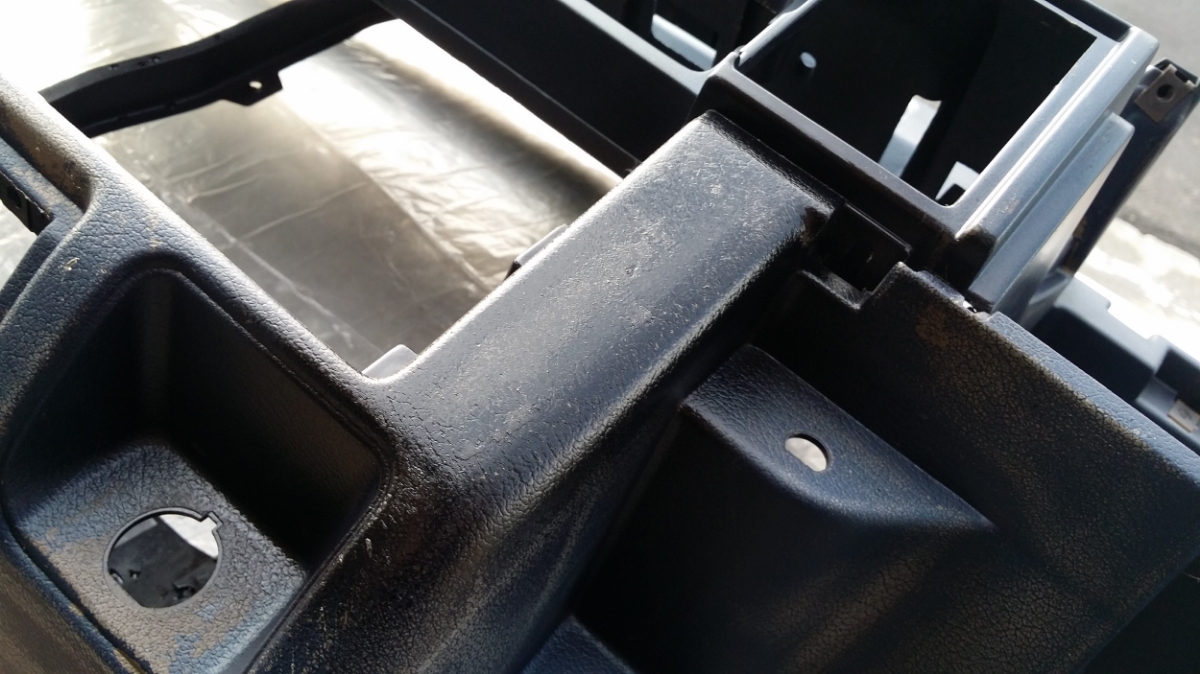
Fixing cracks and unwanted holes can be tough to make last. The trick is to cut them out and give the filler something to bond to. Future flexing and movement of the dash needs to be encouraged with the filler and repair. Using the wrong filler, or one too rigid will cause the dash to crack again.
Improper prep to the repair areas will also cause future failure. Aside from the cracks being cut out, the unwanted holes from previously installed accessories needed to be patched. The best way to fill a hole is to add a bevel to either the face of it, the back of it, or both. If the bevel is not added, it is possible the filler will simply fall back out since there is little for it to bond to.
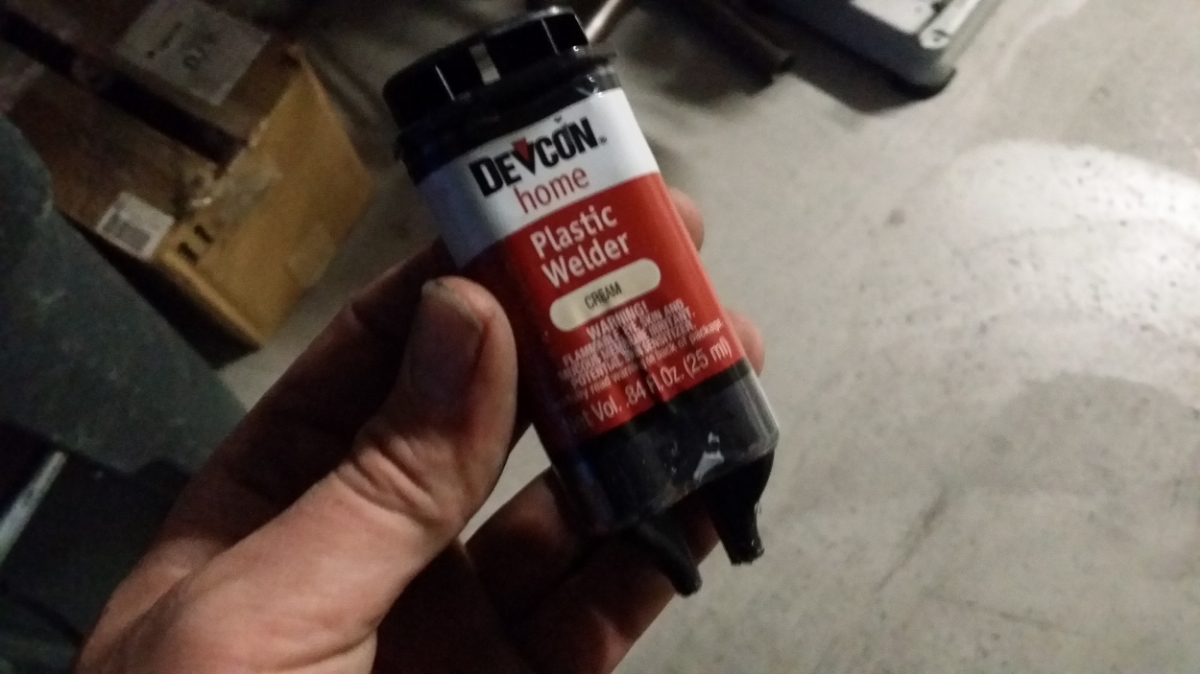
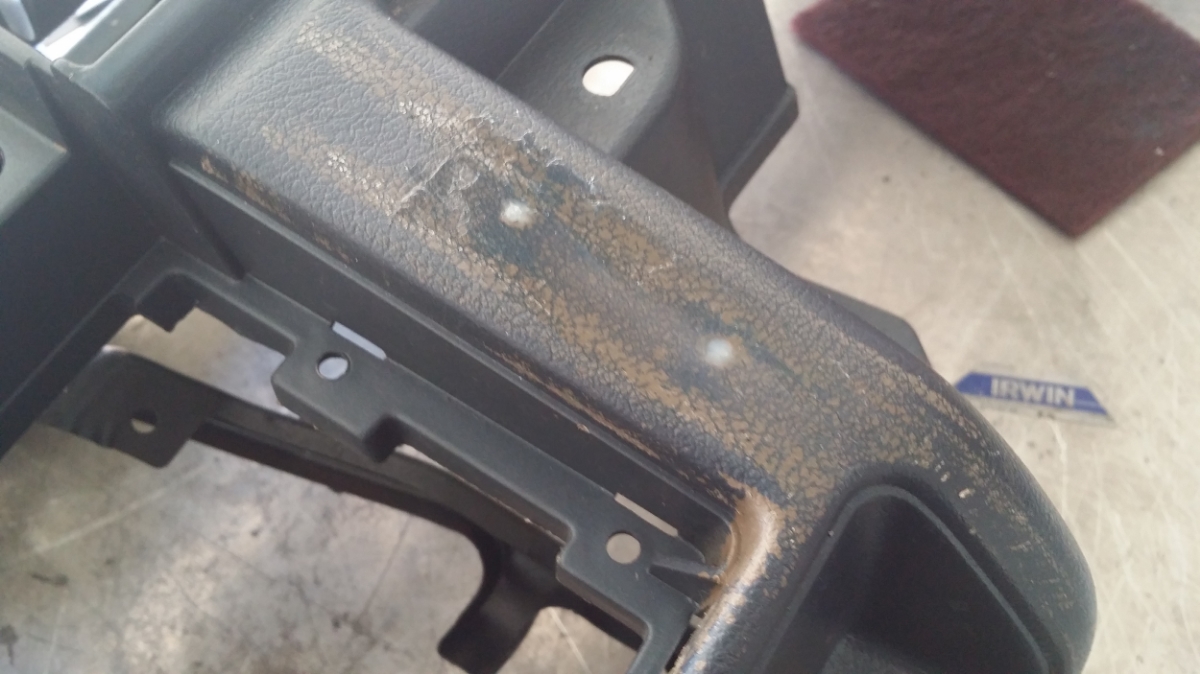
There are hundreds of adhesives and fillers on the market that will do one job or another. It's simply a matter of finding the correct one for the job. Since I live in the desert of Las Vegas, I need something that will flex and give a little with the heat. I've had great success over the years using 2 part plastic weld formulas over the years.
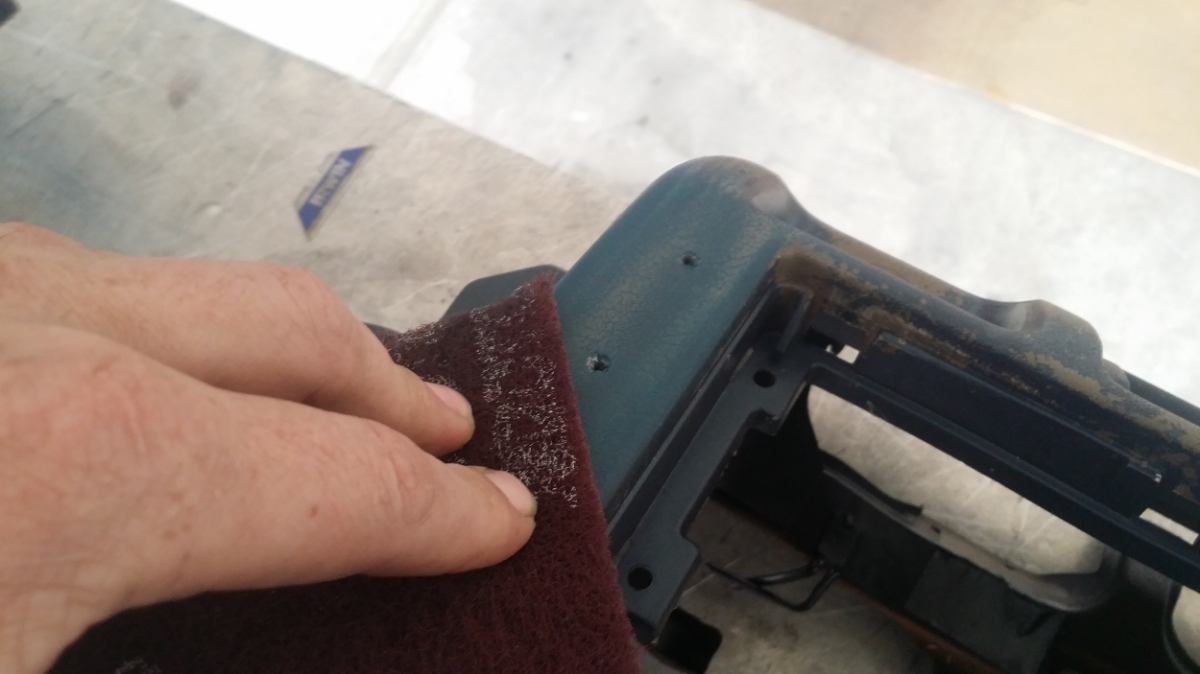
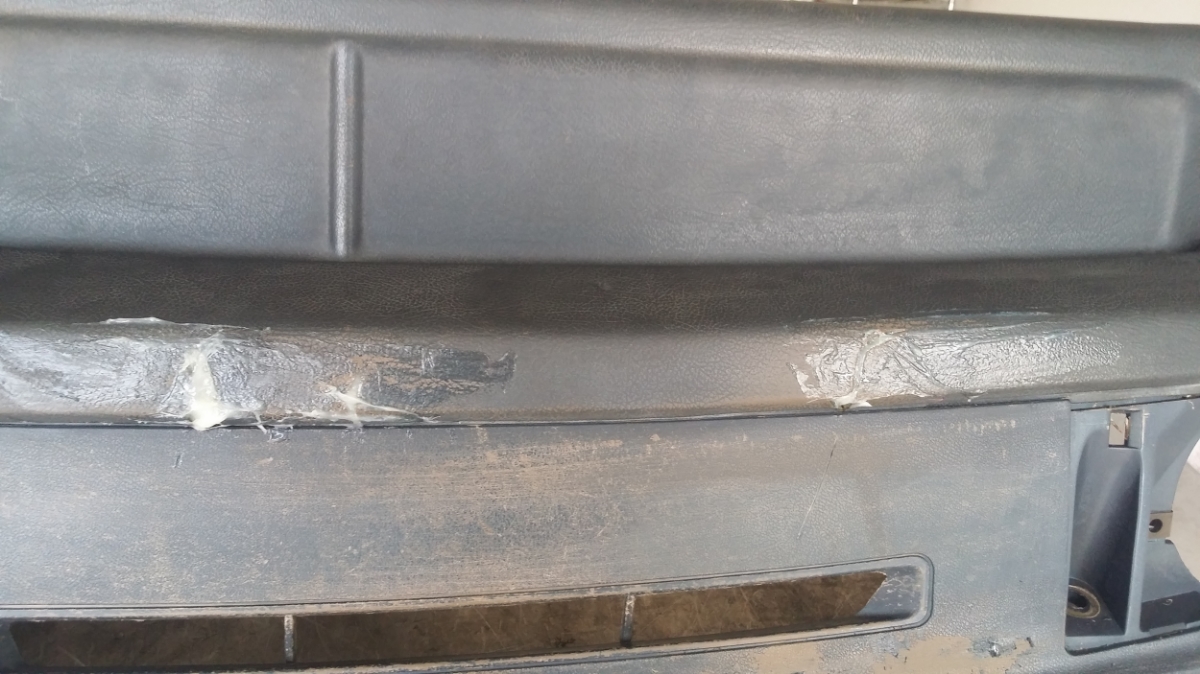
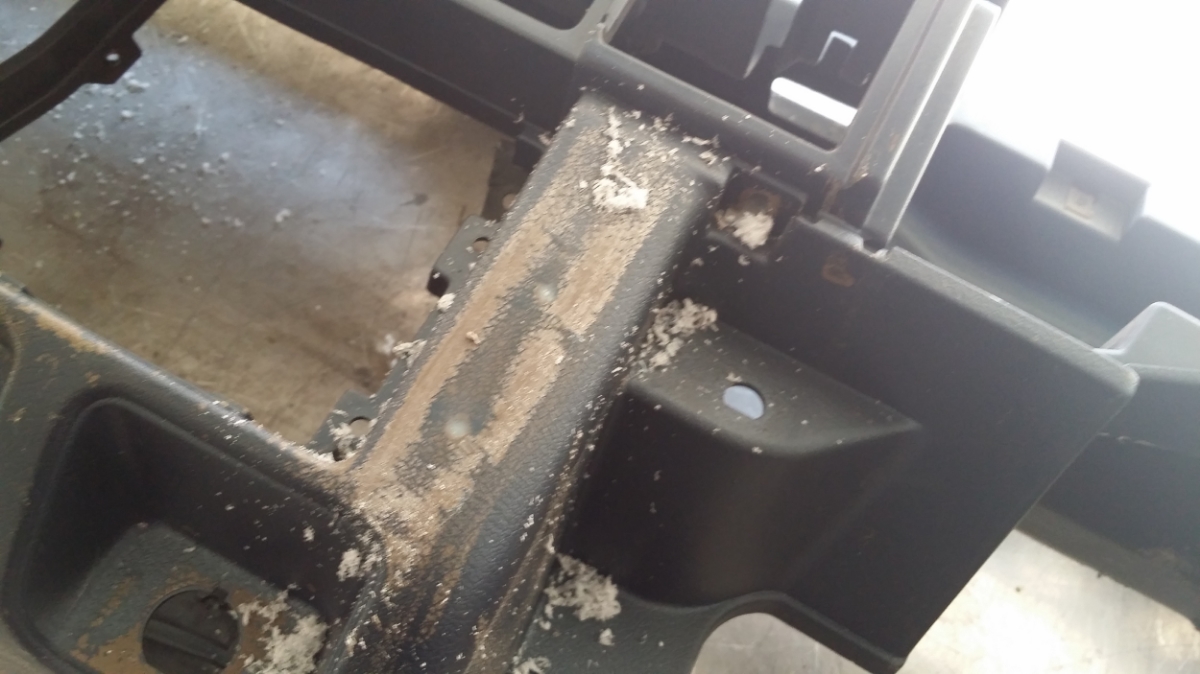
After a very generous application of plastic welder to the cracks, the razor blade is used to smooth them flush.
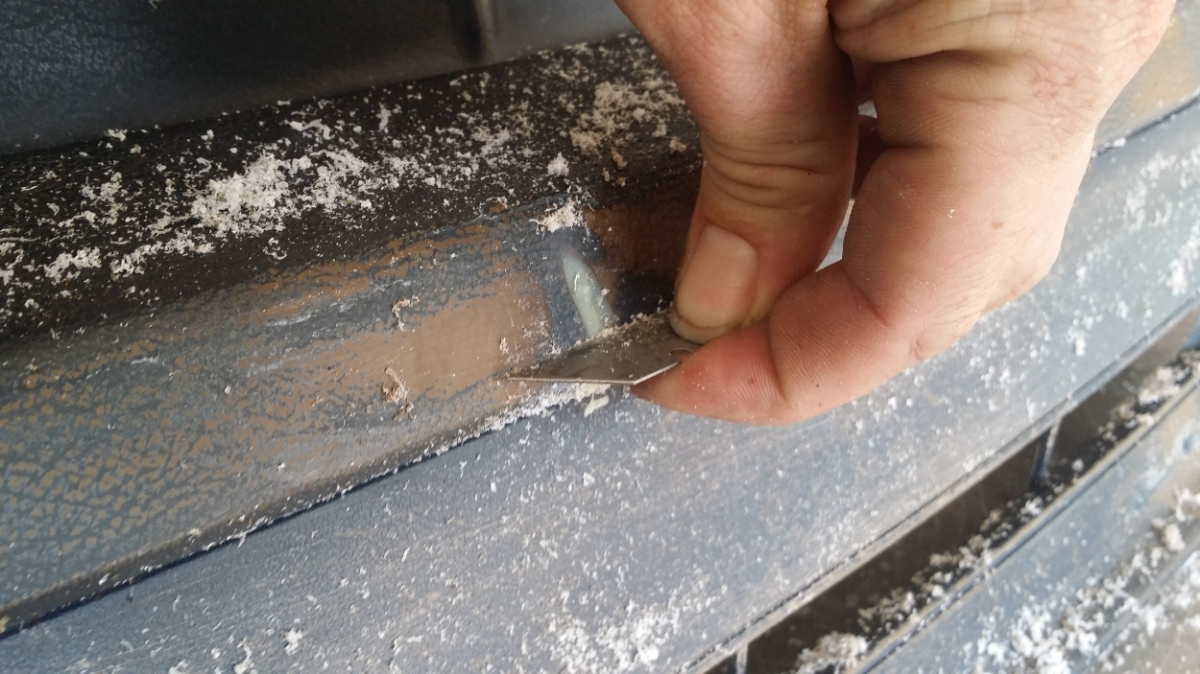
There is a bit of a trick to getting the cured plastic welder flush with the rest of the dash. It's a trick that also helps prevent further repairs. The trick is to scrape the excess filler instead of cutting or slicing at it with the blade edge.
Scraping with the razor blade removes a fine amount each time. If you try to cut or slice the filler, the result will either be an inconsistent wave to the filler, or the blade could slip causing you to cut or gouge other portions which will need more repair.
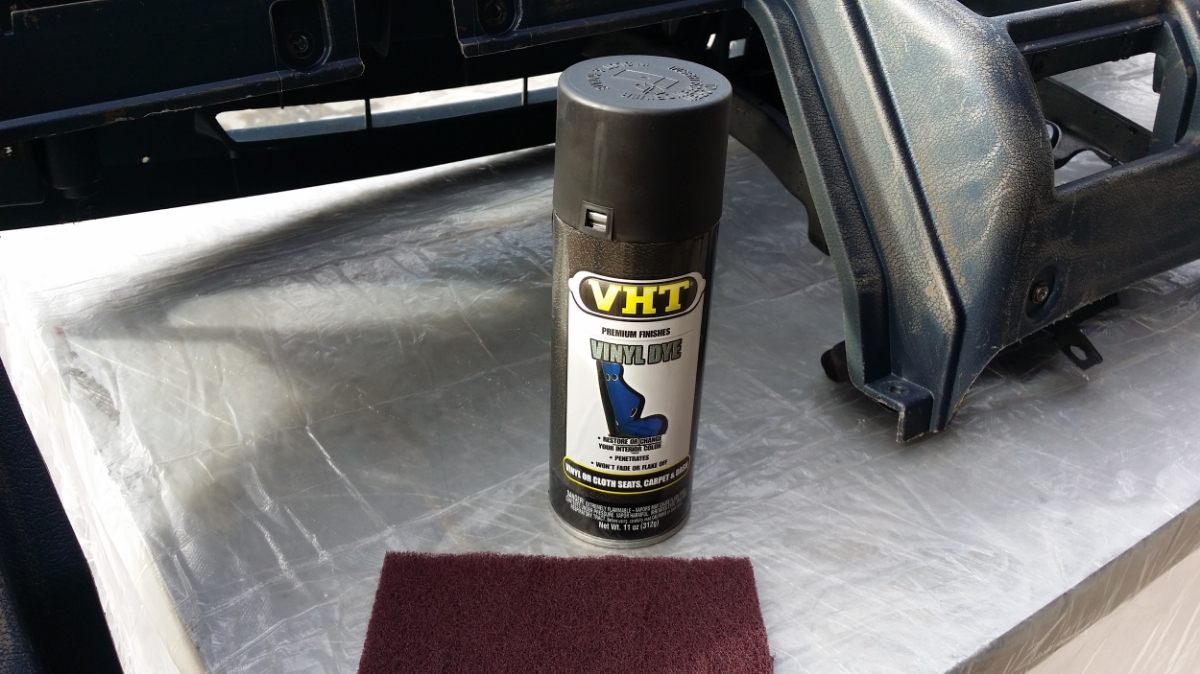
Prepping the dash for dye is pretty simple, but a lot of attention to cleanliness is vital for a long lasting finish. There are a handful of dyes and paints on the market capable of color changing a dash. Most often I run to a friend's detail shop and grab a can of whatever industrial product he has laying around, but this time, I chose an off-the-shelf brand: VHT.
Just as is with any other brand, follow the instructions. The instructions are written by the manufacturer to ensure the best result. If you do it your own way, you'll likely have to redo your work every few months. I paid strict attention to prep detail.
After repeatedly scrubbing down the dash with plain soap and water, a thorough rinsing was done until no more soap suds were visible. The entire dash was dried fully using a series of micro fiber towels to ensure it was a clean and dry as possible.
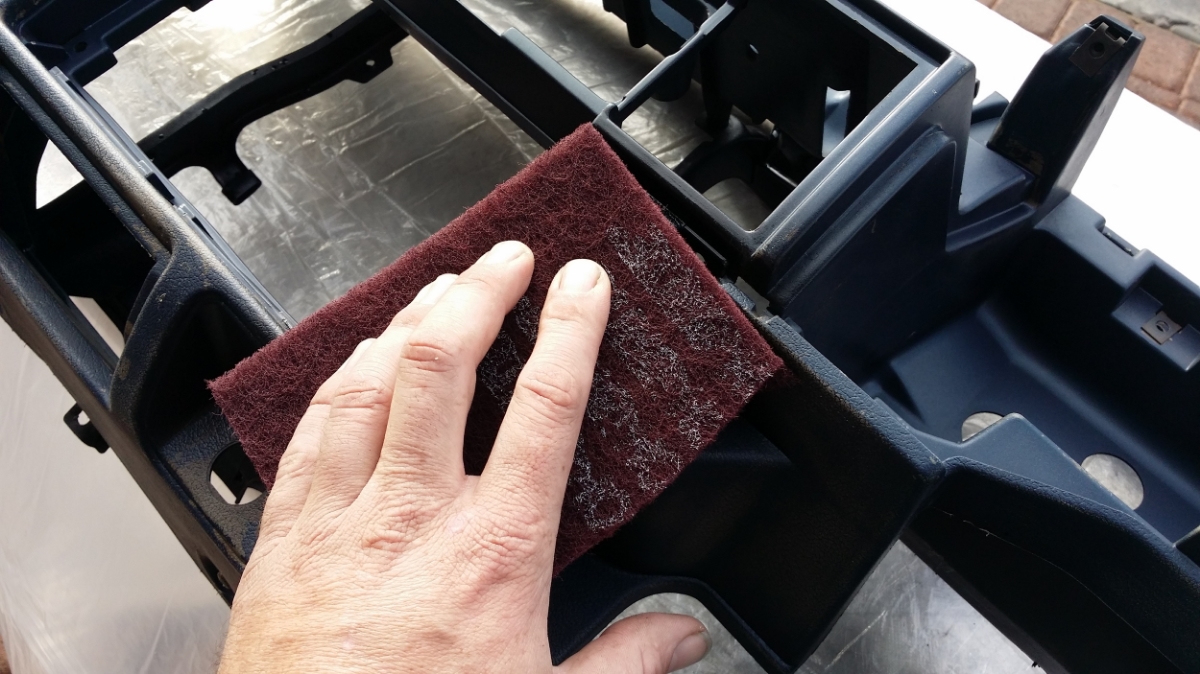
Before dying the complete dash, I needed to re-texture the portions I repaired. This is easily done with a heavy coat of dye followed by a blotting action with a surface prep pad. This puts a similar impression into the dye when it dries. The trick is to very lightly blot the dye as it is tacky - not wet.
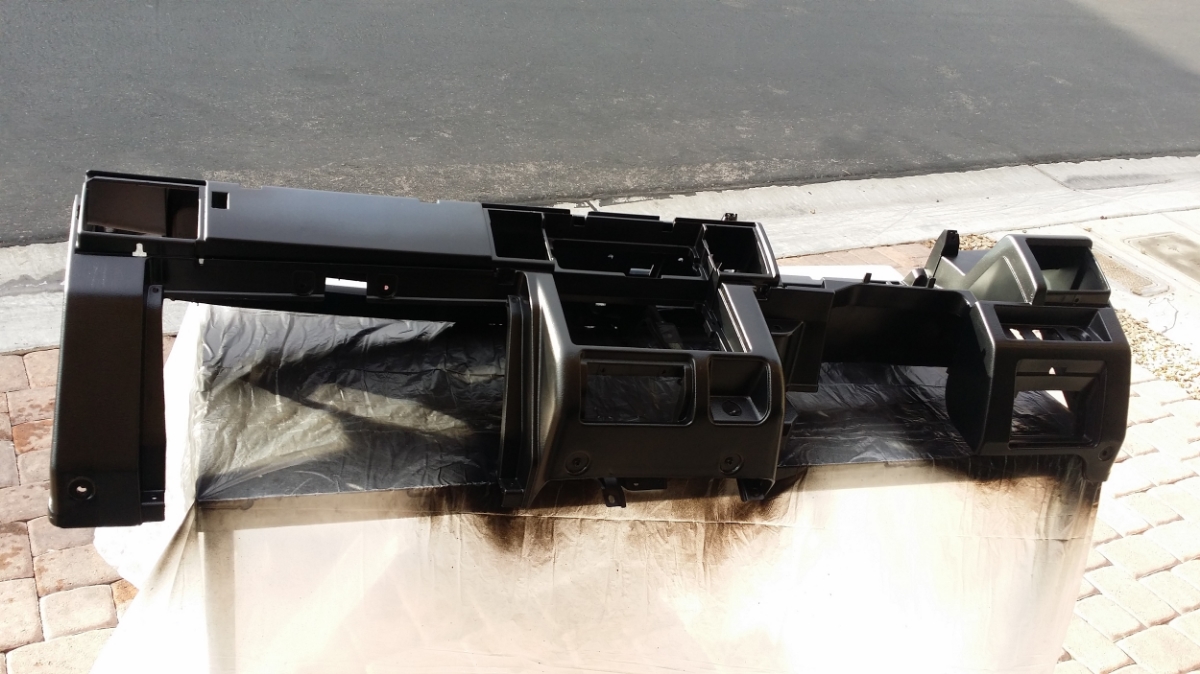
Finally, the rest of the dash is sprayed to match. The end result is a dash that looks completely OEM.
Pretty easy job to do! If you have any questions, feel free to post them in the comments below or email The Fabricator. Once the dash was dried and put back together, the wait begins to swap day! I knew I had a short window to get the job done, but i really didn't think it would be as short of a window as what I was given...
How much time did I actually get to swap? Find out in Part Two: "The Swap."

The final round and finishing pieces needed to get this Mighty Max Right Hand Drive Swap back on the road! Check out what needed to be solved and a cool Q & A at the end!!