
While this section is very general related to narrowing a Ford 8.8, here is a general guide to fitting to your vehicle. In addition, there are a couple of upgrades you can do as well. We installed ports for a differential cooler in ours.
There are 2 ways to prep your narrowed Ford Explorer 8.8 axle for install. You can either measure your vehicle to weld on perches and brackets, or set the axle into your vehicle - then weld on axles and perches. Either method works as long as you measure correctly.
Since we believe in our measuring abilities, and it is easier to work off the vehicle, here is how we determined our fit.


First we must chose the correct spring perch for the build vehicle: the Mighty Max (aka MiEvo).
This particular build required a drop of 4 inches in the rear.
"Stand-off" is a term used to describe how far away one surface is in relation to another, or in this case, how high (or low) our perch will sit away from the axle tube.
The Mighty Max has a stand-off distance of about 3/8". The perches we ordered for our 8.8 have a stand-off of 3/4". The reason why we did this is to obtain more drop without changing the size of the drop block.
Calculating Extra Drop
Our first drop used a 3 inch block on our Mighty Max with a 3 inch tube and a 3/8" standoff perch (factory). This is the base of comparison.
Mighty Max Axle OD - 3 inches
Ford Axle OD - 3.25 inches
Mighty max Stand-off - .325 inches
Ford stand-off (new perches ordered for Ford tube) - .75 inches
Radius of Mighty Max Axle Tube OD - 1.5 inches
Radius of Ford Axle Tube OD - 1.625 inches
(we use the radius of the axle tube because you are installing a perch to one side of the tube while the center of the axle stays the same)
Block Size - 3 inches
Mighty Max
1.5 + .325 = 1.825 total stand-off
1.825 + 3 (block height) = 4.825 total drop
>>This is the base drop we will be comparing to<<
Ford Explorer 8.8
1.625 + .75 = 2.375 total stand-off
2.375 + 3 (block height) = 5.375 total drop
5.375 - 4.825 = .55 inches of additional drop.
What does all this mean??
If you placed a 3 inch drop block under your truck, you dropped it 3 inches.
If you swapped to a larger axle tube, with a larger stand-off, and kept the same tire size, you would have dropped your vehicle an additional .55 inches using the same 3 inch block. If you change your tire size (as most of us do when lowering a vehicle), you will drop the vehicle even more or less depending on tire and wheel size. What you need to consider is if that is too low with your intended tire size.
Normally we wouldn't throw in the block height as a variable in the equation, but since this is related to dropping (or even lifting), it will help to determine whether or not you have too much drop. Too much drop on a leaf spring rear end could mean your U-bolts are dragging on the ground, or your tires are rubbing more in the fender wells.
Quick example - your drop with the first axle left your leaf spring bolts 1/2" off the ground. With the new axle, and stand-off we used, you would be dragging your U-bolts off.
So now that we know our drop, we can now calculate the other angles and measurements we need.
Calculating Perch Placement (for leaf springs)
Since we are mounting to leaf springs, we need to know where the leaf springs fit in relation to our new axle (where to install the perches).
The measurement you need is the distance between the center of the left leaf spring, to the center of the right leaf spring.
It can be difficult to hold a tape measure dead center on your leaf springs and obtain an accurate measurement. There is an easy way to do it!
Measure from the outer edge of the left leaf spring, to the outer edge of the right leaf spring. Subtract the width of ONE leaf spring. This will give you the center to center measurement.
You can also use the inside edges of the leaf springs, then add the width of one leaf spring. The measurement will be the same.
Example
Leaf spring width - 3 inches
Outer Edge to Outer Edge - 50 inches
50 - 3 = 47 inches center to center
If you were measuring inside to inside, the measurement would look like this
Leaf spring width - 3 inches
Inner Edge to Inner Edge - 44 Inches
44 + 3 = 47 inches center to center
If your perches need to be 47 inches apart (center to center), you can measure your axle to locate them.
Here is how to calculate placement on an axle that is 60 inches wide (this is an example axle width)
Axle Width / 2 = 30 inches
Leaf Spring Width / 2 = 23.5 inches
30 + 23.5 = 53.5 inches from the center of the axle, or 6.5 inches from the edge (or point of measurement) of the axle.
DO NOT FORGET!! The above measurement is placement of the CENTER of the leaf spring perch.
It can be tough to measure the center placement of a perch that doesn't touch the tube. The solution is to add half the width of the perch, make a mark on the tube, and place the edge of the perch in place.
Example
Perch Width - 3 inches
Perch Width / 2 = 1.5 inches
53.5 + 1.5 = 55 inches to the outer edge of the perch from the center of the axle.
Calculating Pinion Angle
This is almost always more complicated than it needs to be. Most people simply use the same angle of the diff they are installing. A simple Google search will give you a billion opinions, discussions, and reason why someone's view on calculating pinion angles is correct. You need to make sure you do not have an insane angle that will tear up your U-joints, and you ideally want to keep your drive shaft as straight and level as possible.

Also consider the suspension travel, load, axle wrap, and torsional load. These will also change your angle.
An example of this would be:
If your maximum pinion angle is 10 degrees, and you set yours at 8 degrees, you would be out of spec if your axle wrapped 5 degrees under load.
Without getting too in depth with all the formulas and calculations out there, it is best to search specific to the vehicle you are working on.
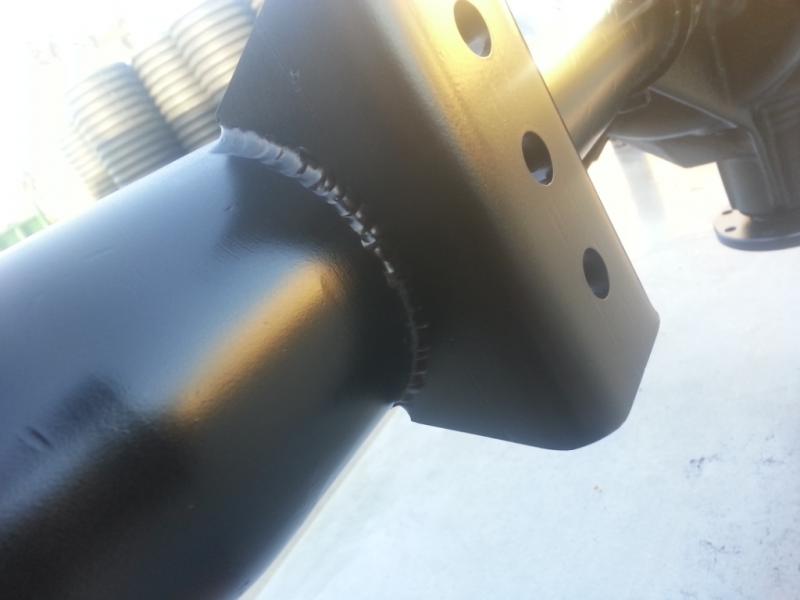
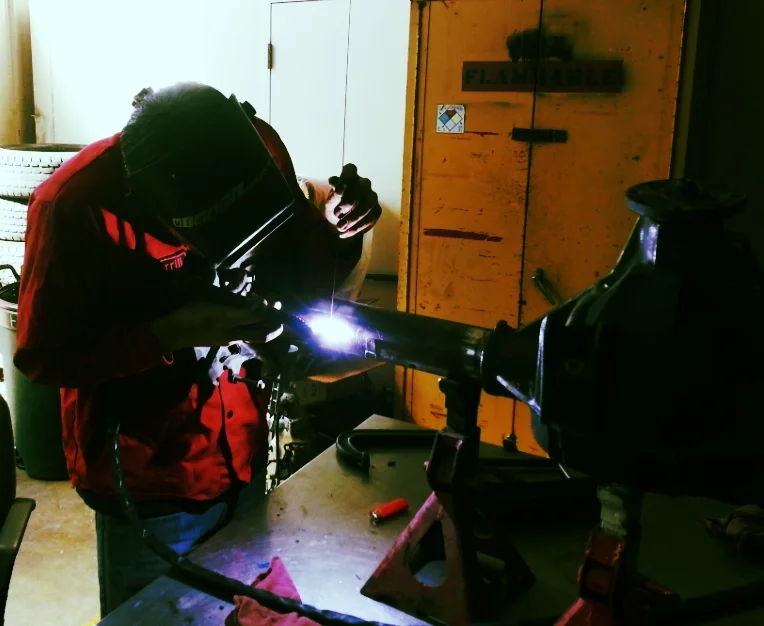
Once you have all your measurements, weld your perches on.
PLEASE NOTE - the measurements and angles shown in these pics below are the measurements and angles we calculated specific to our build. They are ONLY used as a picture reference, and may not be specific to your build.


Aside from the billions of options you can buy off the shelf for a Ford 8.8, there are a couple small things you can do to make it last longer, take more abuse, run better, or even stay cooler. Staying cool is important during a race, or even on a build with high power in a hot climate. Hot oils can murder certain components, so we will add ports for a differential cooler to our setup.

Some Ford Explorer models used an ABS system which placed a single sensor in the differential housing which rear a large gear attached to the ring gear inside the housing. Since we do not need this sensor for your build, we can easily plug it (leave the sensor in will do as well), or convert it for other uses. Cooled oil splashing directly on to a gear will help it stay cool, and this is a prime location for a return port.
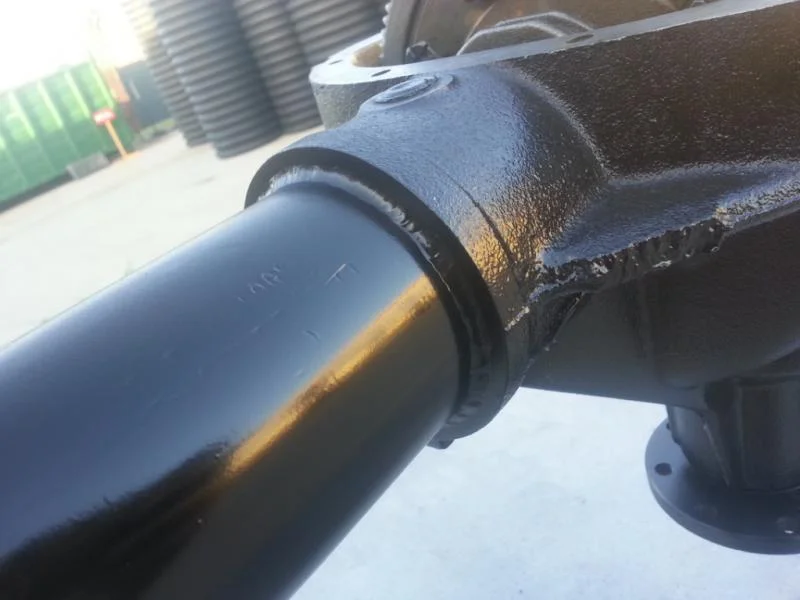
This is nothing more than a 304ss -10AN weld bung. It fits perfectly in place to be welded. We also welded the factory sensor bolt hole shut since we do not need it.
Where there is a return port, there must be a supply port. You need to be able to continuously supply your pump with oil to be cooled. Some (more expensive) pumps have the ability to be run dry, or will allow unsteady oil supply. Ideally, you want to place your oil port low, but not too low where it can suck up debris. The lower diff cover is an excellent location. We placed ours 1/2" above the bottom of the housing. (see final pics below).
Cleaning & Prep
It doesn't take much to clean and prep a diff for install, and it also doesn't take much for a poorly prepped product to lookk like crap. Take a few extra minutes to wipe it all down, clean it all up, and make it new. This is easily done by purchasing fresh seals and bearings from your local parts store, and replacing them.

You may wonder how to get all the additional caked on oil out of the tubes and off the gears as seen in previous pic. Most people don't own a chemical hot tank for parts washing. Most shops don't own a chemical hot tank large enough for entire axles (we sure don't). So how do you clean it all out?
You mix up a concoction we call "Differential Soup"
This is nothing more than household degreaser (Purple Power), and hot water left to soak for 30 minutes.
Everything pretty much washes/rinses out after a good soak with minimal scrubbing involved.
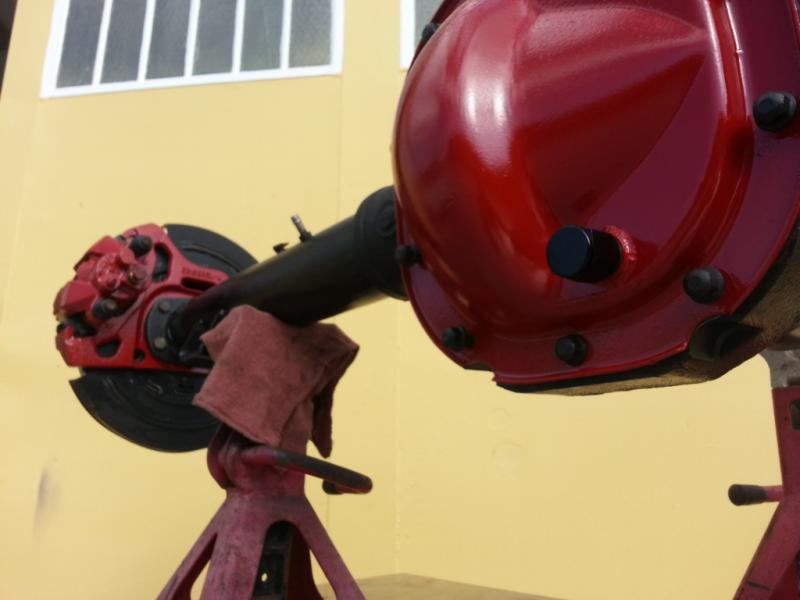
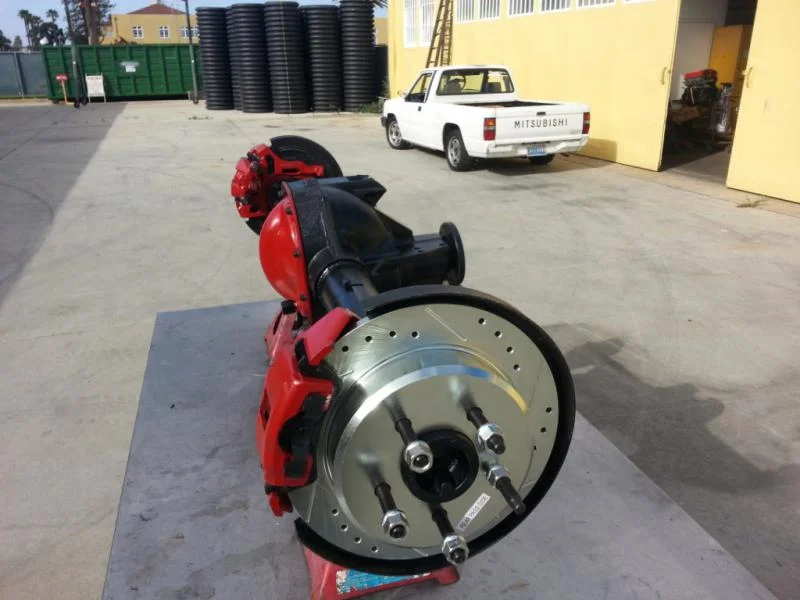
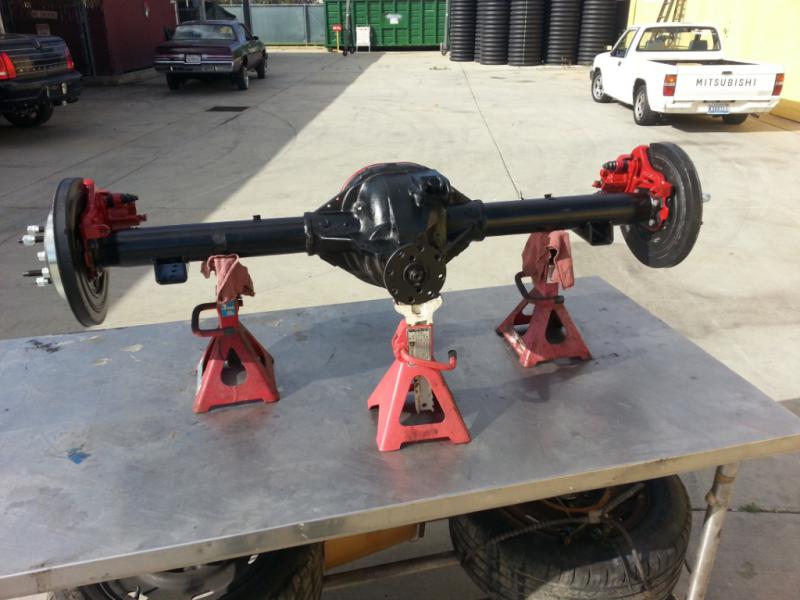
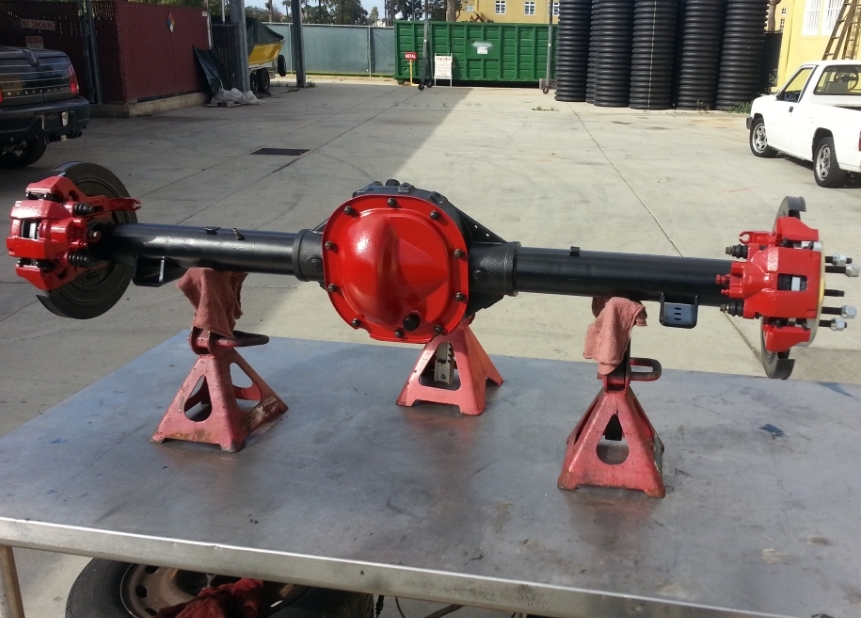
After all your welding and accessories are installed - re-assemble and paint this beast to ready it for install!


Questions or comments about this section? Post them below or Email The Fabricator


Part 4 of a 4 part How-To series demonstrating how to narrow a Ford Explorer 8.8 Rear Axle. This section covers the selection and installation of perches and accessories required to install the now narrowed Ford Explorer 8.8.