Cribbage is a very old game filled with strategy, skills, and even a kind of secret language only other players can speak. I've been playing for years and years. Since I love the game so much, and fabrication is my profession, you can probably guess that I build a lot of Cribbage boards. I would venture out to say that if I would have kept every board I made and gave out over the years, I would probably have one of the greatest custom cribbage board collections out there.
![20150427_143336[1].jpg](https://images.squarespace-cdn.com/content/v1/5599e651e4b069786e93b36f/1436585395931-PZ5S5EBUP1GZ9MMLOS6O/20150427_143336%5B1%5D.jpg)
![20150426_203149[1].jpg](https://images.squarespace-cdn.com/content/v1/5599e651e4b069786e93b36f/1436585499213-QMMGU35ZFRI6HK1LM8RU/20150426_203149%5B1%5D.jpg)
![20150427_115253[1].jpg](https://images.squarespace-cdn.com/content/v1/5599e651e4b069786e93b36f/1436585520446-ITDG8TMLOB0Q1QEWIO10/20150427_115253%5B1%5D.jpg)
![20150427_112113[1].jpg](https://images.squarespace-cdn.com/content/v1/5599e651e4b069786e93b36f/1436585474795-AKS9RL4XK637MV50MTAG/20150427_112113%5B1%5D.jpg)
I made my first trip to New York over my birthday, and I was completely taken by how amazing that city truly is. Everything around me seemed to have so much character that if it could talk, it would tell you the greatest story of all time. It finally came down to the point where I realized that I have never built a cribbage board for myself. I have always built them and given them away as gifts. I decided it was time to finally own one of my own creations. With my recent New York trip still in my brain, and a select few pics for inspiration, here is my Brooklyn Board.
With a few pictures in hand, I set out to create the deck of the board first. I didn't have any pics of some of the floors I walked on and viewed there, but I knew exactly what I was aiming for on the deck of this board - distressed hardwood.


This really isn't terribly difficult to achieve. I've distressed a lot of materials over time, but at the same time, how do I make it so small, or to scale? I obviously cant expect a 1 x 6 plank of Pine to look right as a cribbage deck that is as wide as the plank itself. I was looking for something that would look more like a hardwood floor.
That's the point where I started digging through some scraps to see what I had laying around. It was really tough because anything I used to look like hardwood flooring would end up just showing a massive grain that was completely disproportionate. A few days before attempting this board, I had to make a repair to a neighbor's kitchen drawer. There in my scrap pile I found a large sheet of plywood. Cutting, lining up, sticking together, and sanding flat took about 3 hours. After a trim to length on both ends, I could start with the deck design.
Before I could get to cutting any holes for the board, I had to settle on my design. Cribbage boards are very easy to build in just about any fashion. You either build it traditional style, continuous style, 2 track or 3. That's pretty much it. All you need to know is what the "track" (rows and groups of holes) is going to look like and how many holes to put into it. Since I wasn't in the mood to drill 242 holes for a 2 track continuous board, I opted for a traditional board where each player, or team, doubles back up and down the track twice. This means I only need to drill 2 start/finish holes for each side, and 2 tracks of 60 holes each on each side. This also saves a lot of space on the board.

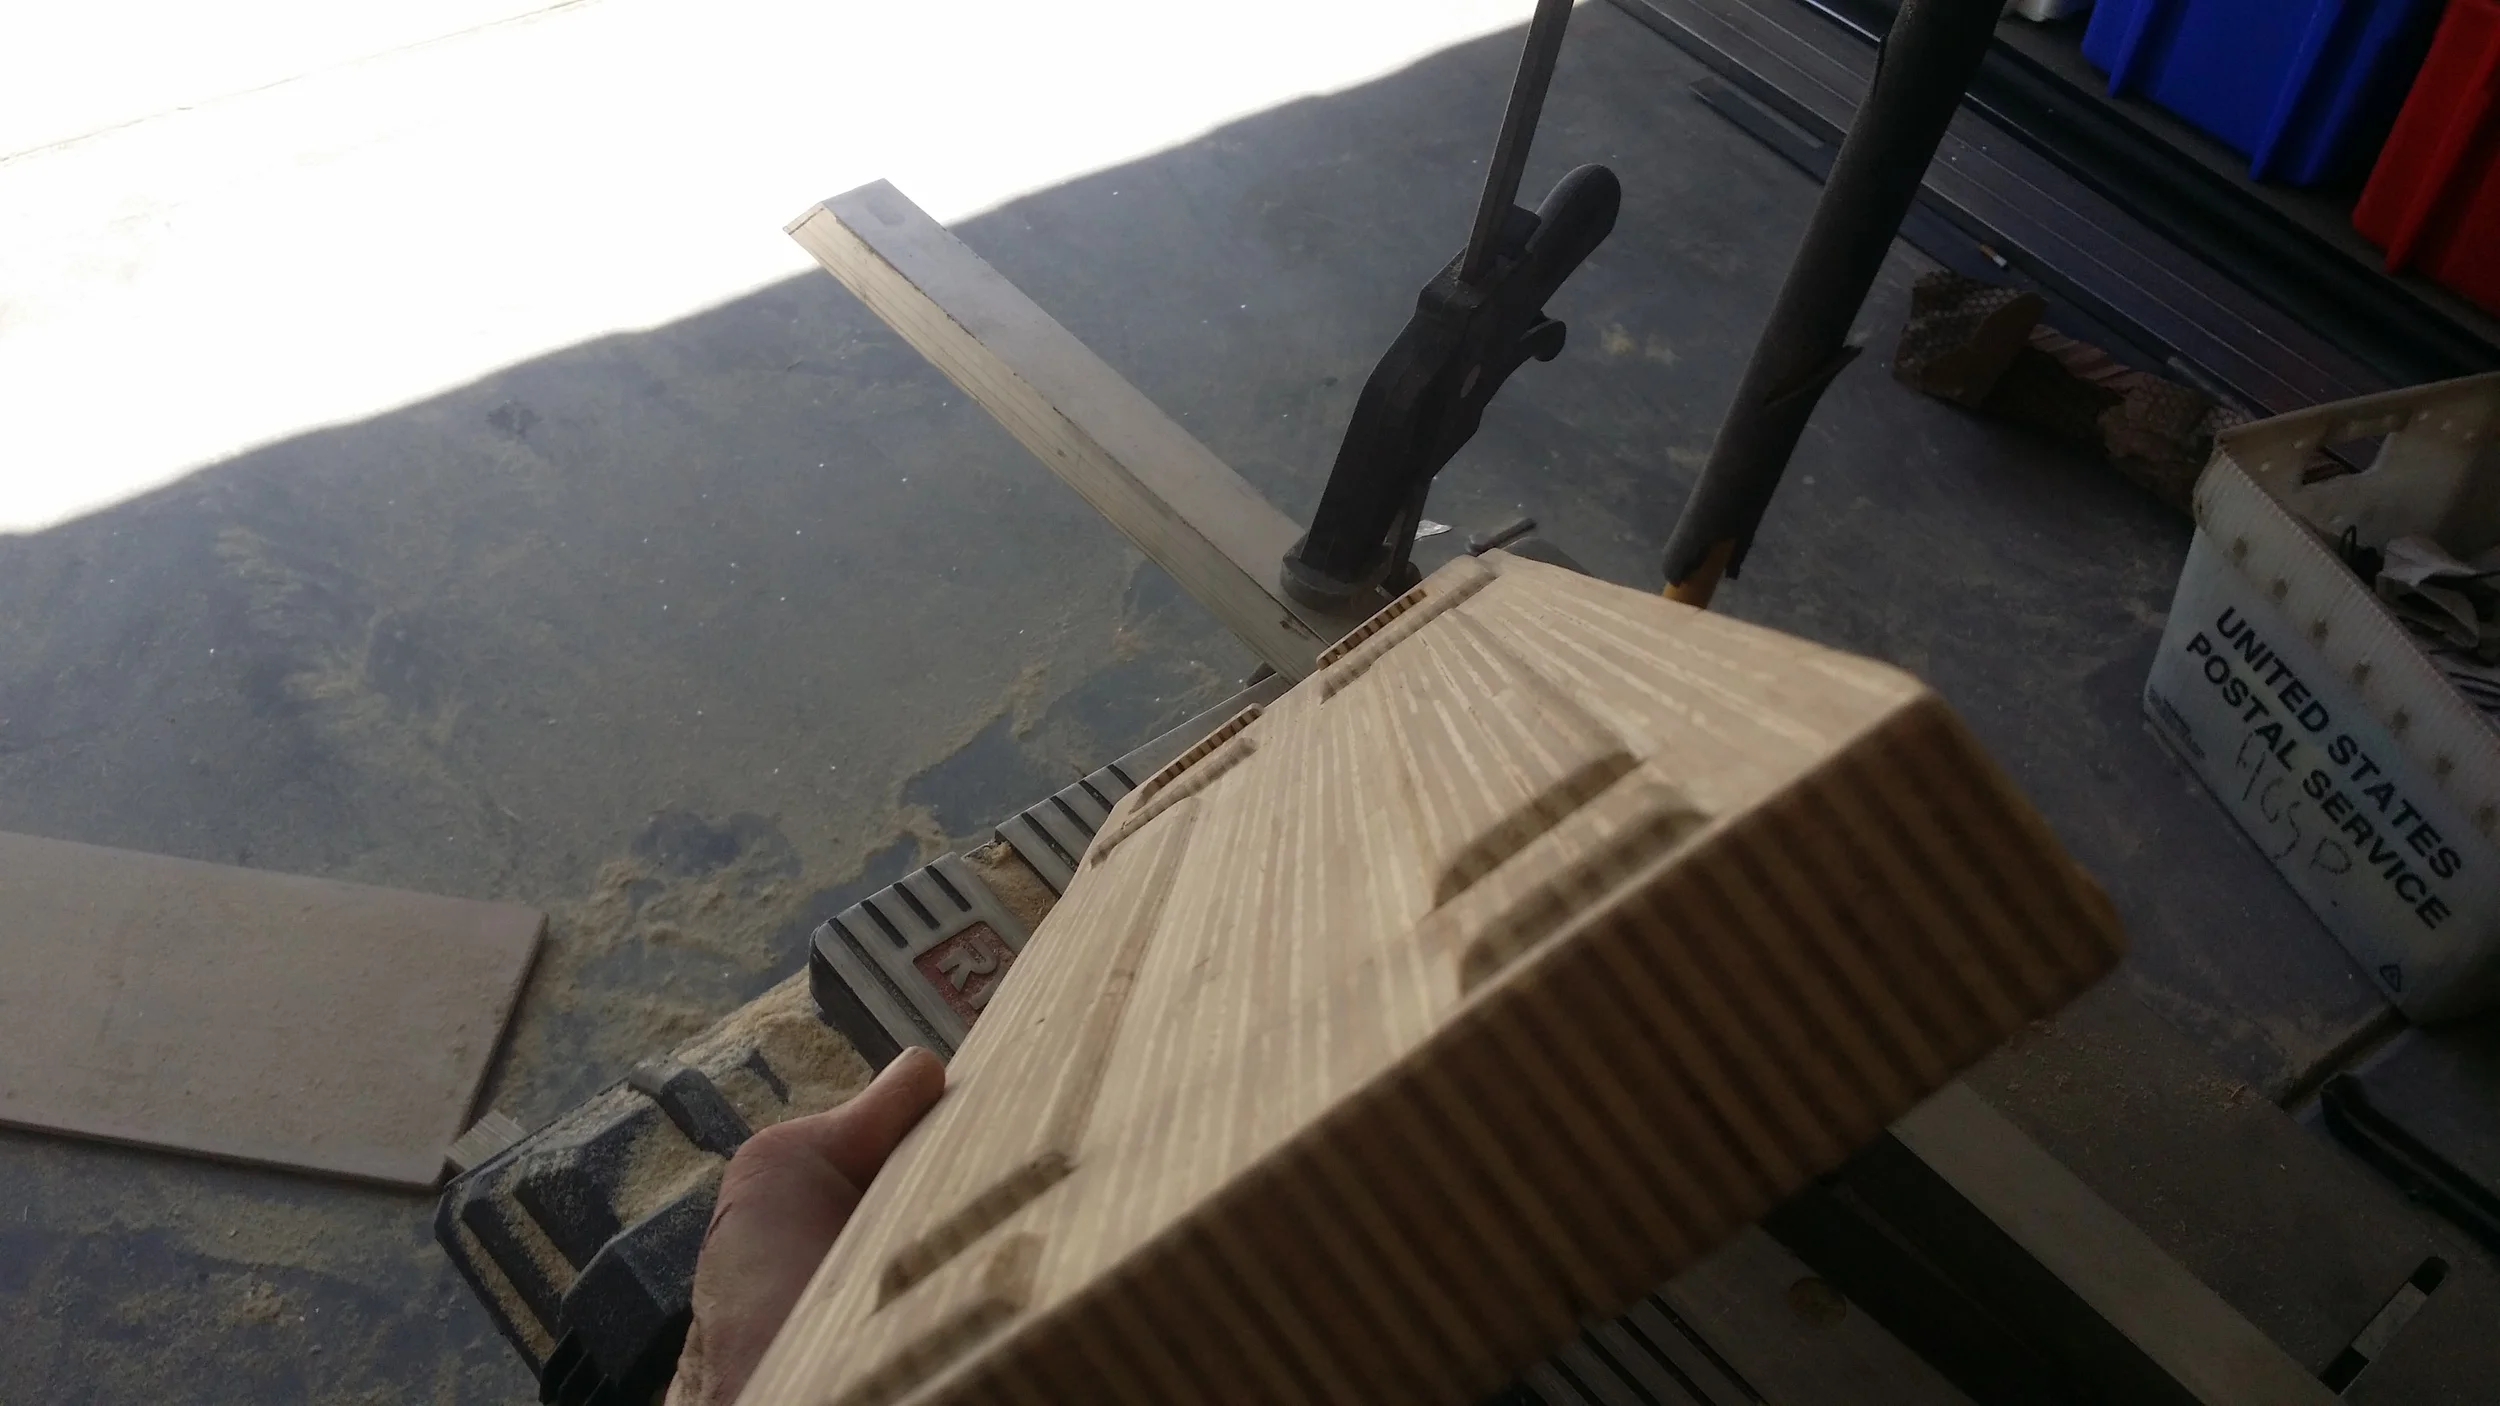
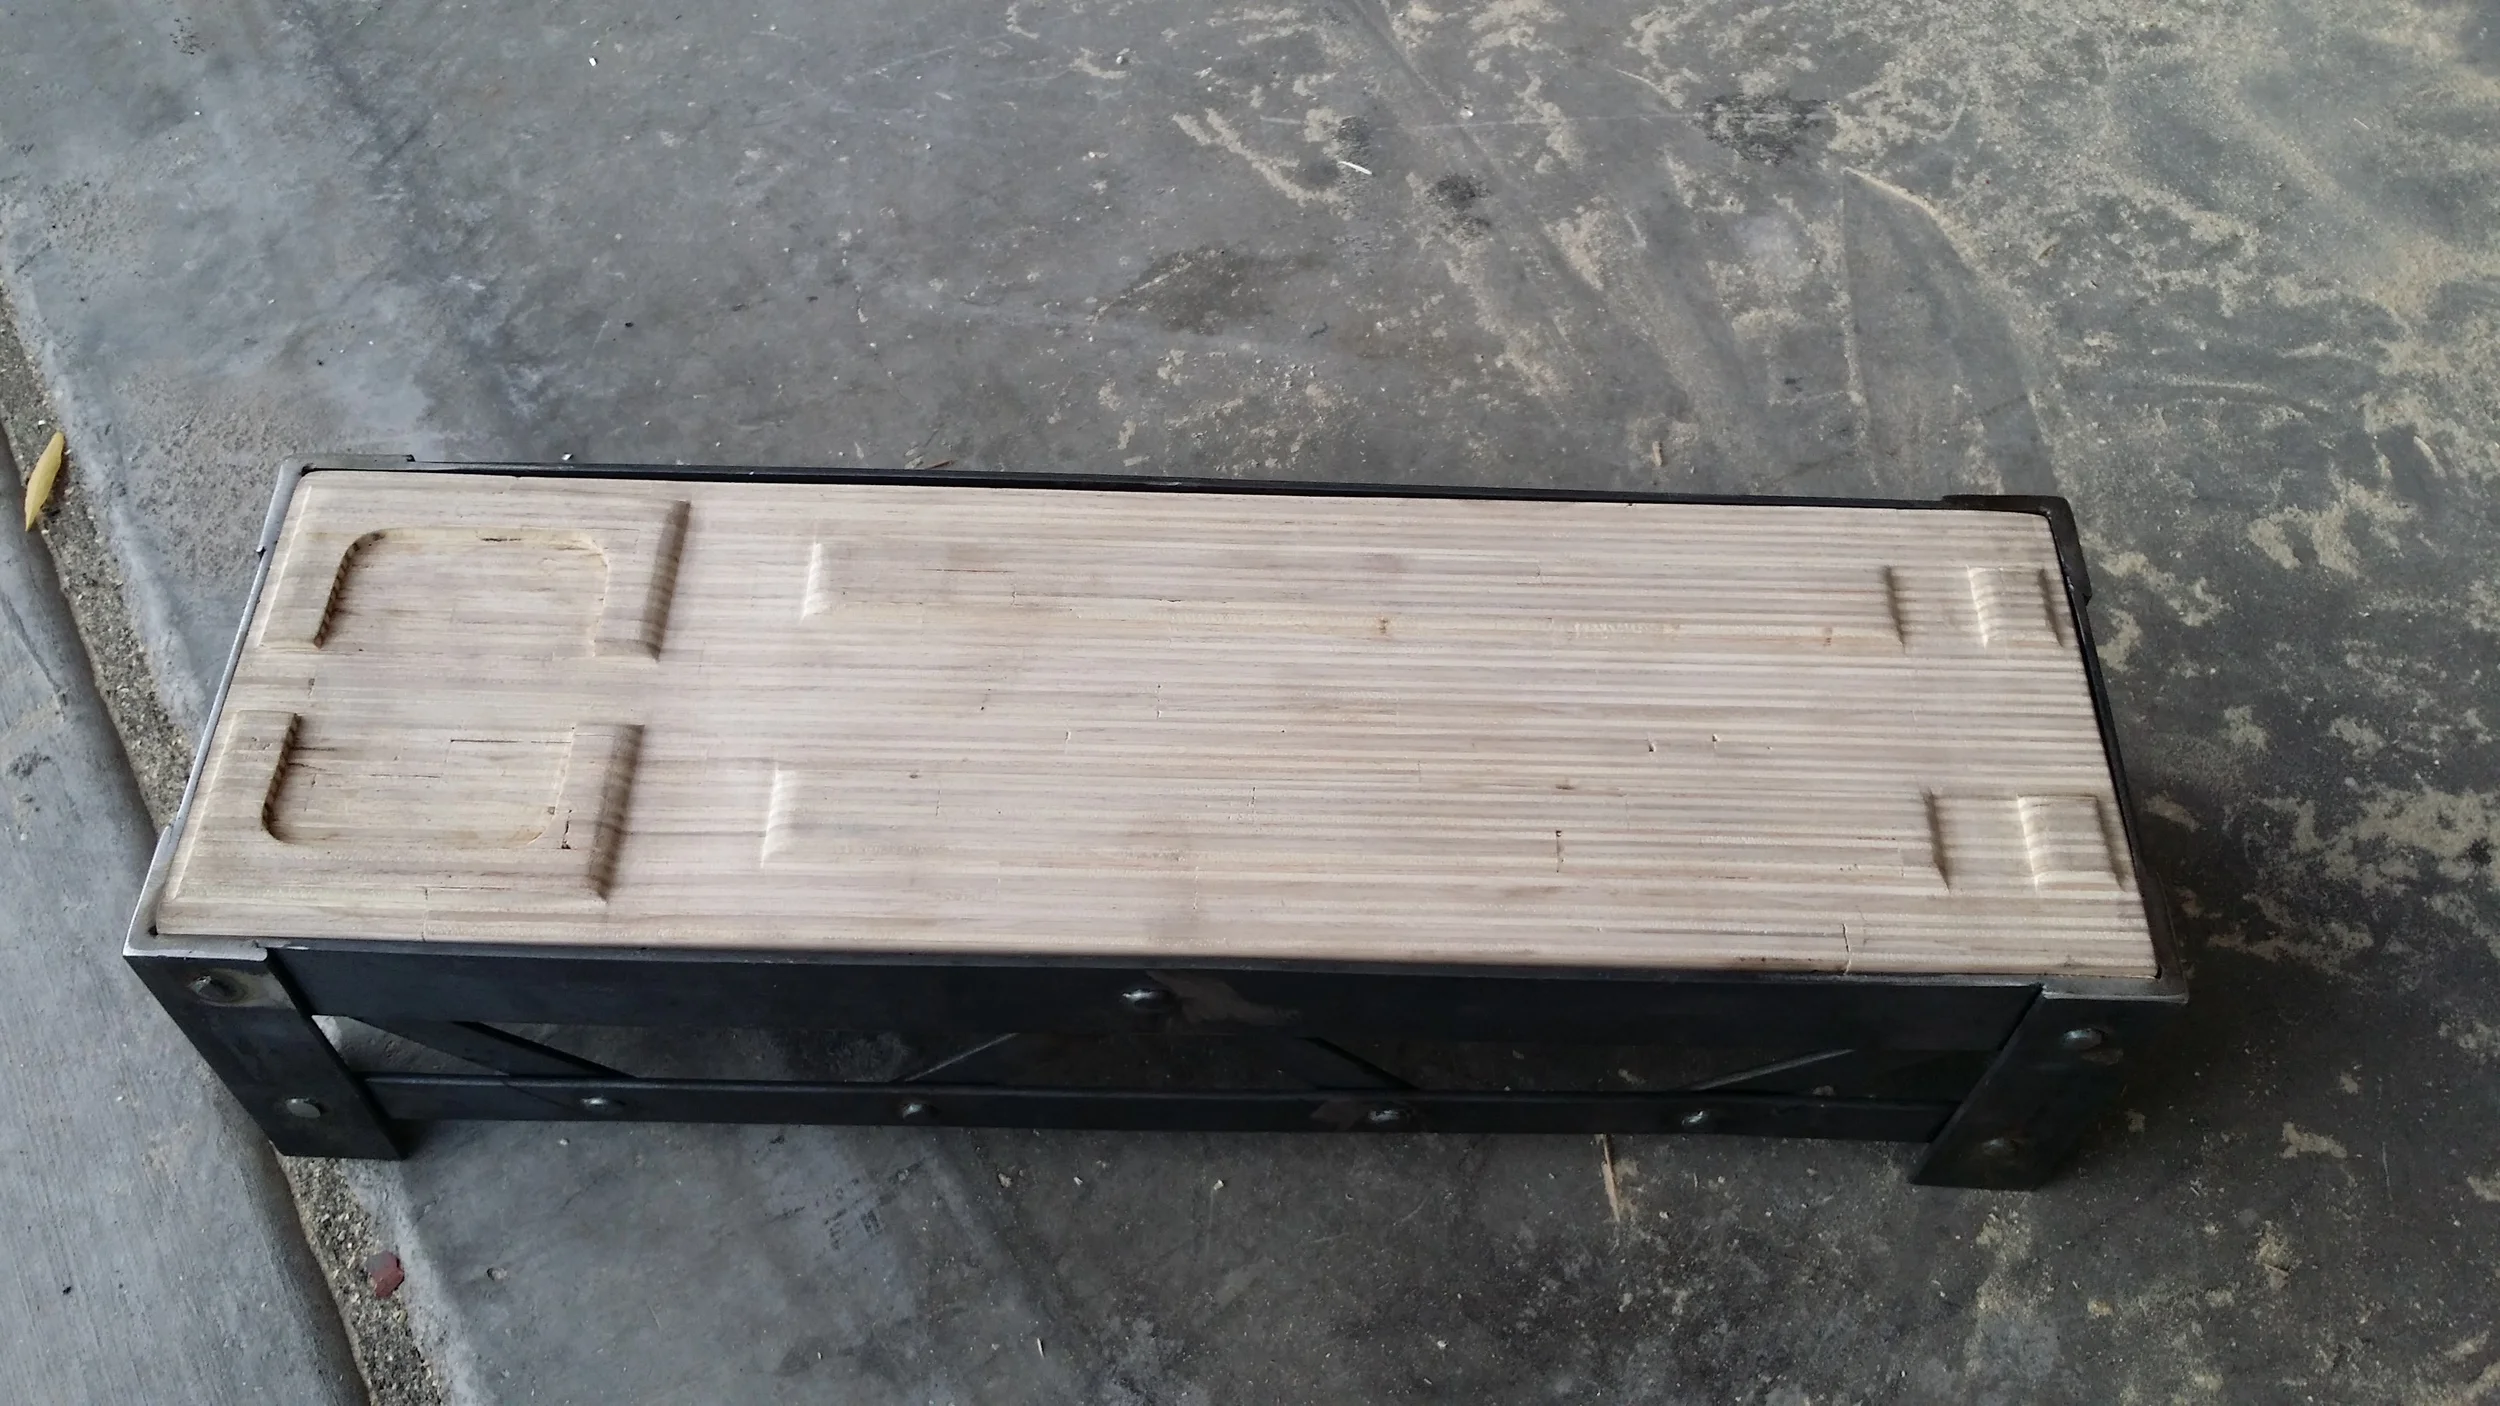
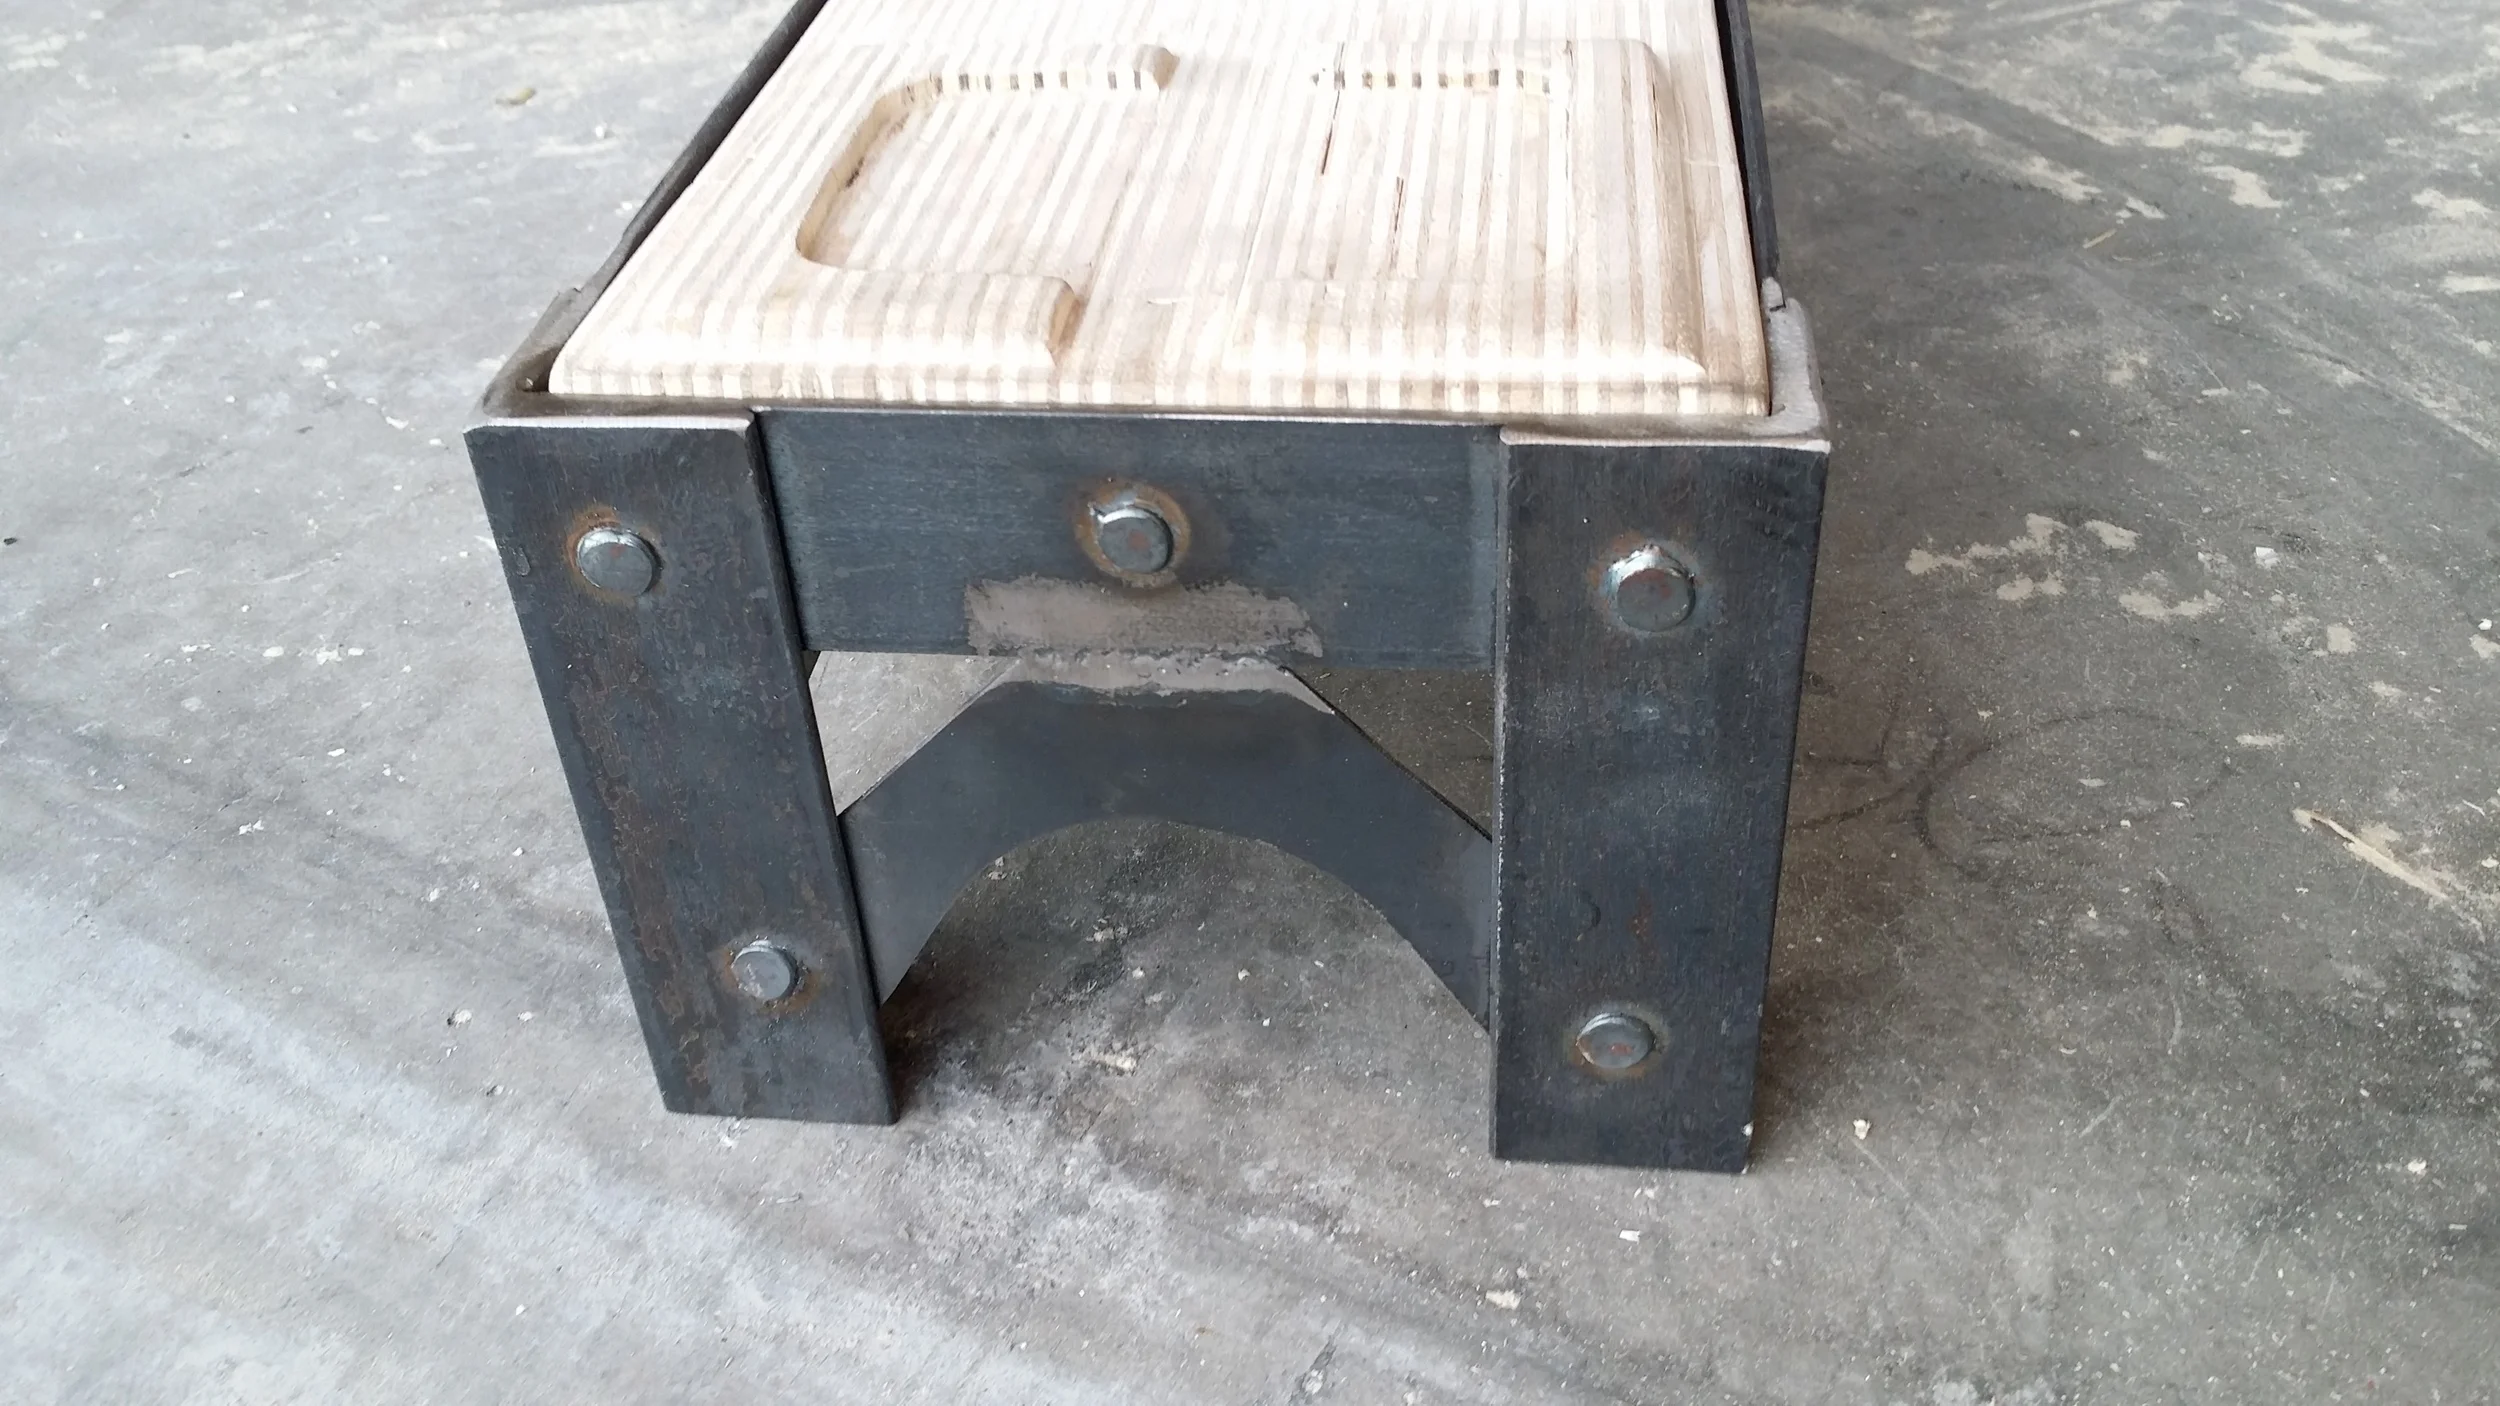
That extra space is being used for something I've always thought should be on a Cribbage board: a card holder. During game play, one card is flipped over at the beginning of each round of pegging. That card is typically put on top of the deck face up. I usually just toss the deck on to the top of the cribbage board during play since it doesn't always interfere with the pegs during a round. Well, I knew this board was going to be elevated once I built the frame structure, so might as well carve out a place for the cards to sit during on and off game play. This took roughly and hour or two to cut put with the router.
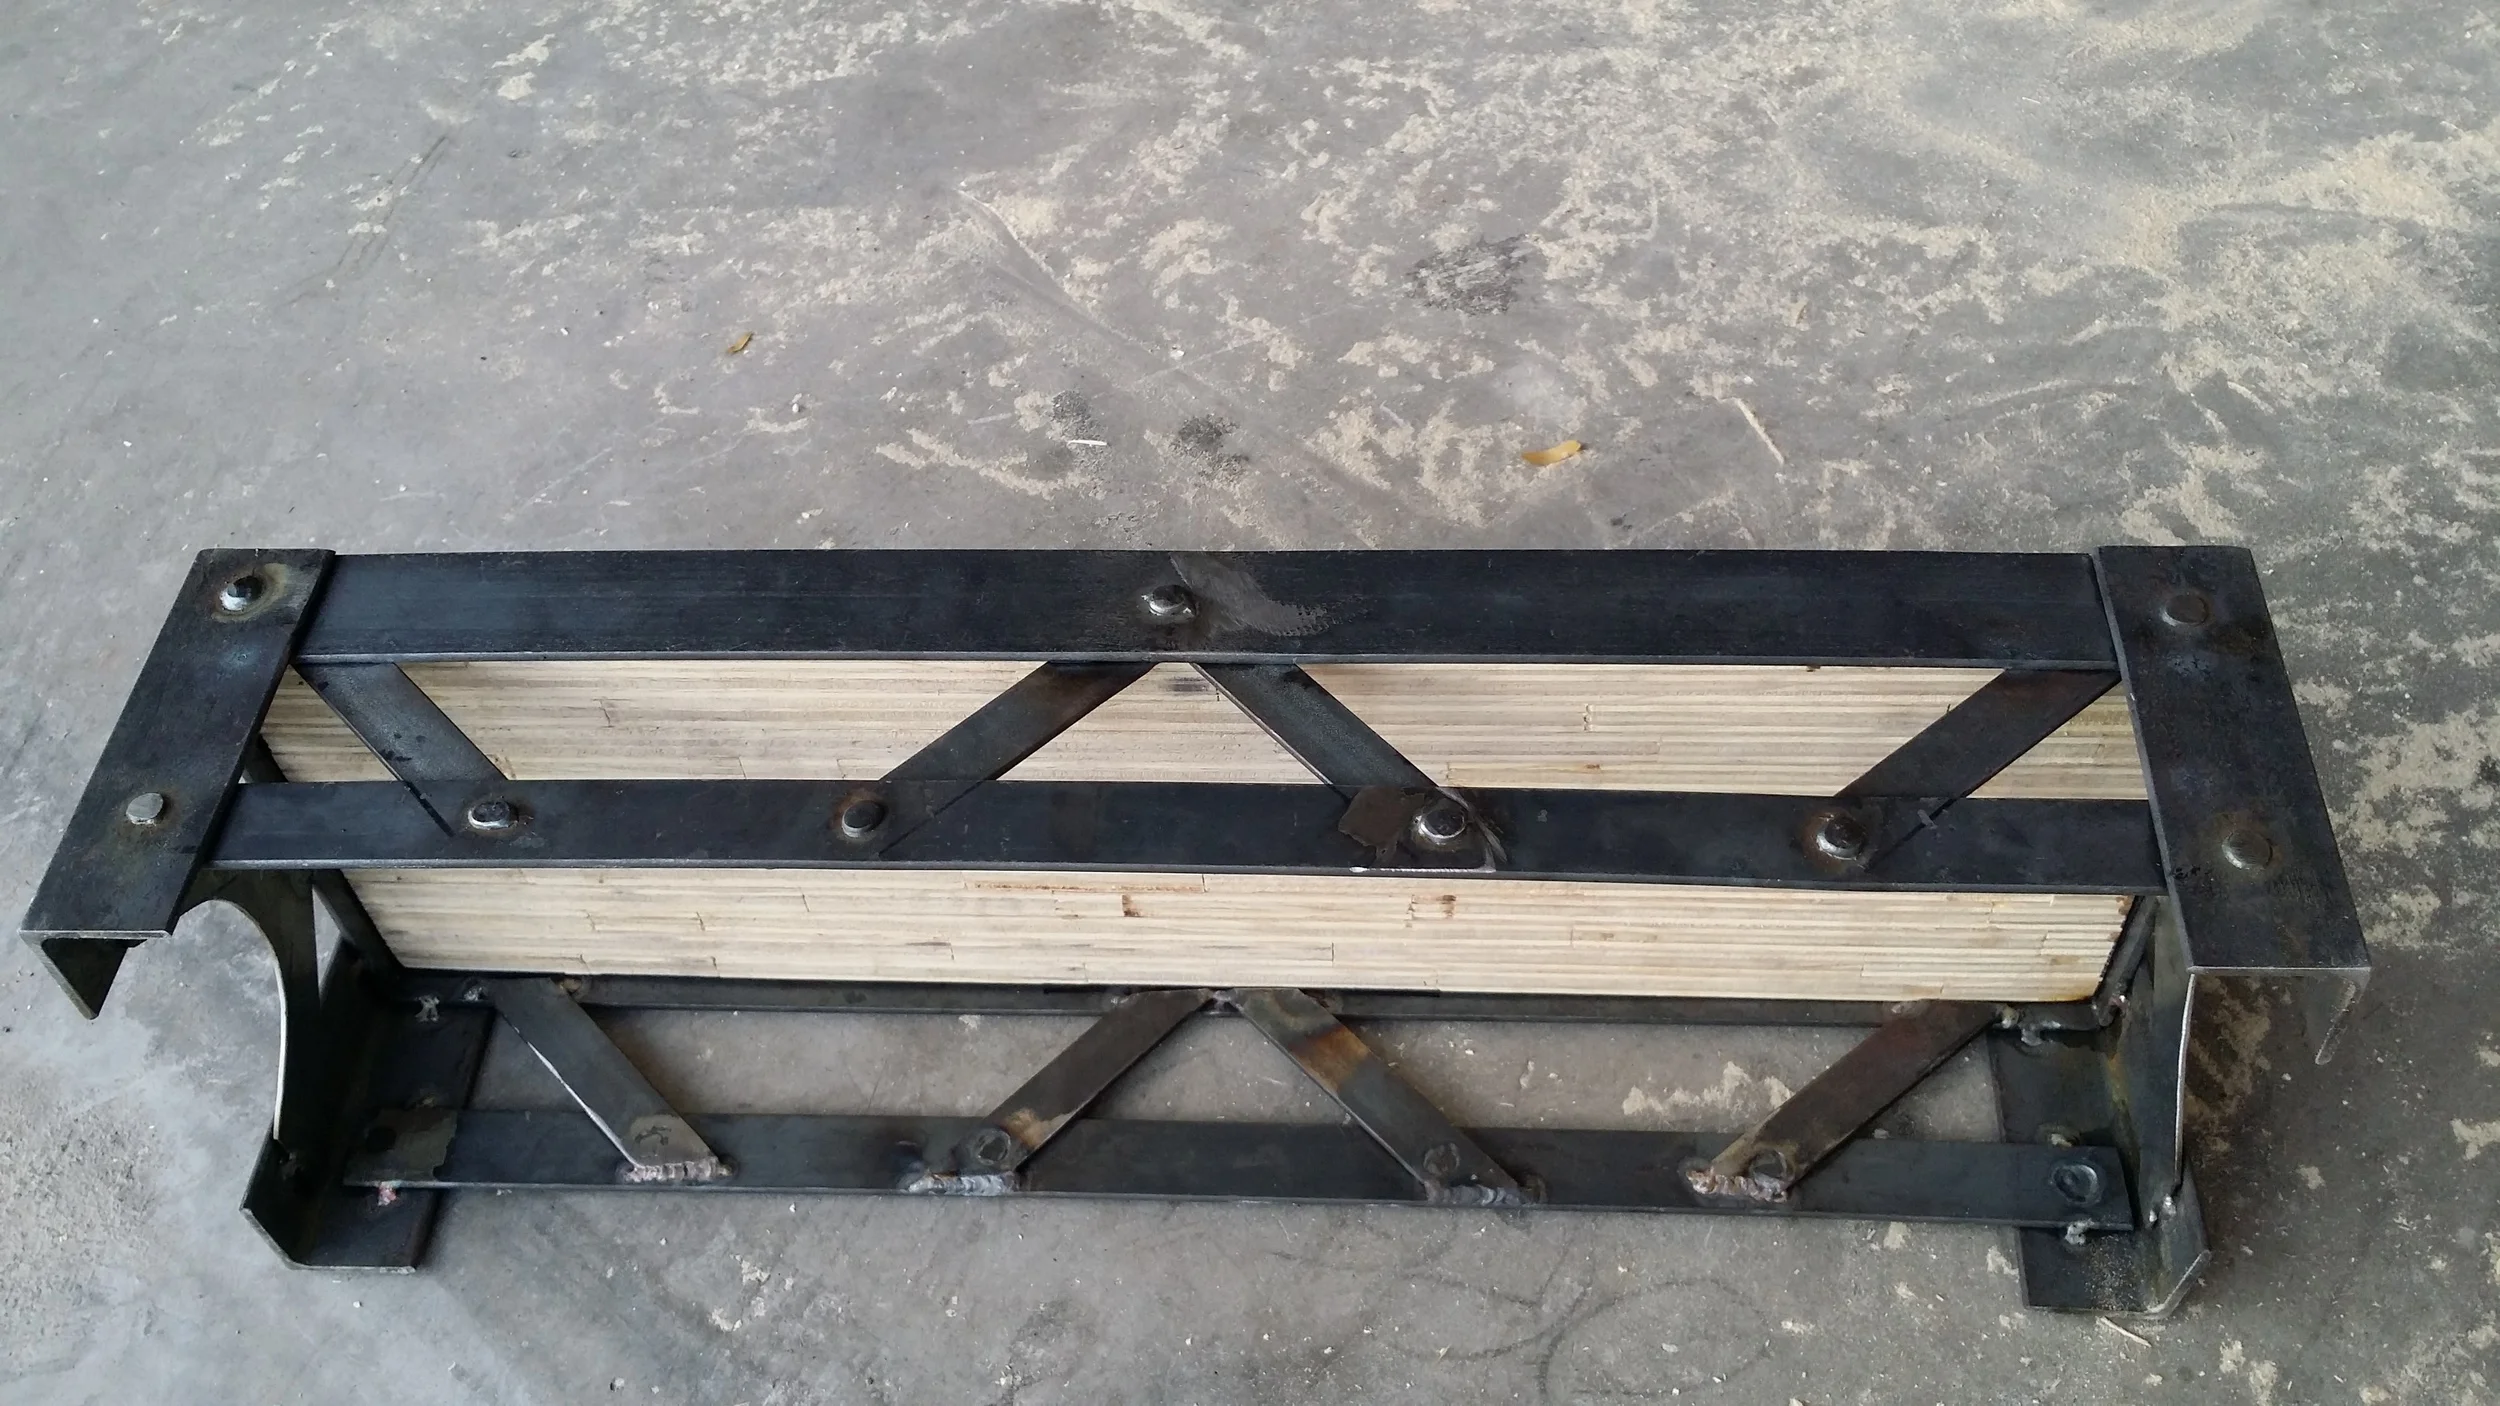
Designing the frame work was done before I even started the board. I knew I wanted a lattice bridge design based similarly to a Warren Truss style bridge with nice archways as the abutments. In fine New York style iron structure, I made sure to add "rivets" to every joint for the authentic look. Finishing the metal work would be nothing more than some clever paint tricks to make it look as if it was painted over more than 100 times. It's rough, it's old looking, and it looks like it will stand there for ever.
With all the cutting, welding, and fit checks complete, it was time to add the look. As is with most Fabricators and pro's, this is a closely guarded secret.


While I wont tell you "how" I execute a particular look and finish, I will kind of explain what I did as best as I can. First comes the sanding and coloring of the wood. There are hundreds of ways to color wood (not stain) and give it an aged feel and texture. It is mostly trial and error using all kinds of household stuff. Literally grab something common around the house that will discolor something else upon contact and see if it gives wood a different color or effect.
Once my distressed and patina look was achieved, I popped the holes in and shot the coating. The coating was another trick I use to give that exact look I want for age. Picture an aged floor that may have missed the stripping and waxing a few times. Aside from the high traffic areas, there should be a bit of a fog from not having any recent buffing work done. Obtaining that finish is another closely guarded secret of mine. It's tricky, and it can completely destroy your piece if you do it wrong. Luckily, I got it right again on this one. Finally - some pegs. You sure can't play a game without a set of pegs. These were nothing more than cut sheet metal that was looped with a set of pliers. It couldn't be simpler.
