
Tube notching, coping, saddling, fitting, and a dozen other terms, are often used to describe a series of cuts to make one tube mate up to another tube without the gap. While there are a dozen terms, there are only a few methods to actually perform the job.
There are a handful of tools offered by manufacturers that claim to make notching easier or more efficient. While there are some fantastic simple (and complicated) tools to do the job, they all lack on one department: setup.
Setting up for a notch is is the majority of the battle. The tube notching tool might reduce cut time in one way or another during the actual notching process, but how long does it take to line it up, set the tooling up, set the correct angle, make the cut, then clean up? That is the section where most machines will fail. Setting up is the biggest killer of notch time.
In the video above, a very simple method is used to cut and notch tubes completely by hand. The beauty of hand notching is the skill itself. Hand notching does require a little bit of finesse, but the more you practice, the better and faster you will become.
Base Line
The base line is completely optional. You will notice in the video that the base line was only identified once. While the base line is not commonly used on perpendicular, or simple angle notching. Quite often you will find a base line in use on more complicated or multi-angle notches.
Face Line
The face line is a reference line used for placement in the saw. It is a line you use to identify a certain position, placement, or reference to another line. The face line often represents the center section of the notch, or, the point where two lines on each side of the notch terminate. It doesn't really matter where the face line is as long as you know what it is, and what it represents.
Throat Line
The throat line is your depth of cut reference. Since both tubes are not always going to be mated perpendicular to each other, the throat line will signify how deep each side of the notch will go in reference to the rule of thumb.
The Rule of Thumb
Let's talk about a few key points in the video. Each notch has a particular measurement. That measurement can easily be found by following the rule of thumb:
1/3rd tube diameter = throat depth.
It doesn't matter what size the tube is, or what wall thickness it is, you will find that only about one-third of the tube will overlap the other at any angle as long as the tubes are the same diameter. This is important to remember when measuring and marking out your throat depth, or throat line.
The only time this rule of thumb does not apply is when one diameter is different.
Multi-Angle and Multi-Plane Notching
One particular instance of notching that wasn't referenced in the video is a Multi-Notch. Imagine one two tubes are mated on a 2D plane (flat) and you are looking straight down on them as they form a T at 45 degrees in any direction. Now weld in a radius termination (bend ending at the weld - see picture) to the same point where all 3tubes meet at that intersection. That is an example of Multi-Angle or Multi-Plane notching.
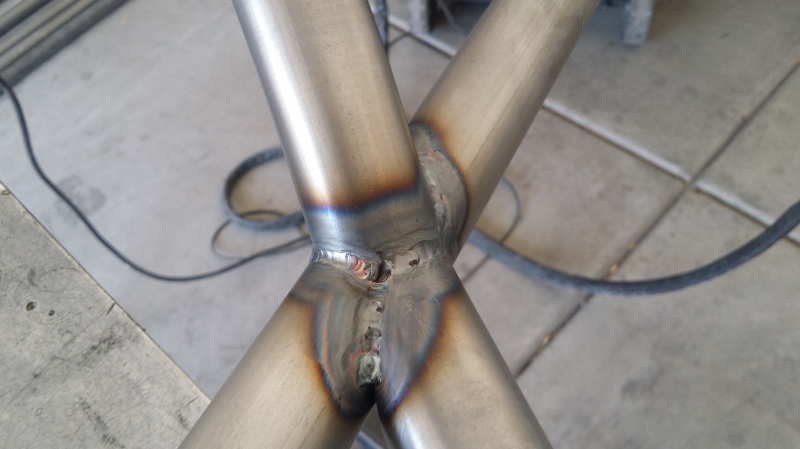
Most tube notching systems can not handle multi-plane notching. Assuming the radius termination in the picture actually fit into the notcher, the third notch is only half of the tube. All of this is possible, but the better solution is to cut a notch by hand. With the simple rules in mind as shown in the video above, any plane, and any angle can be achieved in only a matter of minutes without trying to setup a notcher.
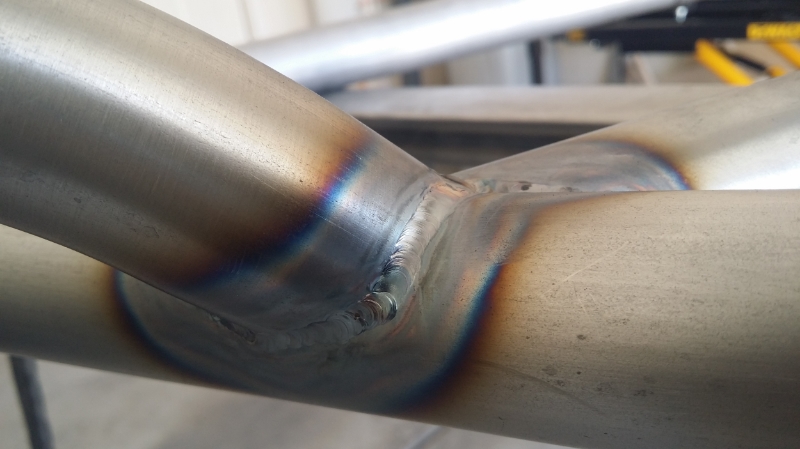
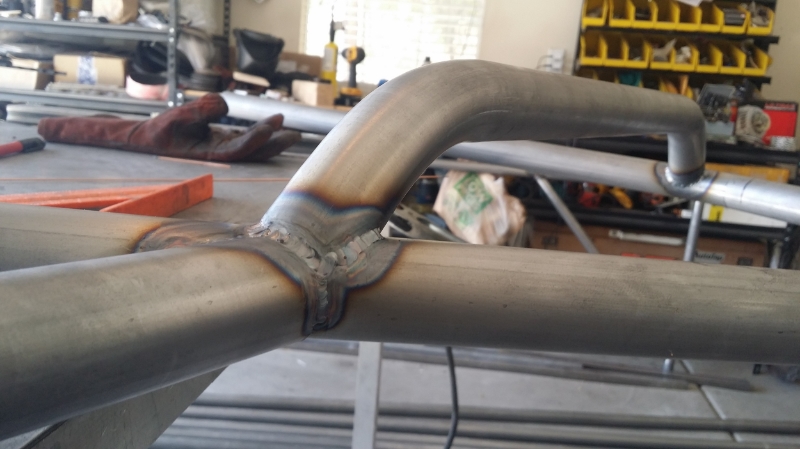
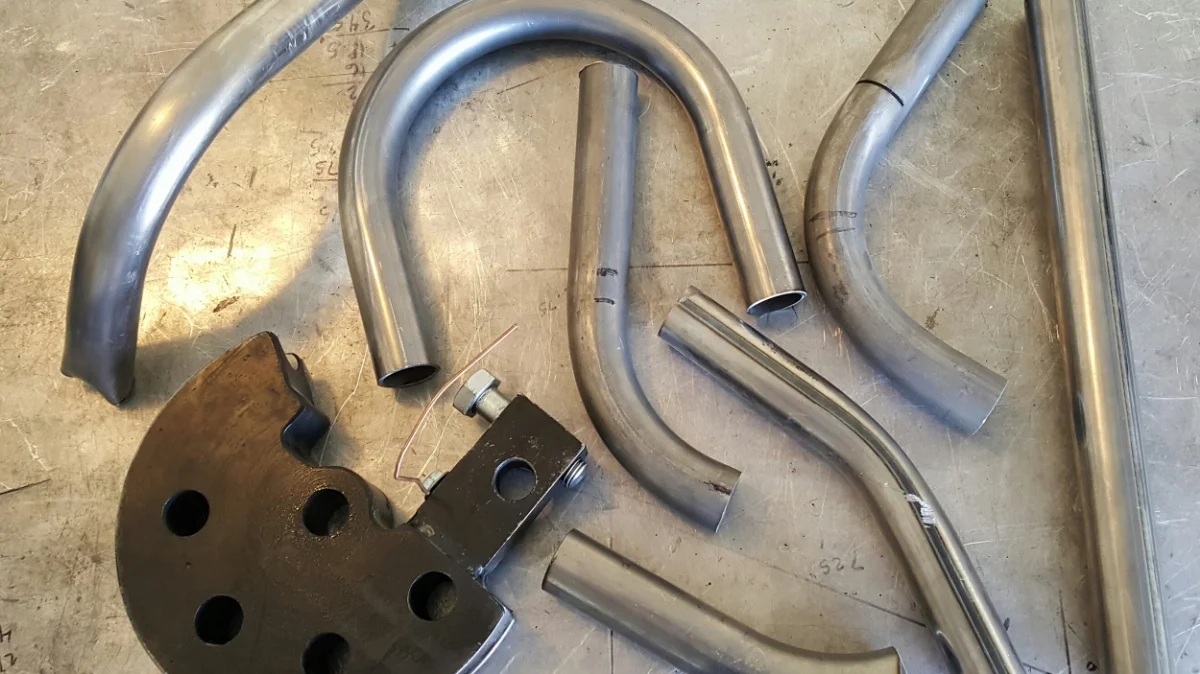
Below are some examples of hand notching of simple and complex angles.


Help fund future episodes of The Fabricator Series with your Donation and receive exclusive SnapChat access! Even the smallest donations go a long way.
Questions? Drop them in the comments below or Email The Fabricator
Likes, Comments, and Shares appreciated by all!


Purge Blocks actually serve more than one purpose. Do you know what they do?