So here we are. The final chapter ready to roll down the road. The battle to build a full cage has been won, and I was able to keep this build going. The Road to SPOCOM is definitely going to be an awesome one with a custom built roll cage with a full interior. Well, now what? All I need to do is install the finished cage and celebrate my victory, right? Nope, I wasn't finished just yet. Something else needed to be added to this build to sweeten it even further than it already is. What could possibly do that? Nothing but completely custom one-off mods for it to completely separate it from anything else will do the trick for this build. Let's take this build and really kick it up a notch.
Let's start with the trunk. Take a look at this pic from Part One.
This was the trunk with only the rear bars of the roll cage coming through. The rear bars are positioned to mount directly above the point where the upper coil spring perches mount to the chassis below. This is an excellent location because the roll cage essentially acts as brace to help maintain a limited amount of chassis flex while increasing overall rigidity. Since the factory 9th Gen Civic SI, or FG4 chassis (as it is coded), does not use a full rear strut assembly, there technically is no "strut tower bar" available for it.
After crawling over the factory chassis and suspension design, I found a point where I could add a functional bolt-on reinforcement bar that serves a similar purpose as a strut bar does. The only difference is it does not mount to the towers of the trunk. Instead, the bar mounts to the rear section of the wheel wells.
While the cage was still out of the car, I got right to work fabricating the trunk bar.
Simply adding a trunk support from one side to the other is almost always enough. Since this build really deserves to be celebrated, I pulled a "Walt Disney" on this bar and said: Plus it. Here is the addition - a chassis tied X brace.
We'll get back the rear brace a little further into this blog. It's much better seeing the reveal.
Next we get to the front brace. I admit, I did a little checking around to see what already exists on the market for FG4 front strut towers. I mainly wanted to make sure my design was not duplicating an existing design. It turned out to be good news for me on this one since there was very little on the market for this chassis, and what does exist does not match anywhere near the capability of my final design.
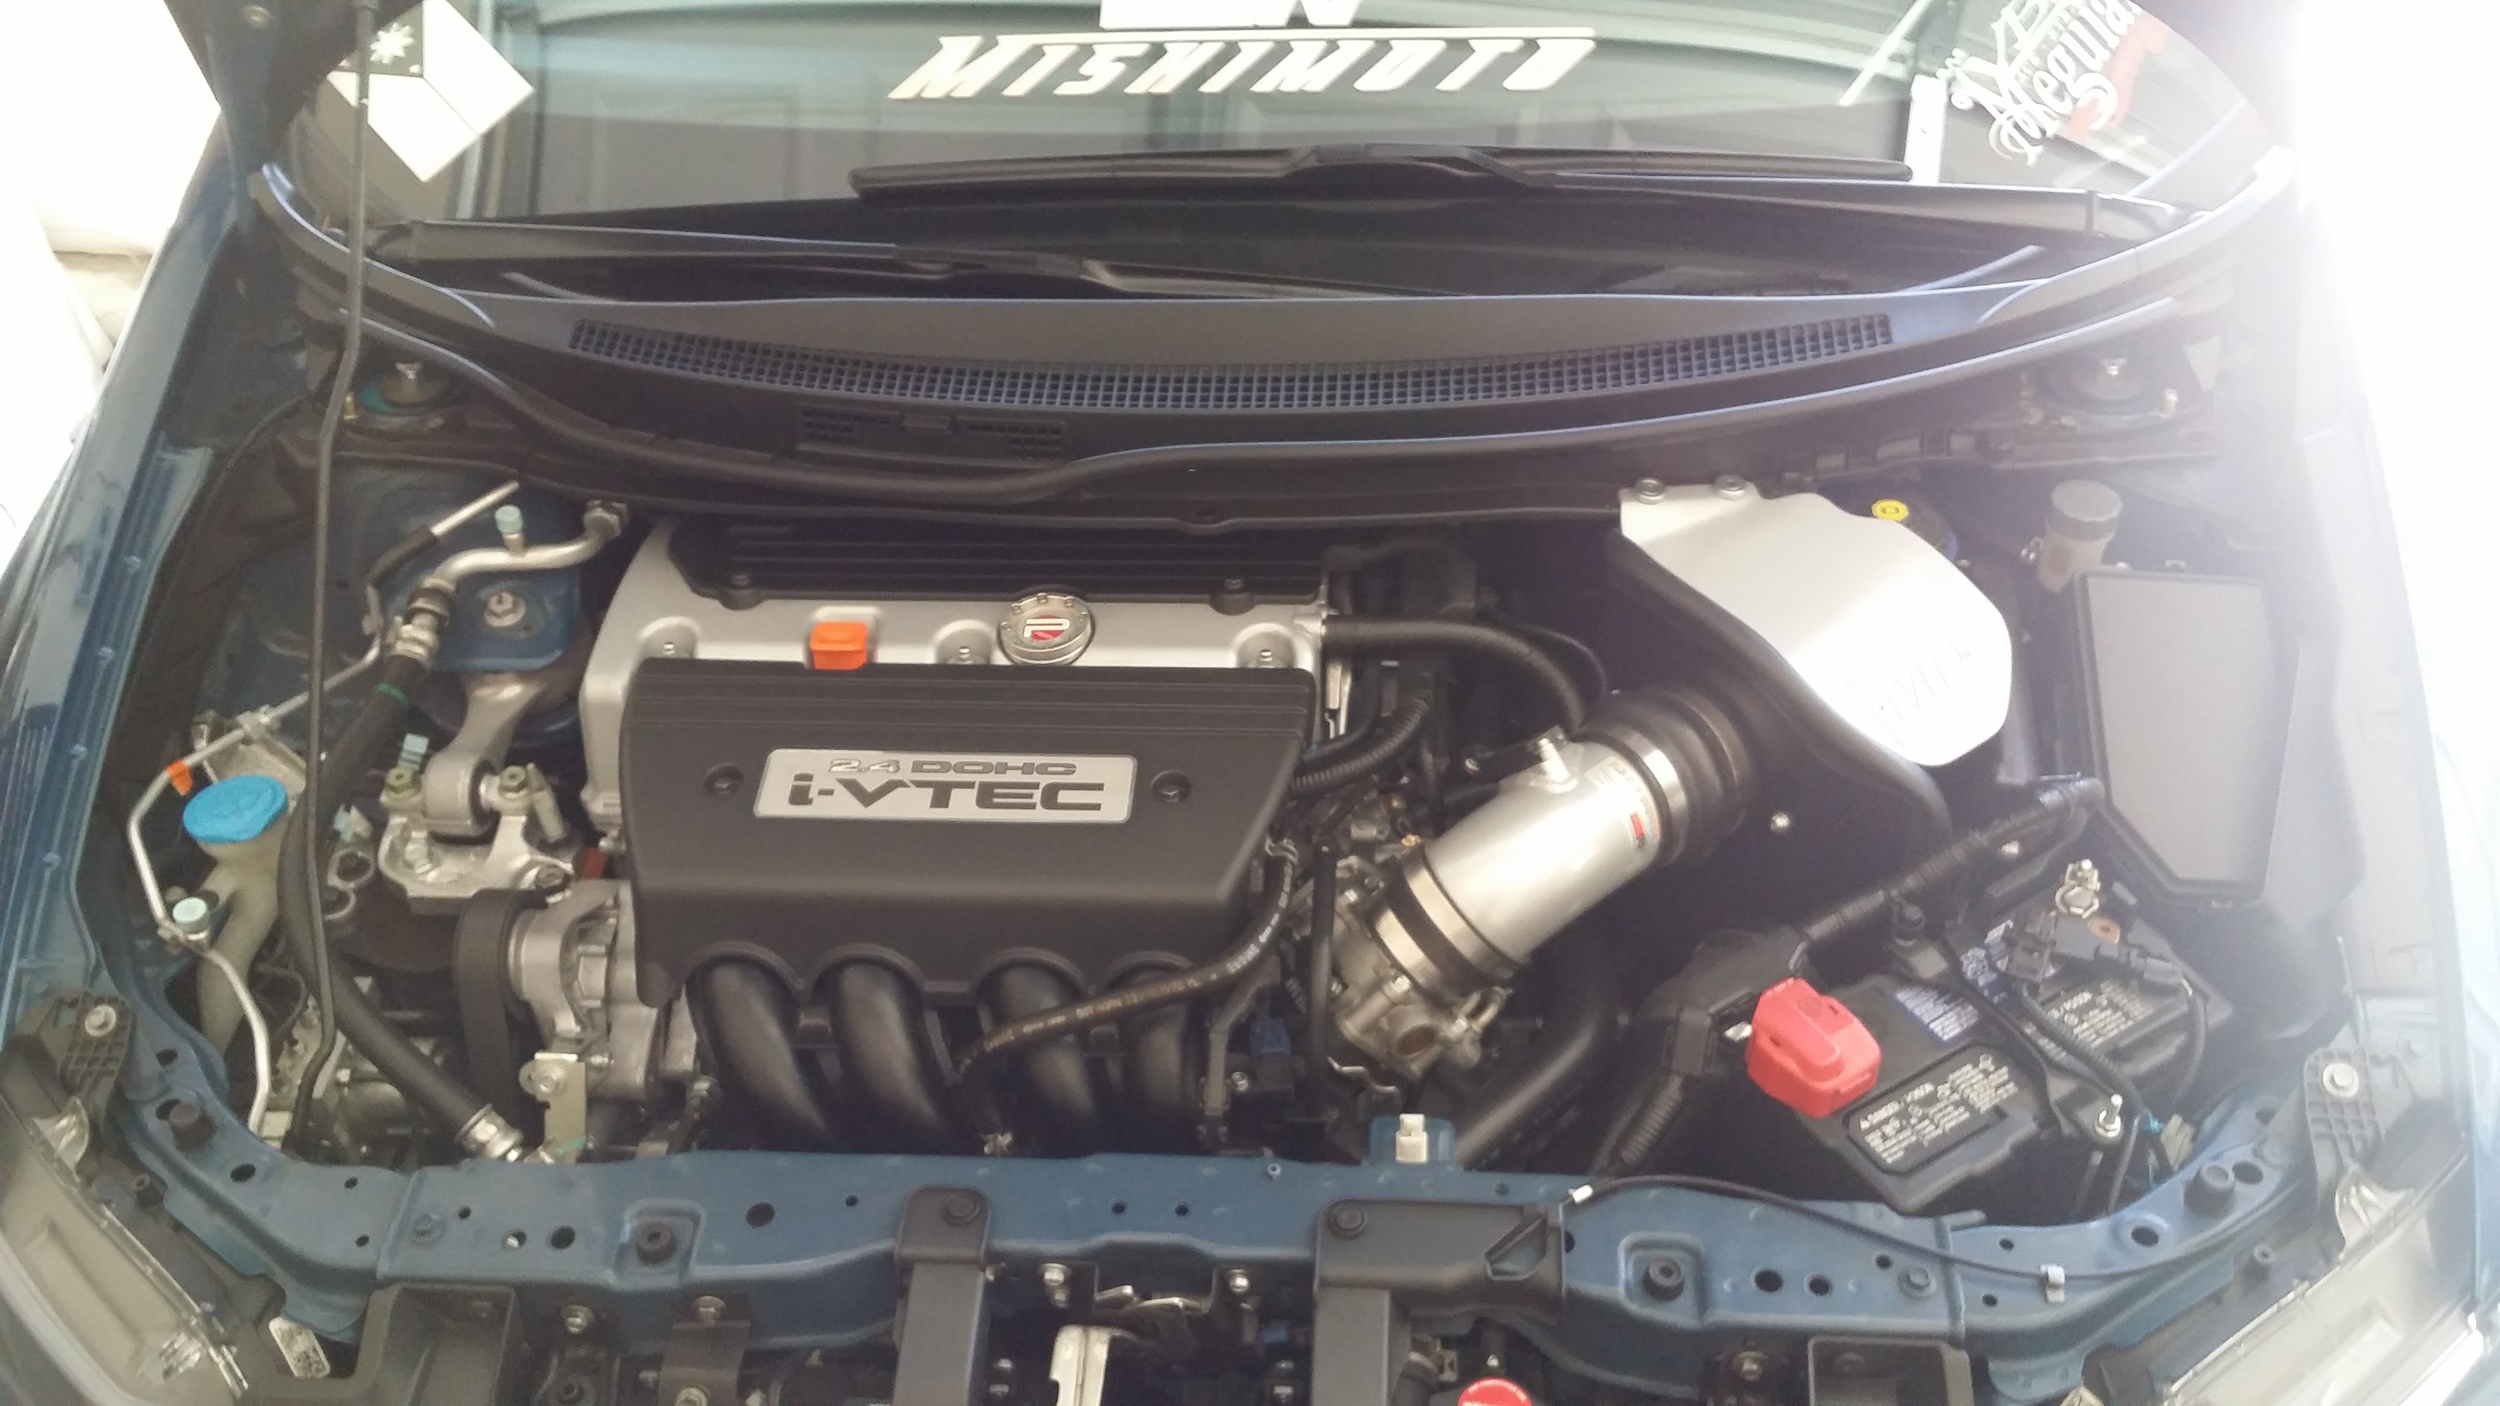


This one was definitely going to be tough to do since there was very limited space to work in, and even less space to mess up. After a few measurements, I started getting the engine torn down to provide the space I needed to work. Once I had the needed space, the tube bending began. Luckily there is just enough space to keep the design very simple but still very functional. I was able to utilize two symmetrically placed existing holes in the core support. They provided the mounting points for the front of the strut bar. As soon as the angles were set and confirmed, the first bars could be added to hold it all in place. Just as the rear had a lattice design between the bars, the front was made to match.
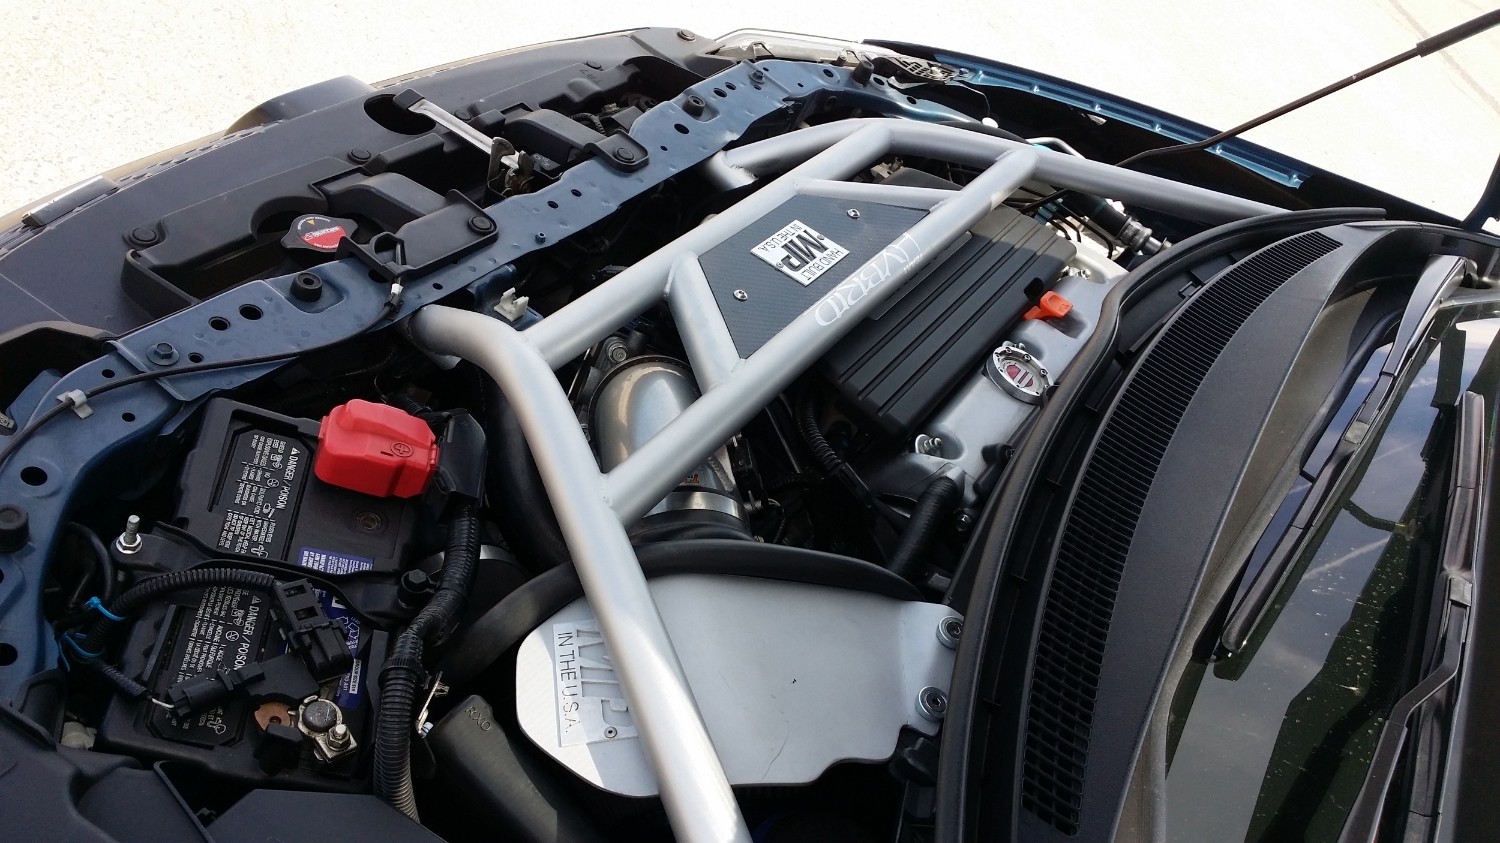
Since the roll cage was color matched to the silver interior accents, the same color scheme was applied to both of the tower bars, but it didn't end there. Just like a keystone must be added to the top of an archway, these bars needed their final piece to finish them off as well.
The exterior of the car is very well dressed with carbon fiber to accent its factory Dyno Blue color. To really make these bars truly match the car and fully stand out, I attached the MP name plate to none other than a sheet of hand laid carbon fiber cut to fit the centers of each bar.
Here comes the best part which is seeing it all together completed, coated, and fitted to the chassis.




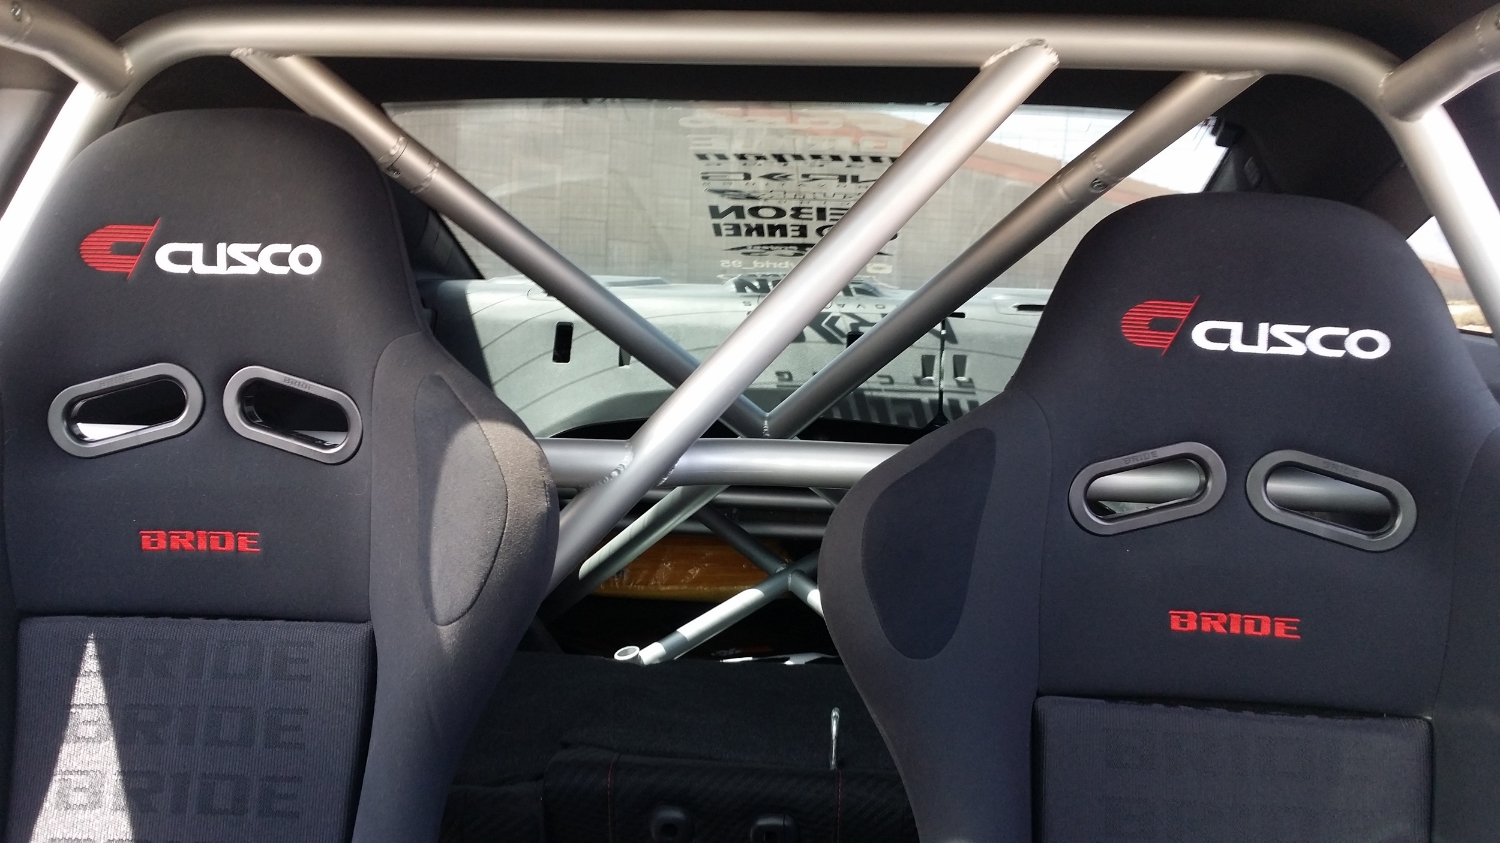
ow just in case all if that still isn't sweet enough, and this build still isn't pushed up a notch, check out the final pics with the roll cage installed. Notice the extremely heavy factory seats have been removed in lieu of a brand new pair of Bride Cusco VIOS III+C seats. These were the absolute best addition to compliment the rest of the build.

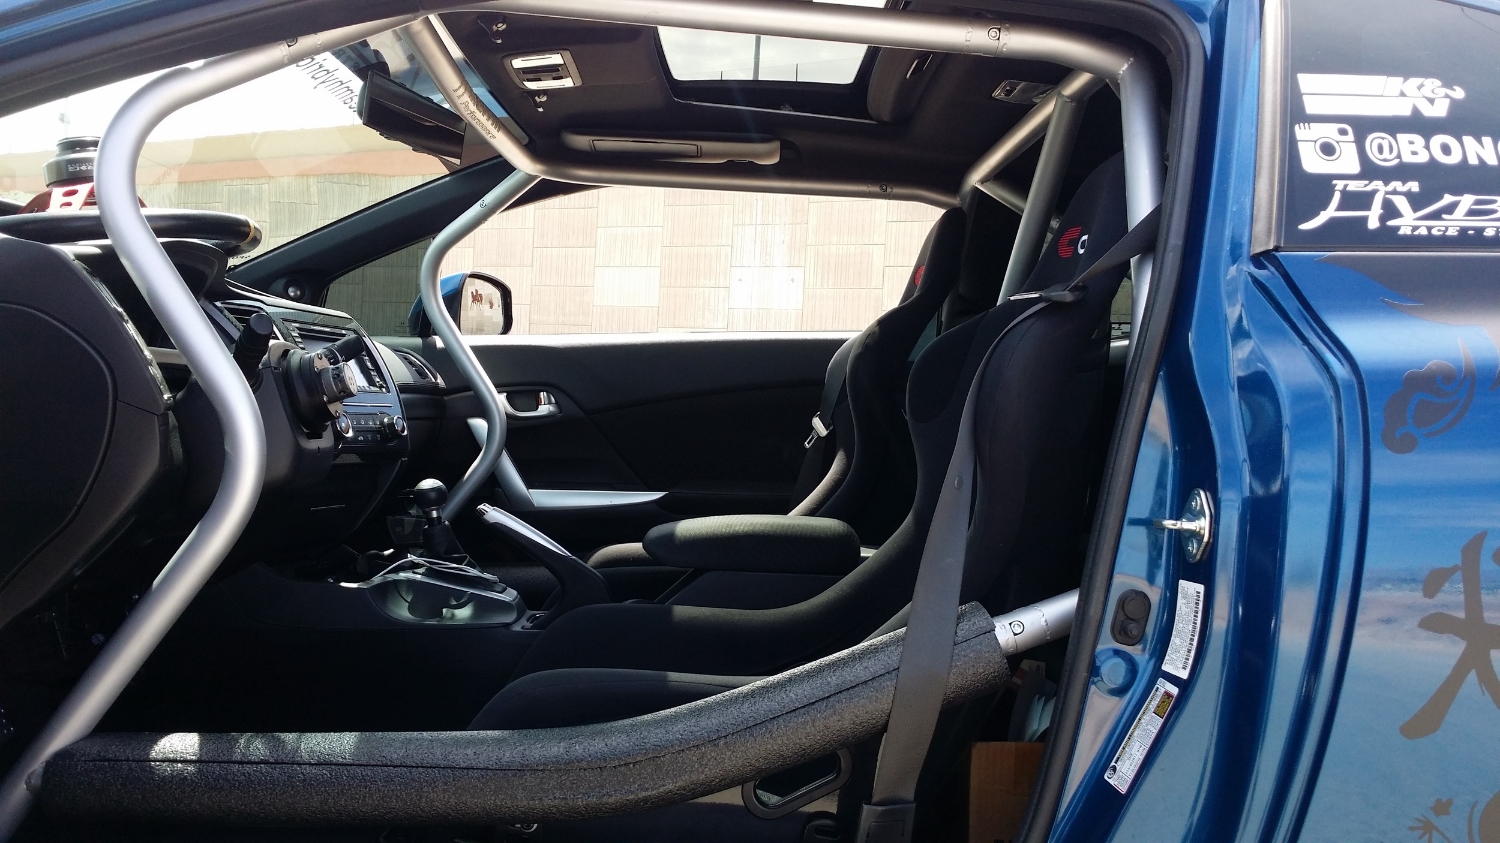

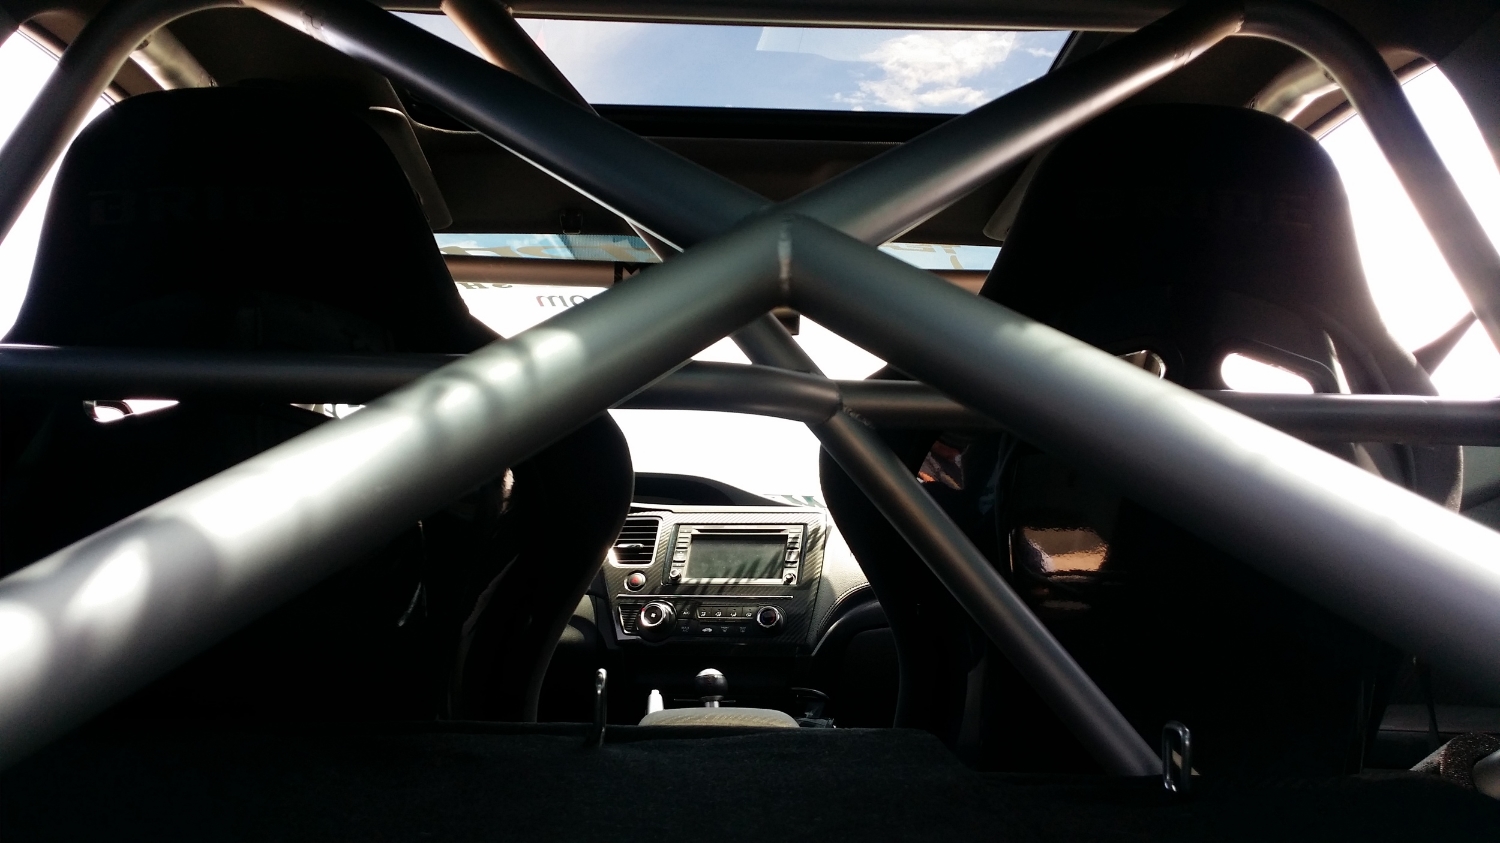



You have seen the craziness of Parts 1 & 2. Now see what was added that has never been seen on this chassis EVER!