Choppers, bobbers, baggers, motorcycles, and straight up custom bikes are ever changing and evolving. Ever since these two wheeled marvels started hitting the pavement, people have been going to great lengths to make them their own. The ultimate freedom machine meets the ultimate expression.
When it comes to building a custom motorcycle, you are often faced with a change of design. Some of the smallest design changes can stack up to create the biggest expense. How can fabrication help reduce some of that expense?
There are thousands of mods that a compitent fabricatior can perform for a fraction of the price of a replacement, or even for a fraction of the price to start over completely. All you need to do is find someone who can tackle the job.
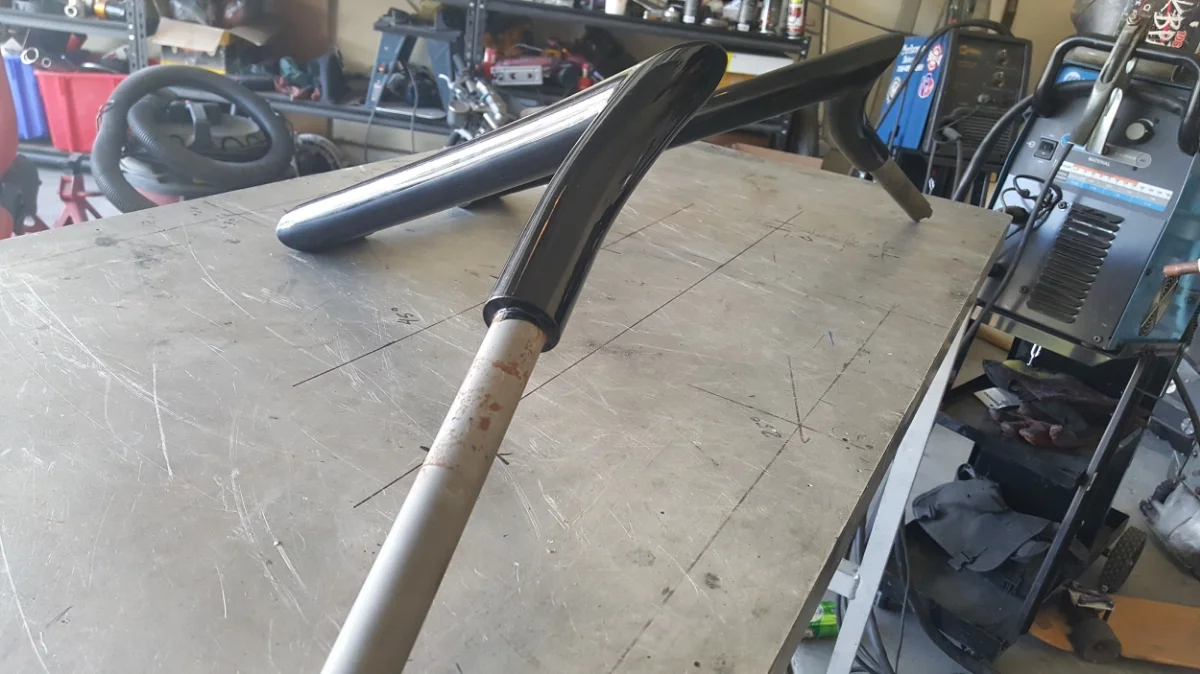
Let's look at a set of 1-1/2" handle bars. With an average retail price of about $350.00, what do you do when the vision in your mind doesn't match the reality you see when they are mounted? Do you cut your loss on the first set of bars and buy another set with the hope that you'll at least get your money back on the first set? Most of us have been there at some point in time during the build stages of our own projects, but thereis another solution: Hire a fabricator.
Here is the request:
Remove the"peak" of the bars while maintaining height and position.

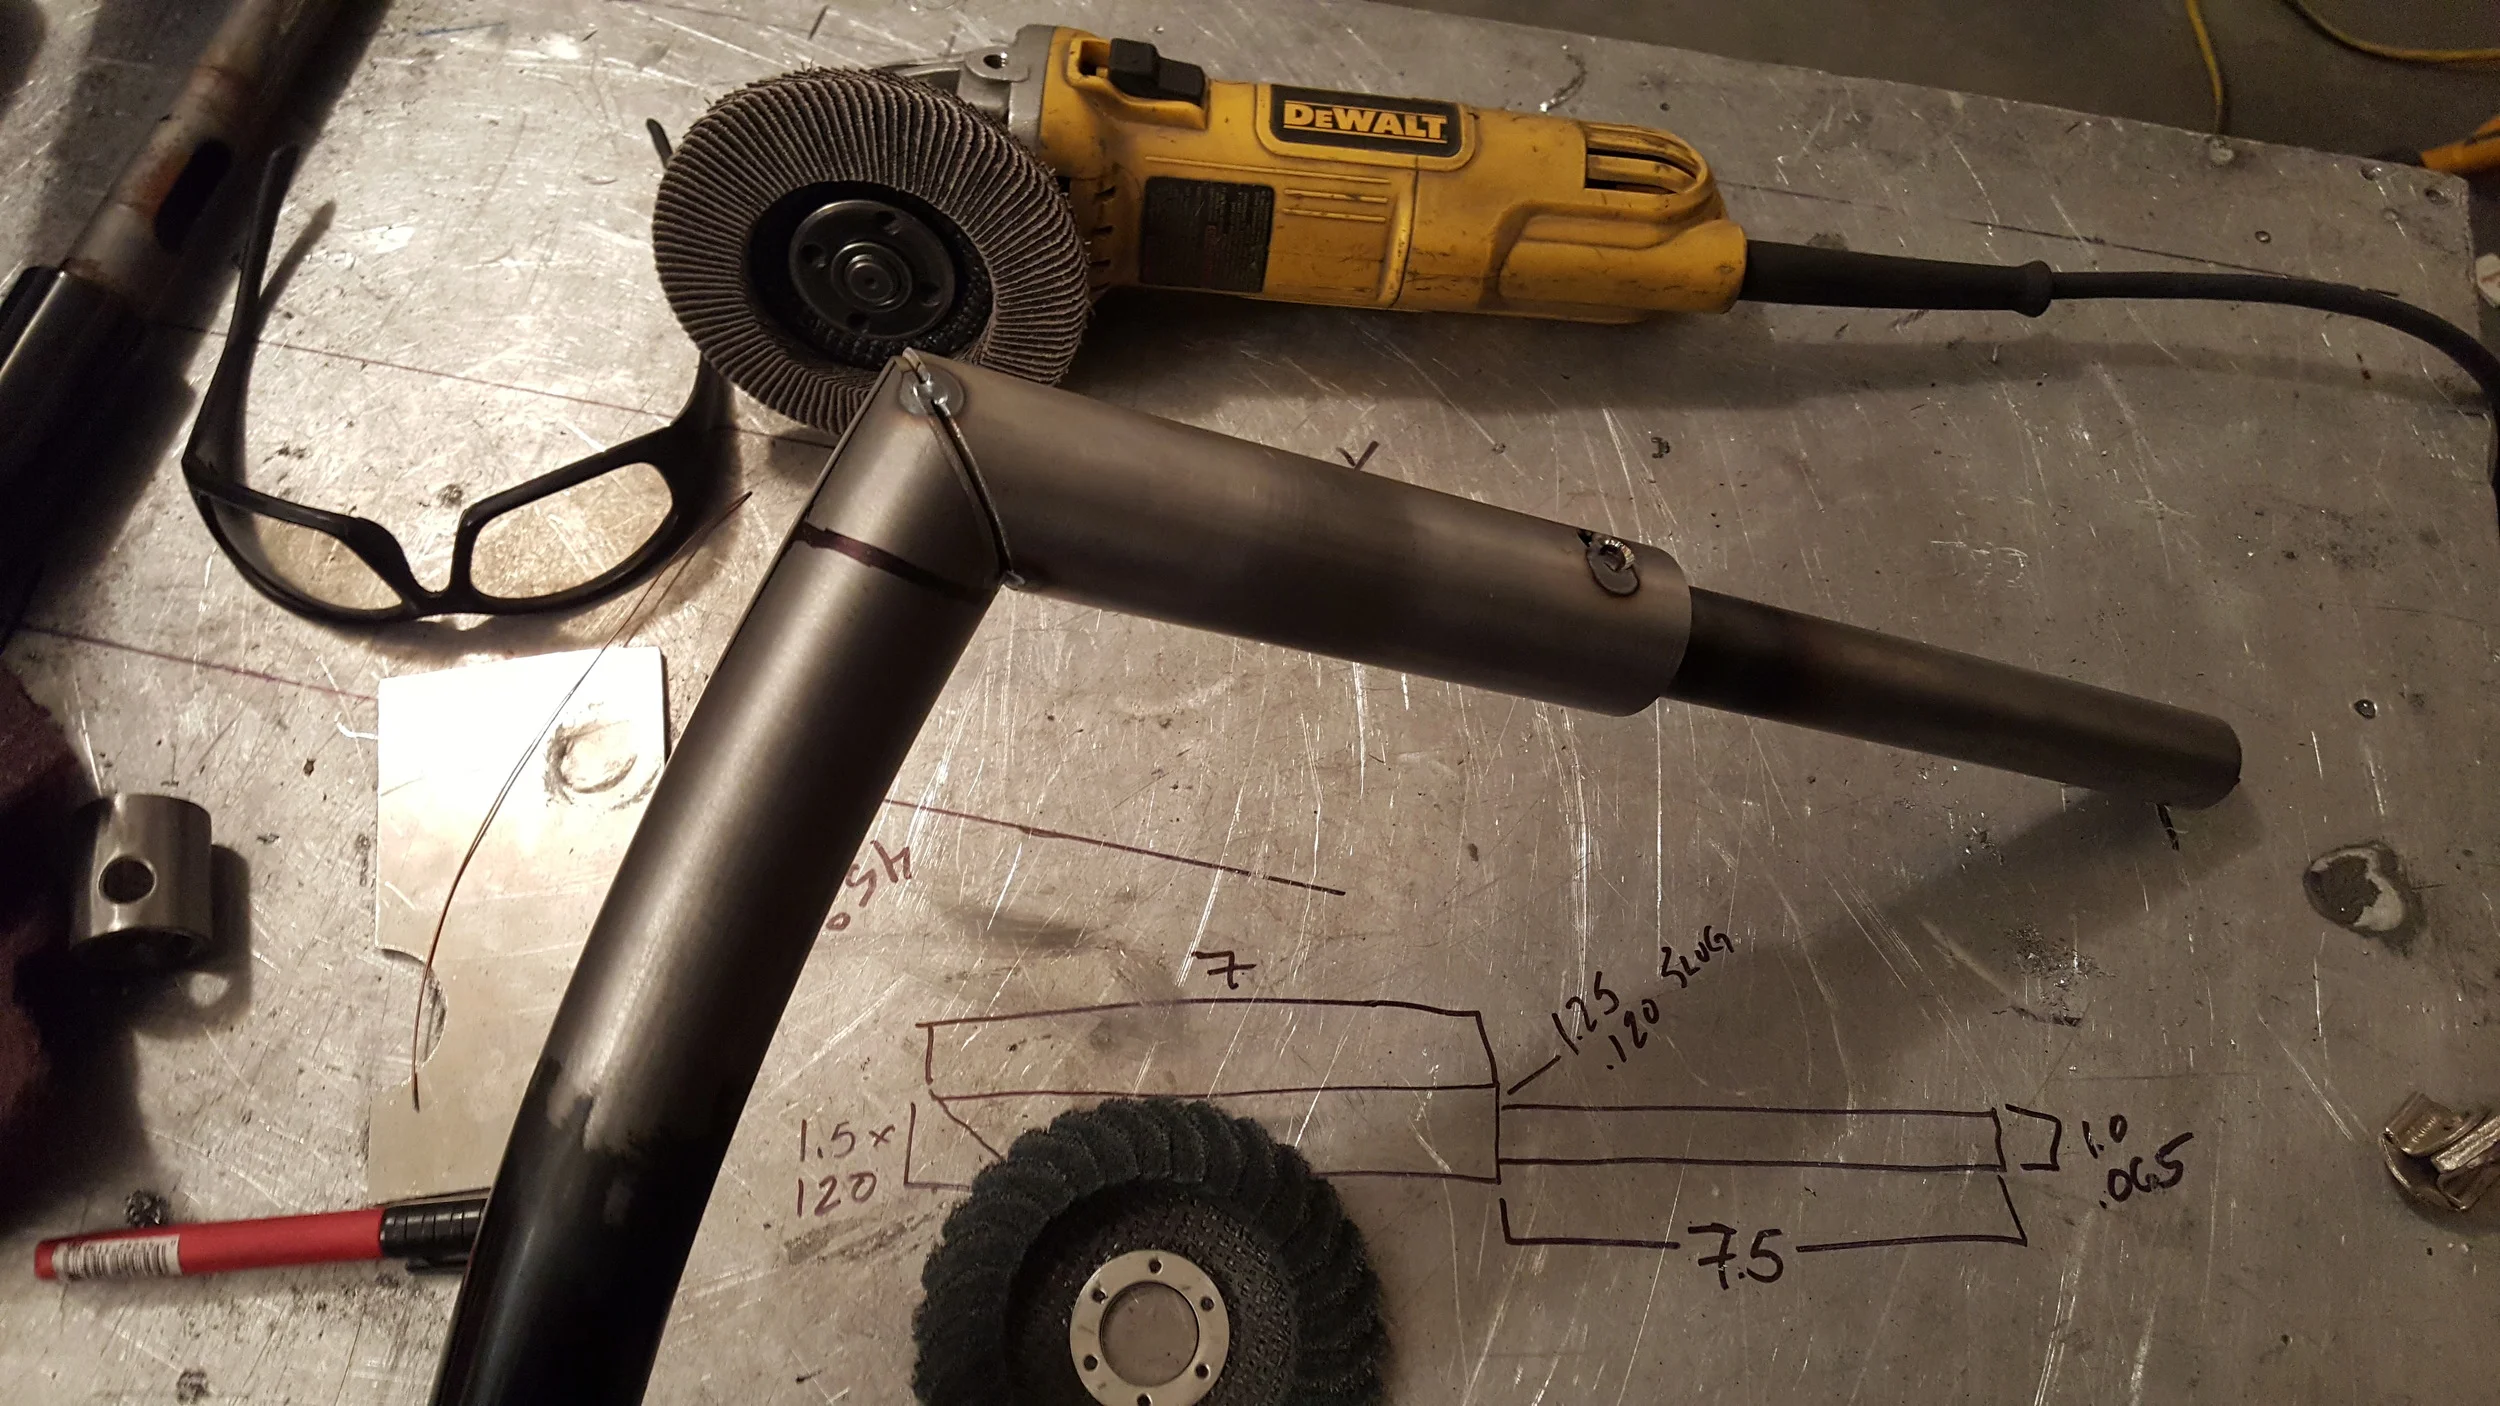
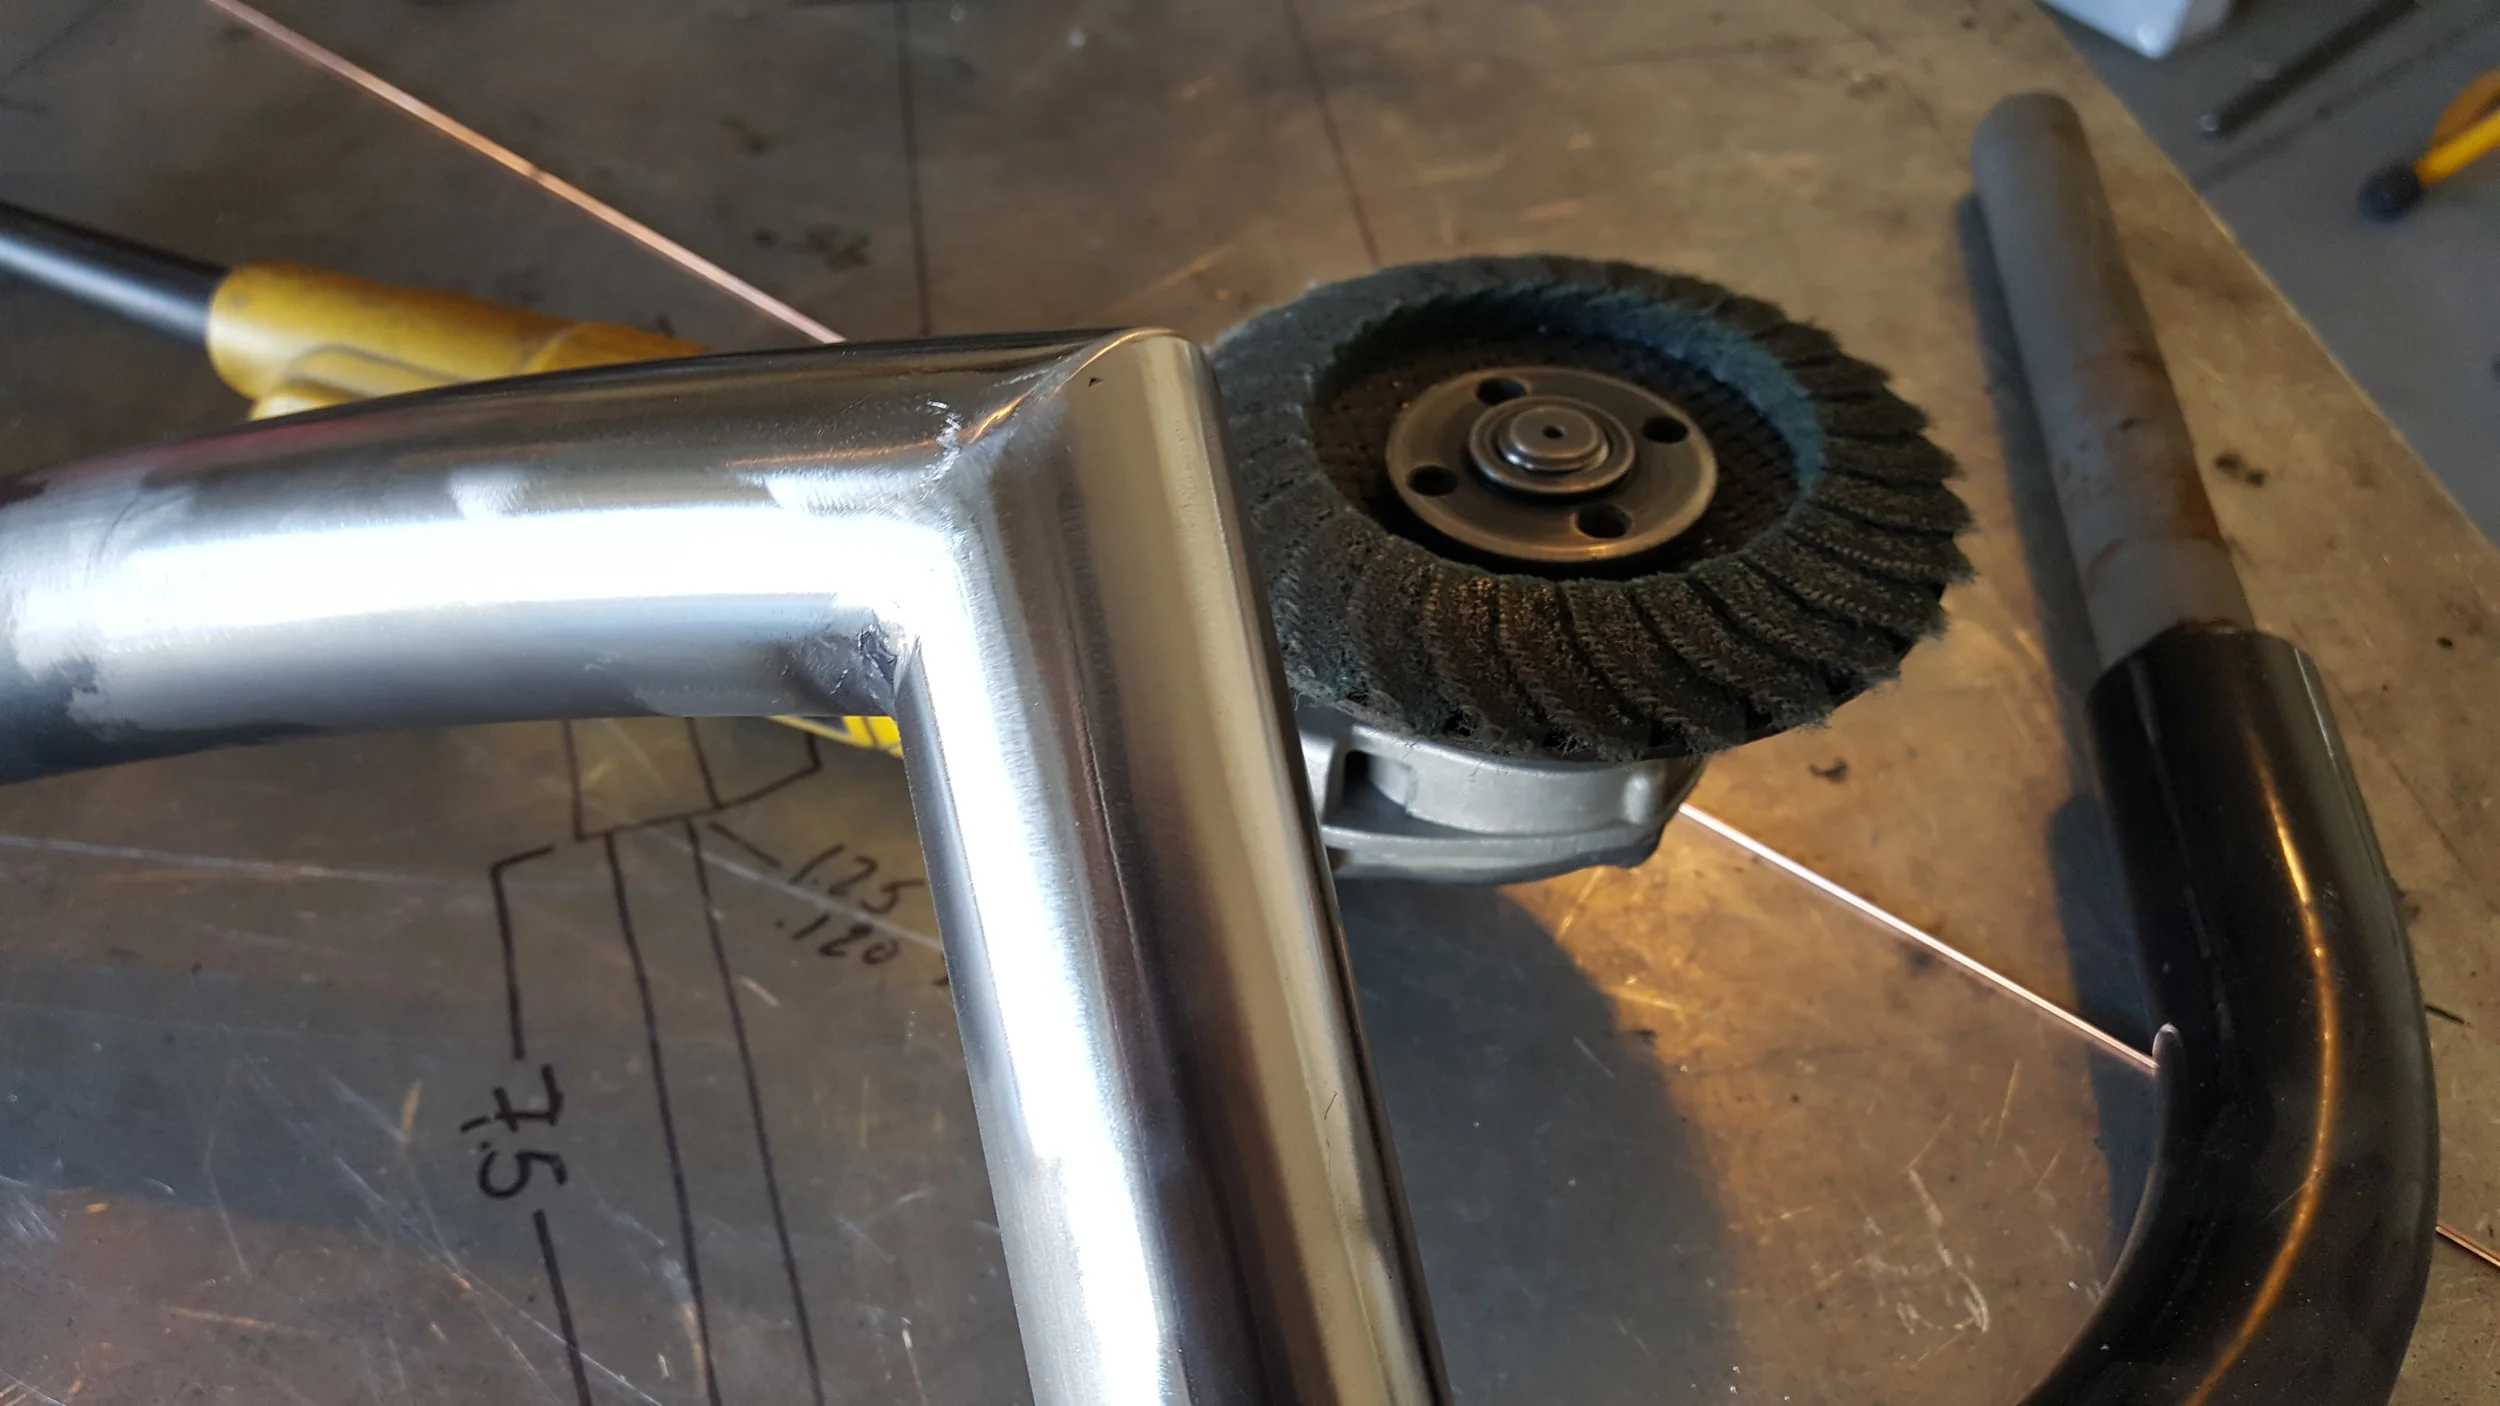
In order to correctly measure and mark the tubes for modification, the powder coat needs to be removed in the area in which the work will be done. This often presents a tricky situation since any significant scarring of the tubes will show through the powder coat on the finished product. Extra special with a high amount of patience must be given to the existing powder coat while stripping it. One of the best methods of removal is a wire wheel on the end of a grinder. While it does take more time to remove the existing powder coat, it does not remove the metal with it.
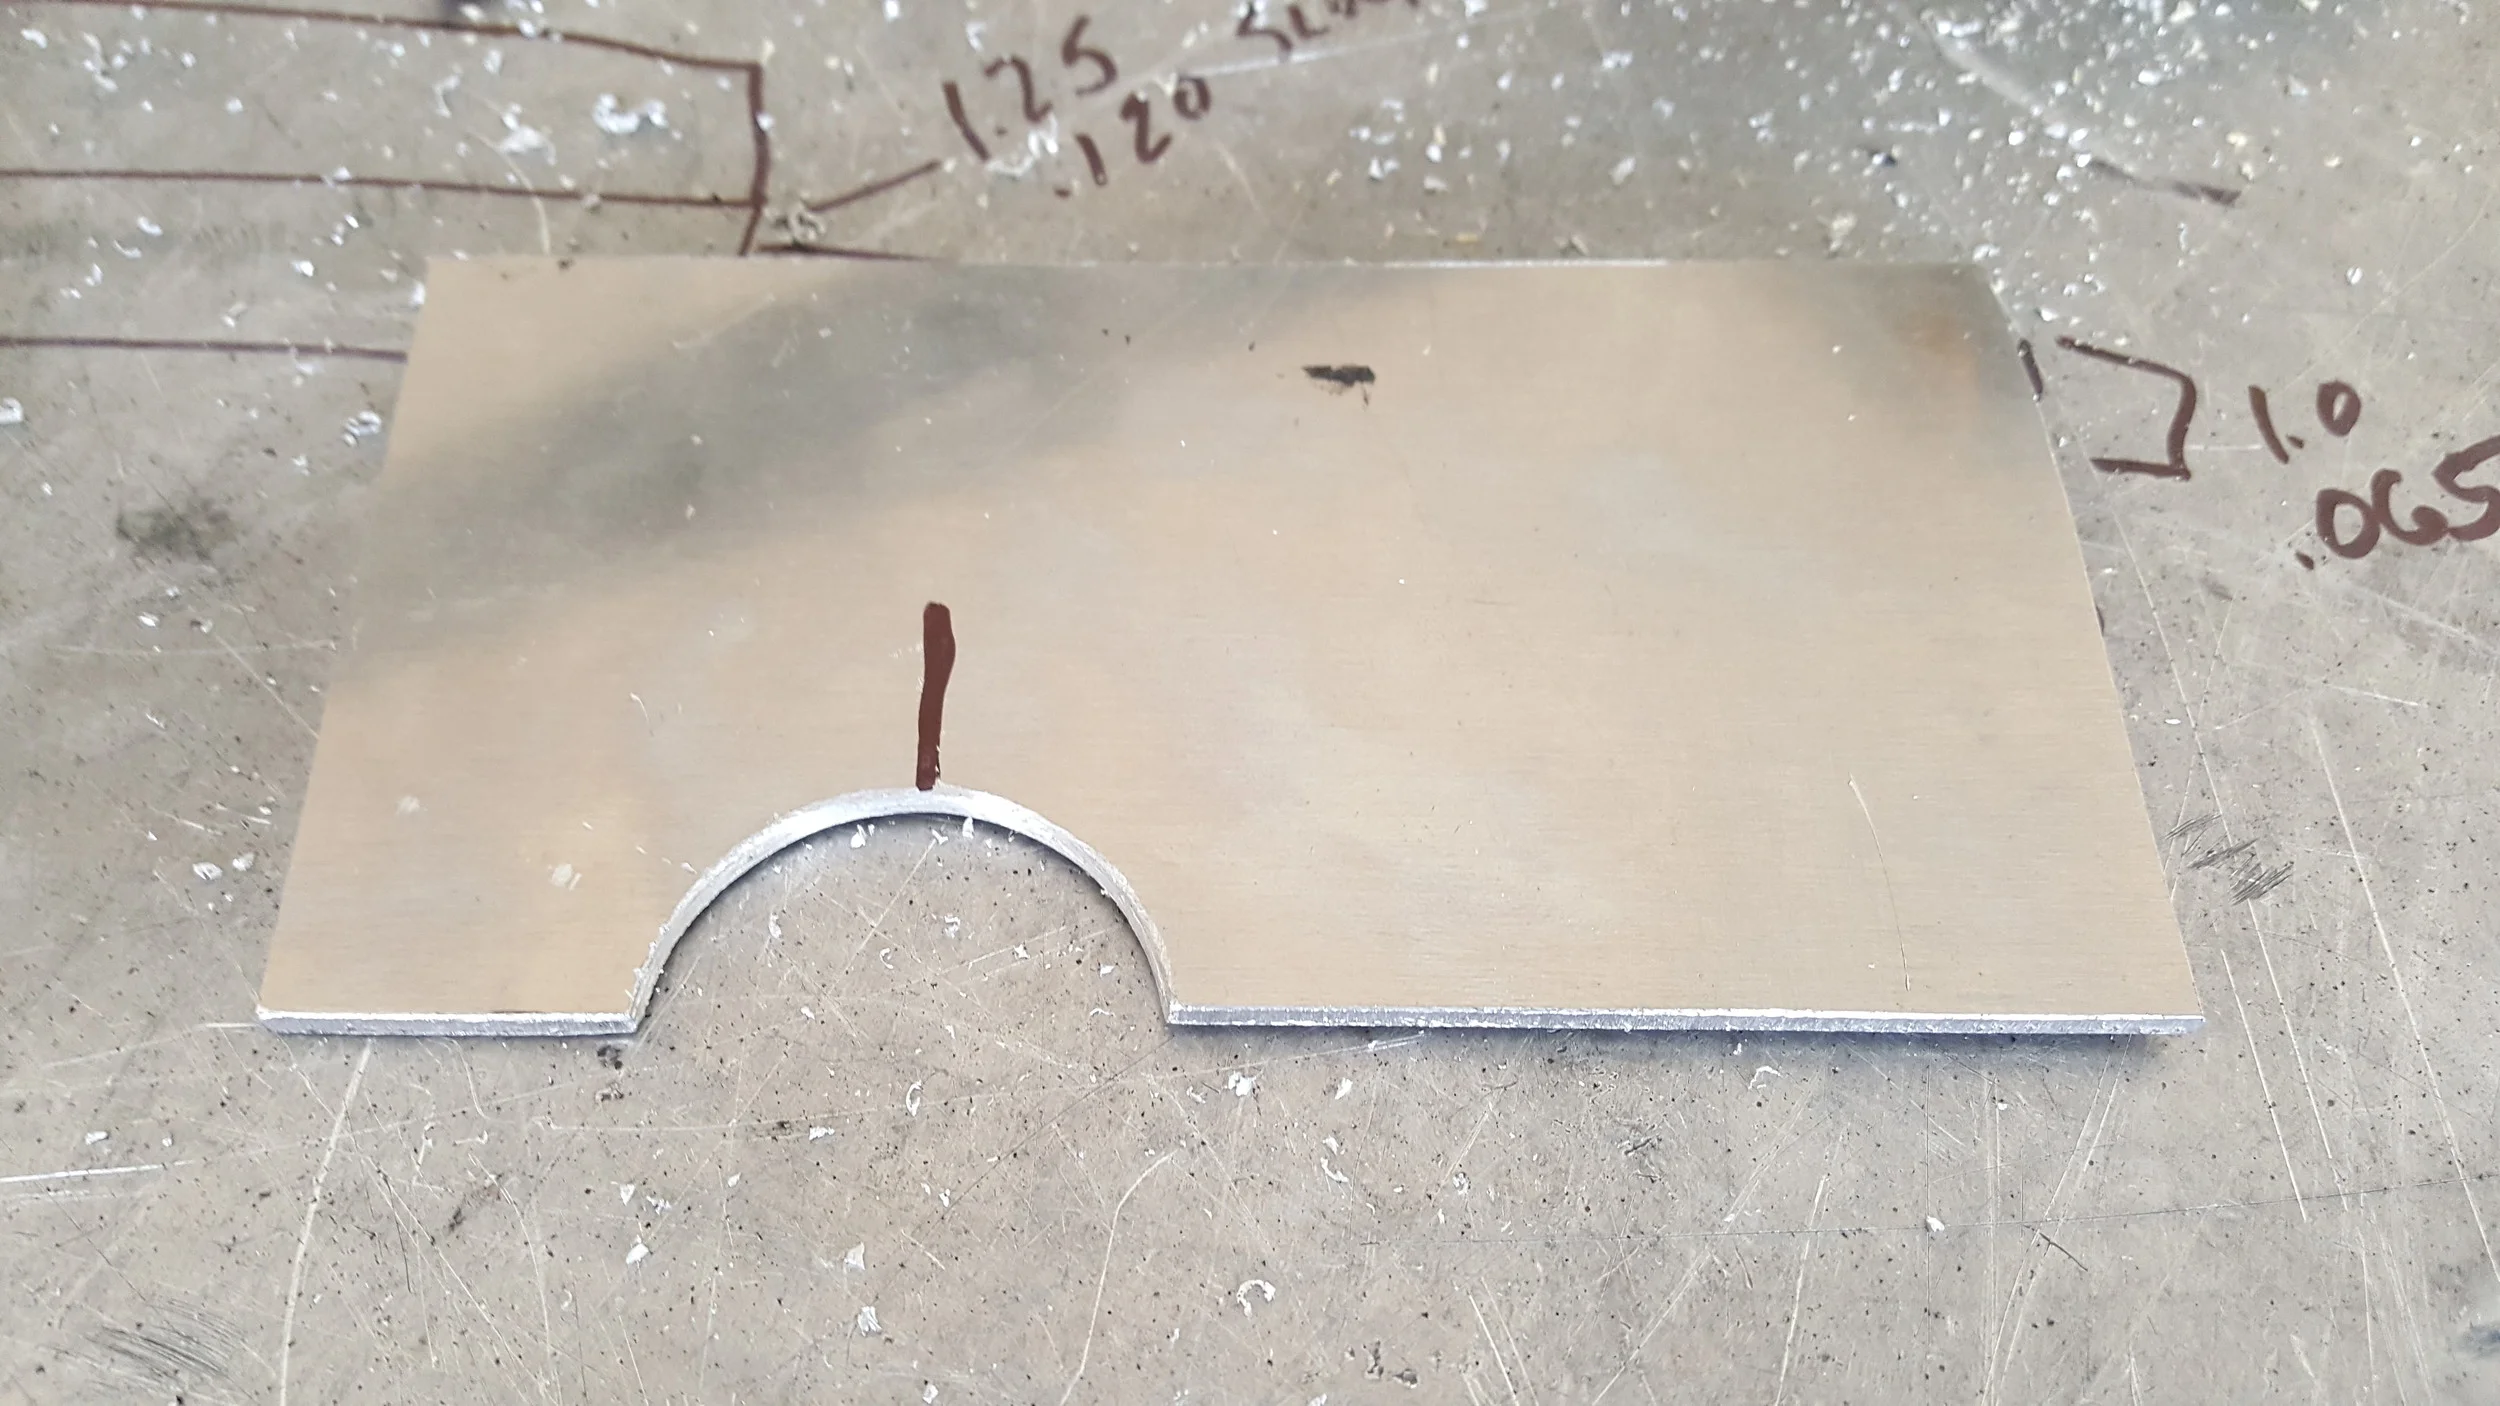
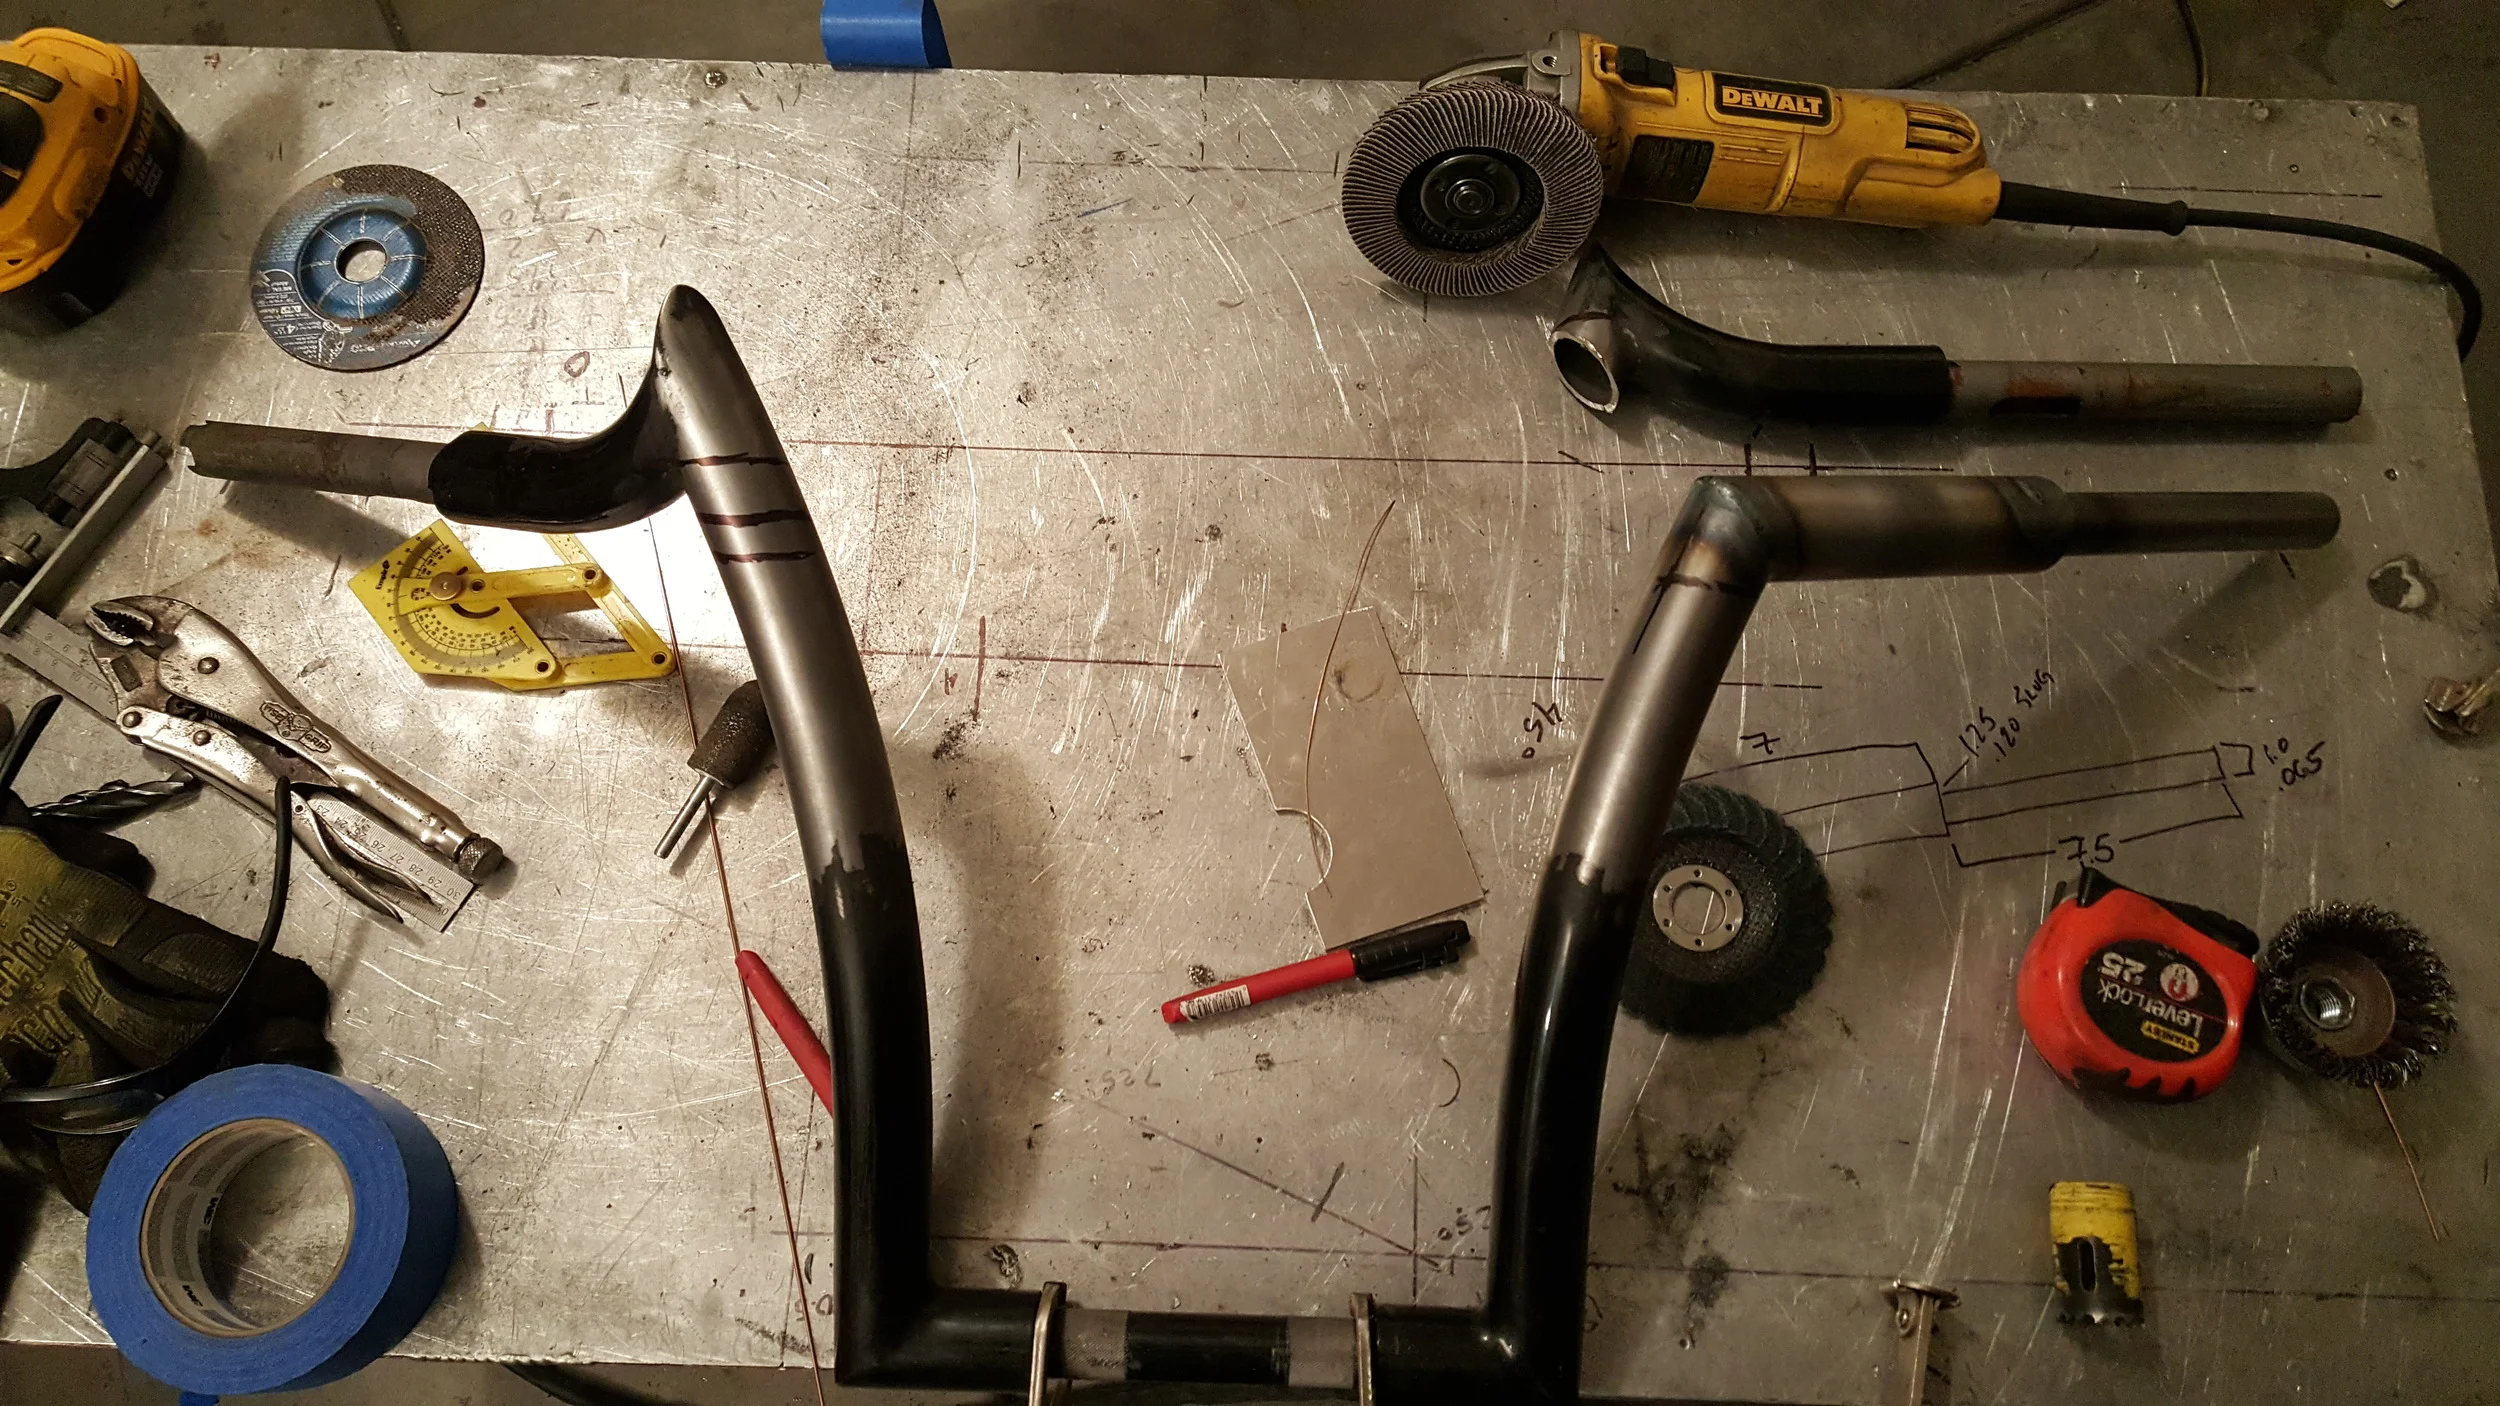
It can be a little tricky to line up a pair of pars to match right back up to where they were before once you have sliced them up and modified them. However, thee is a neat tool you can use to create a straight line reference mark. This is nothing more than a small piece of scrap metal with a semi circle cut into it that matches the diameter of the bars. This allows you to reference the top and bottom of the perpendicular bar where it needs to be cut. A center line reference was also added to identify our point of reference. This helps establish the correct angle.

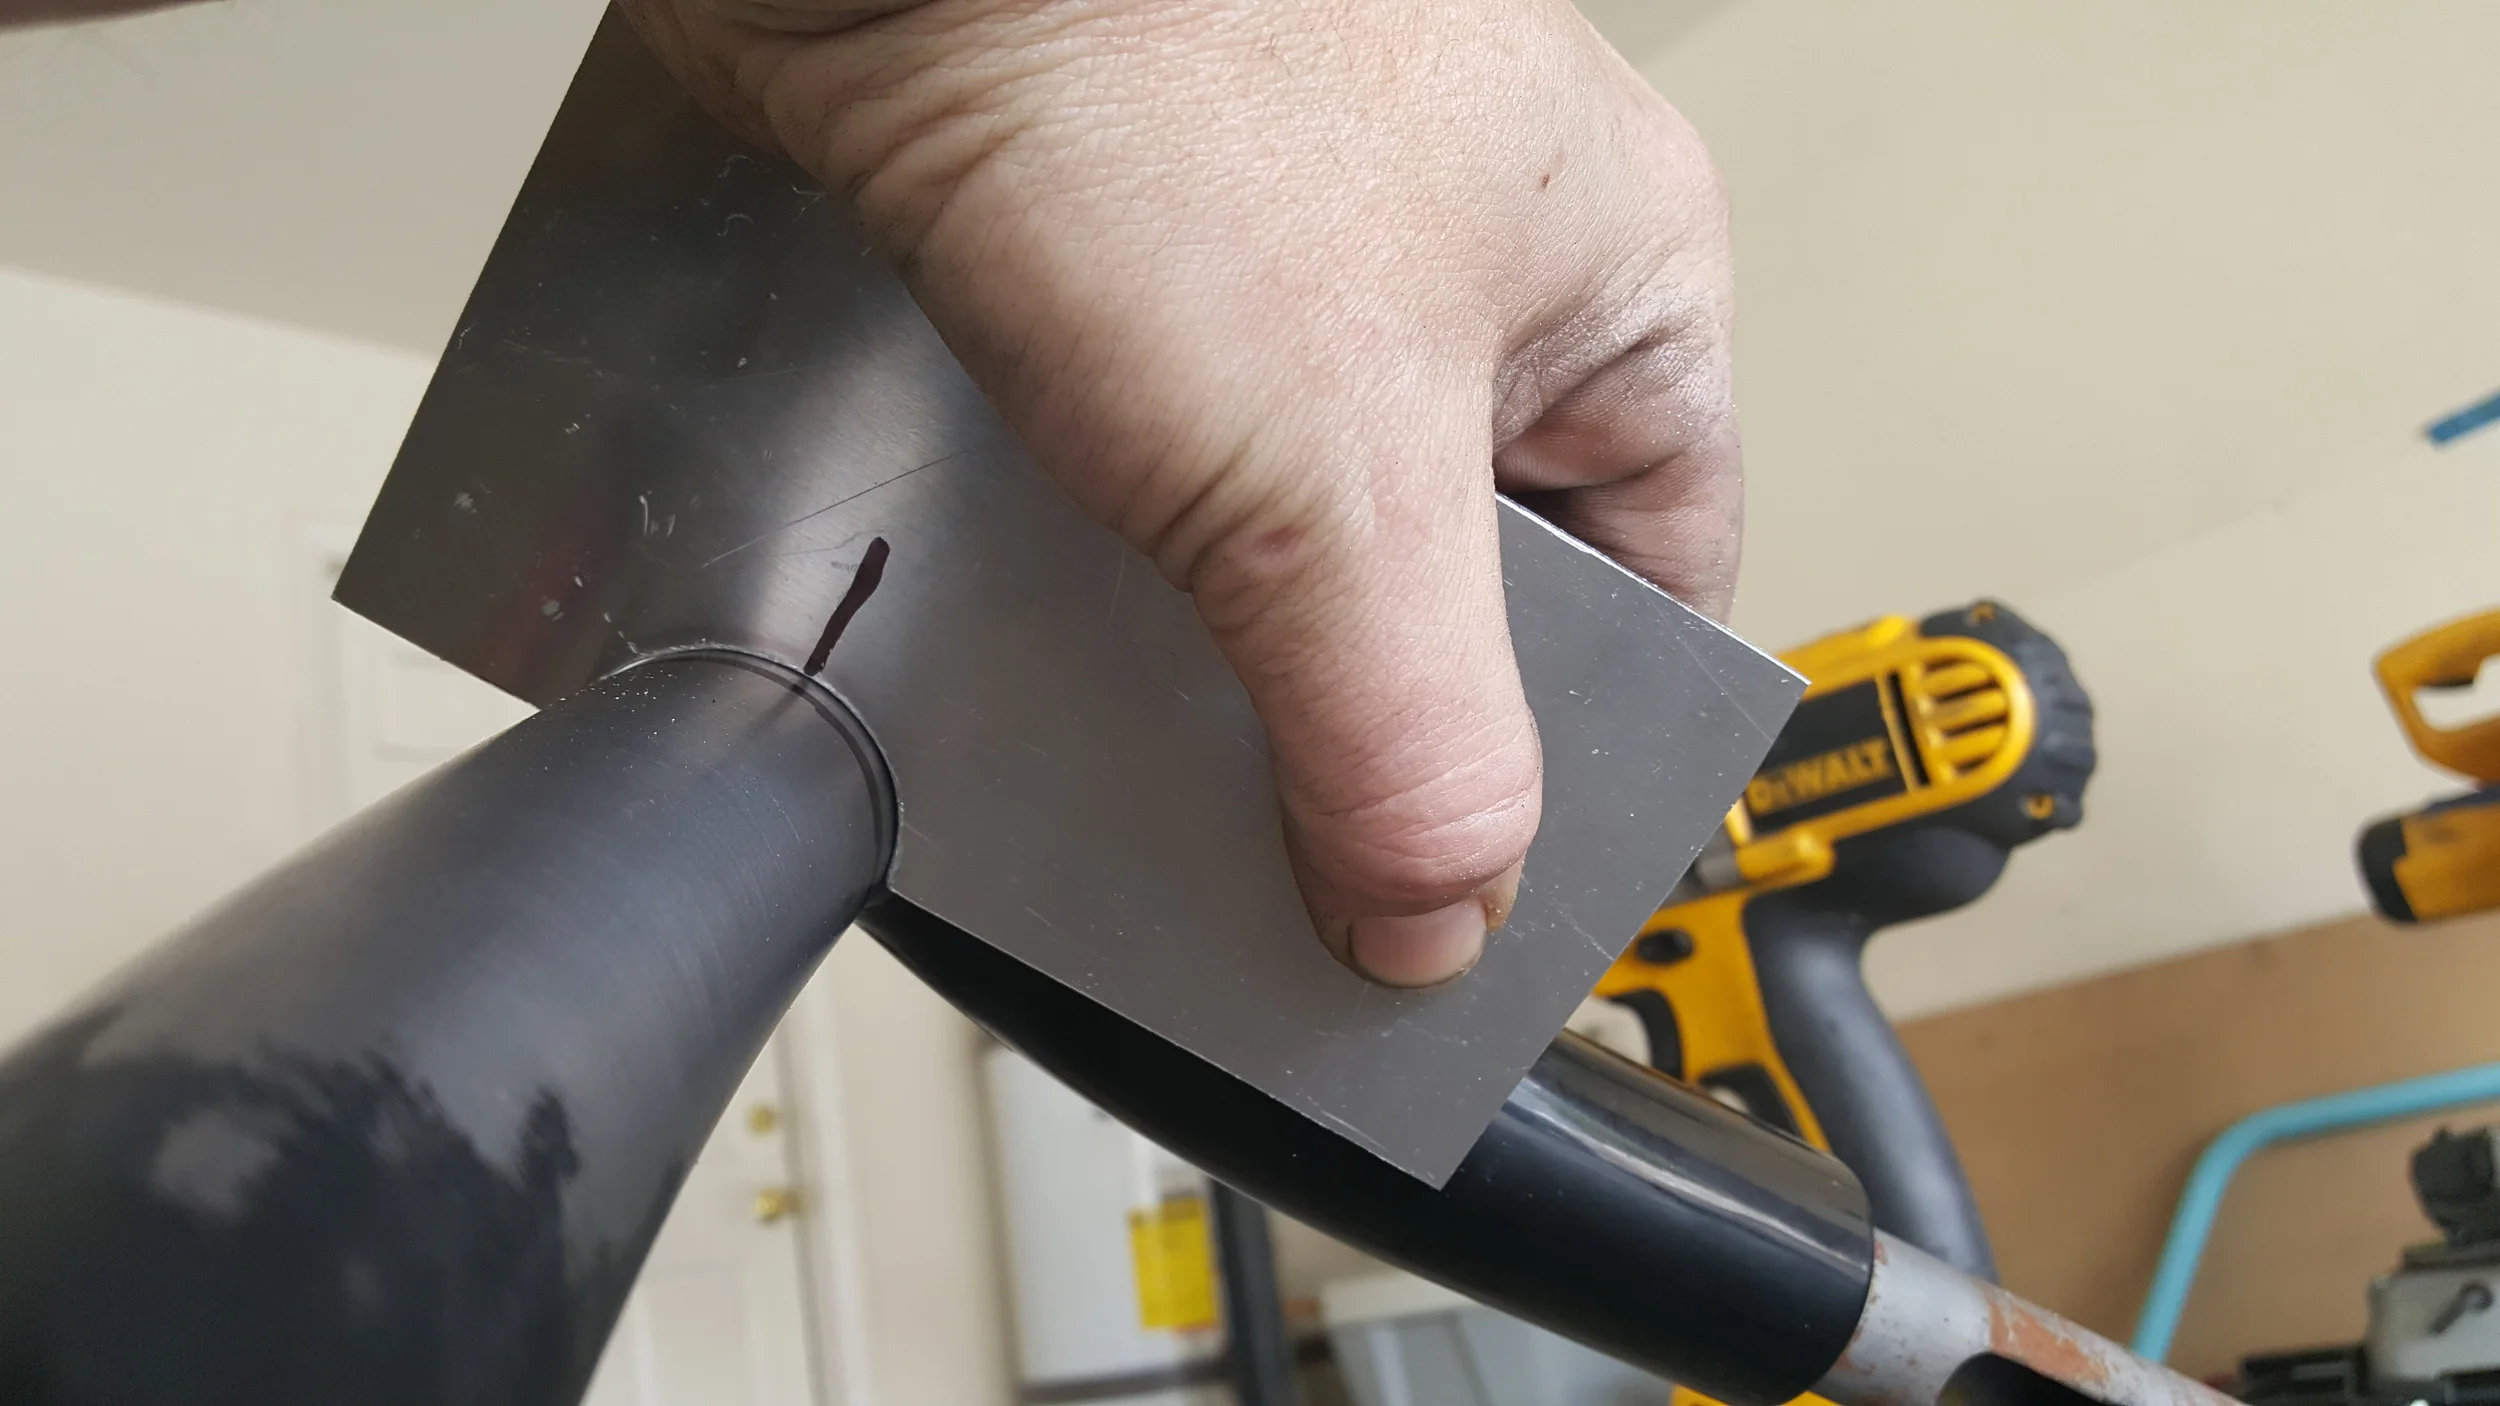

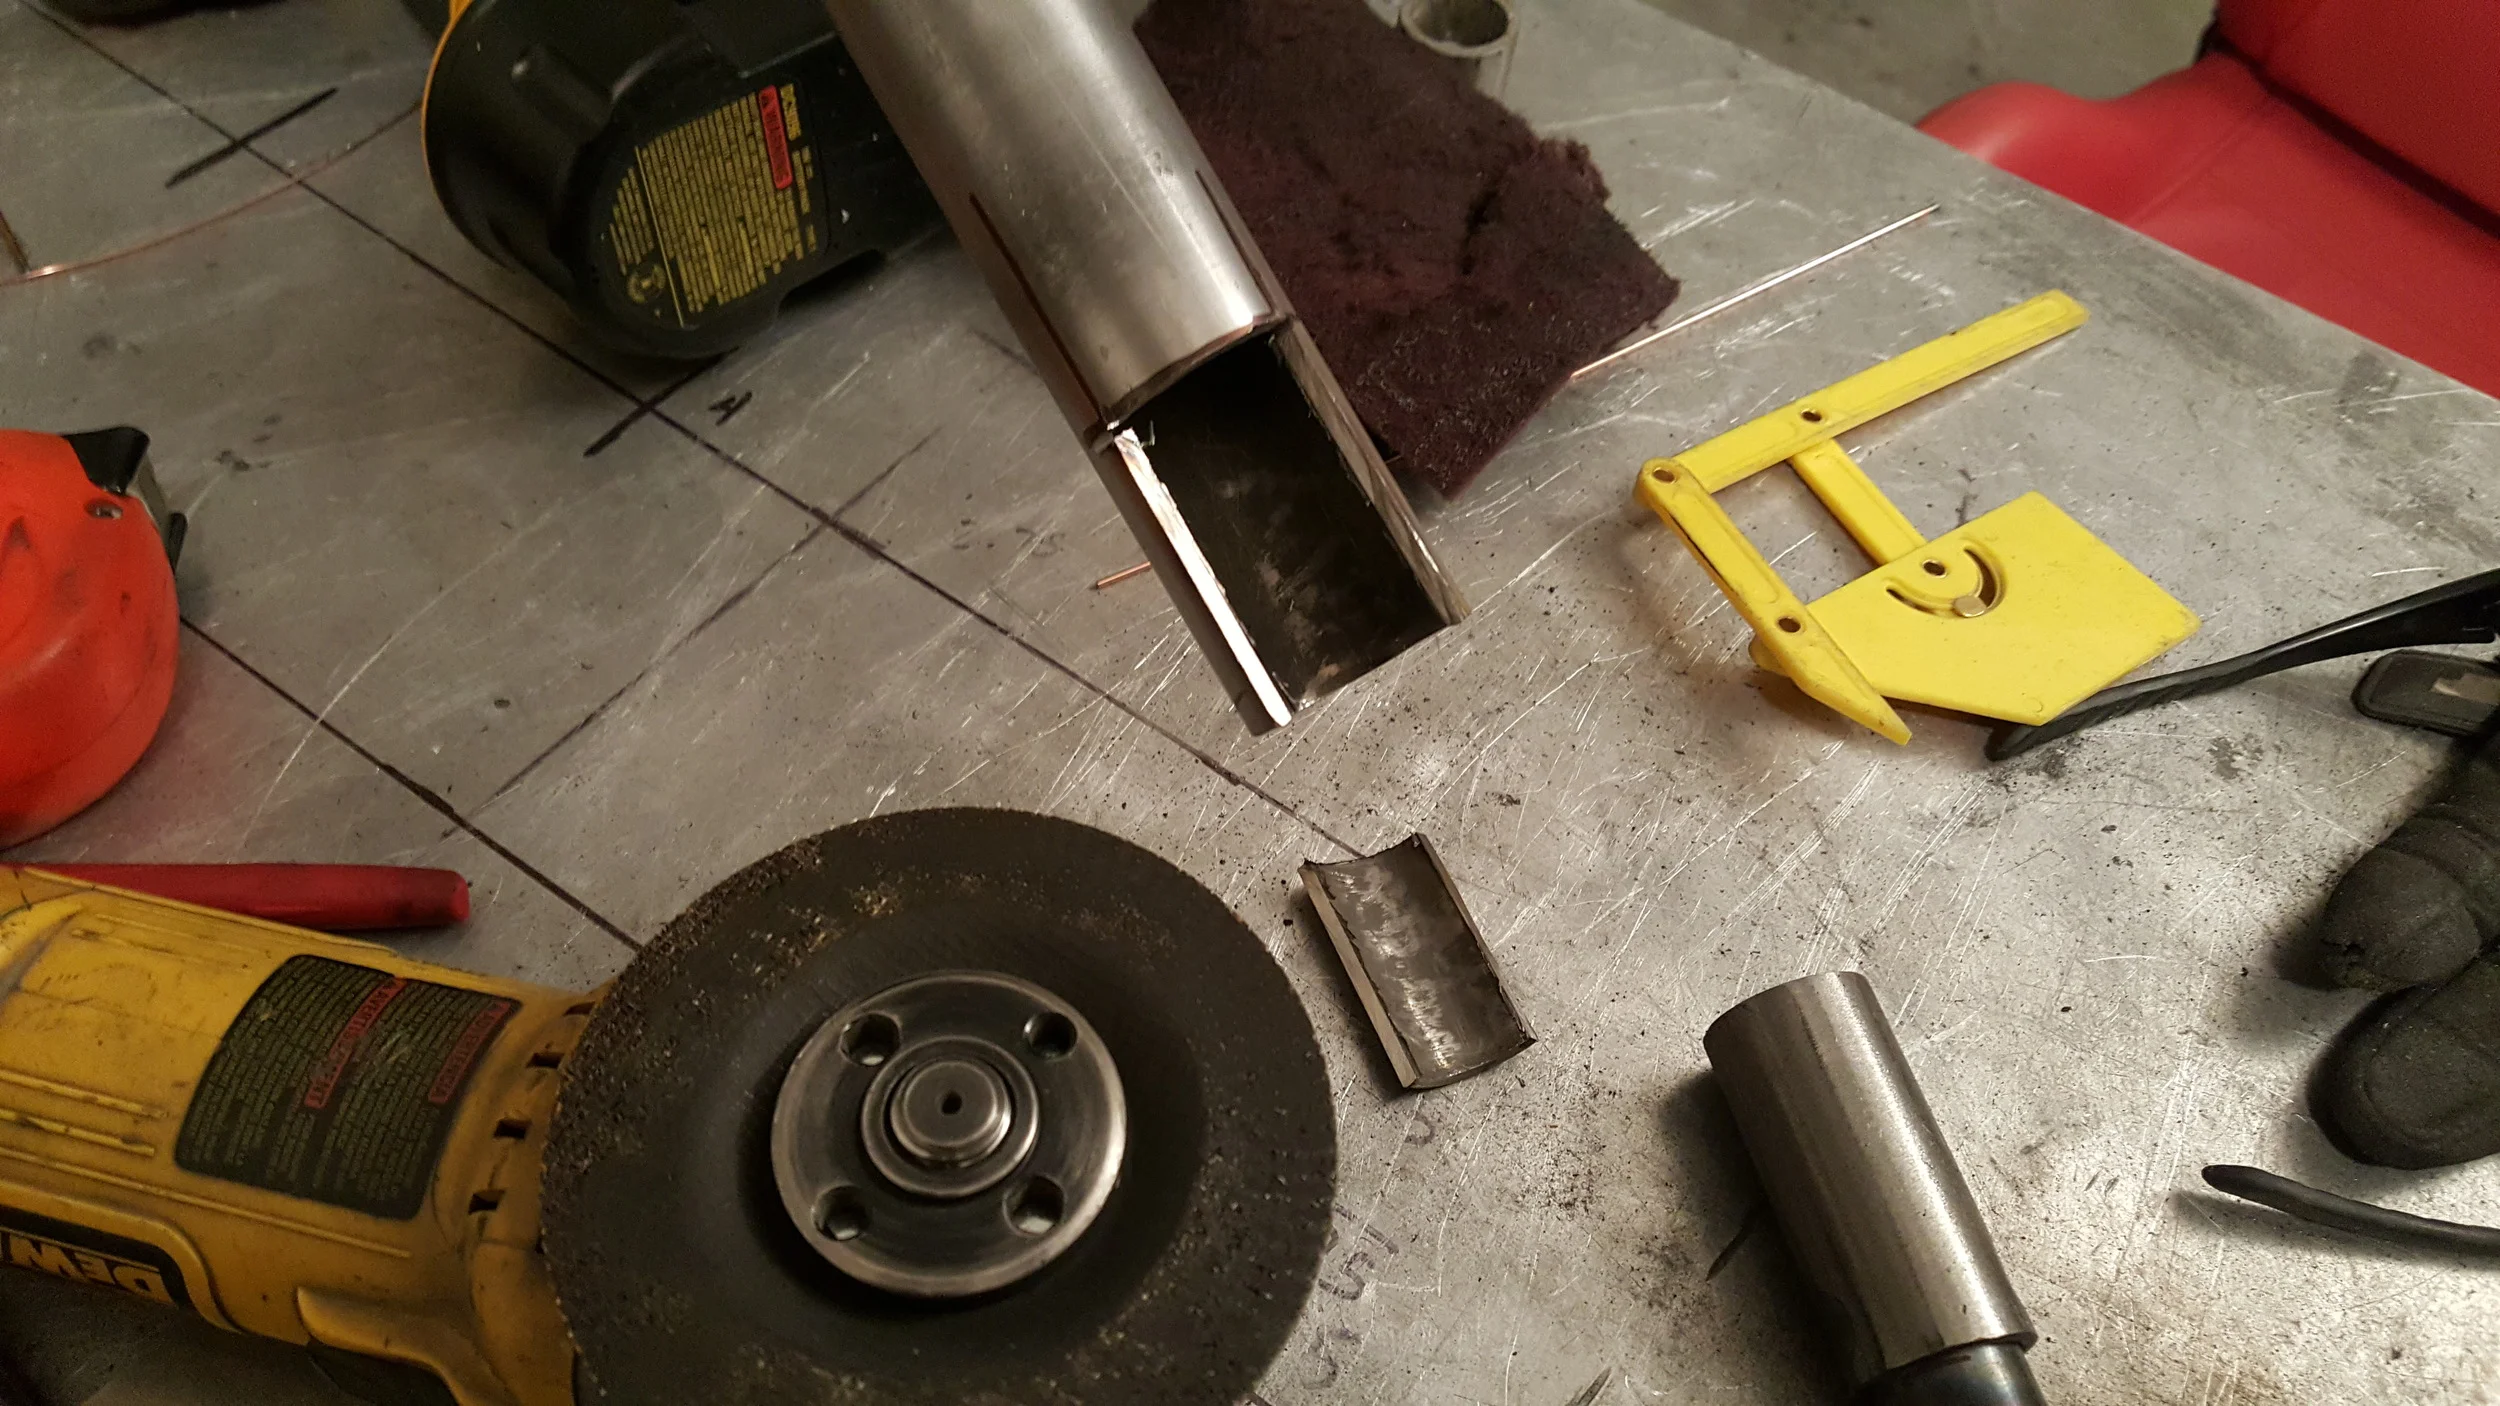
In order to cut at the correct angle, a reference was needed. With the initial measurements in hand, and the correct angle calculated, the first extension of the handle bar was cut out of 1.5" x .120" wall DOM. The extension was carefully laid over the the vertical portion of the handle bars with the angle matching the extension angle. As long as the angle is perpendicular to the main portion of the bars, the marked angle will be correct.
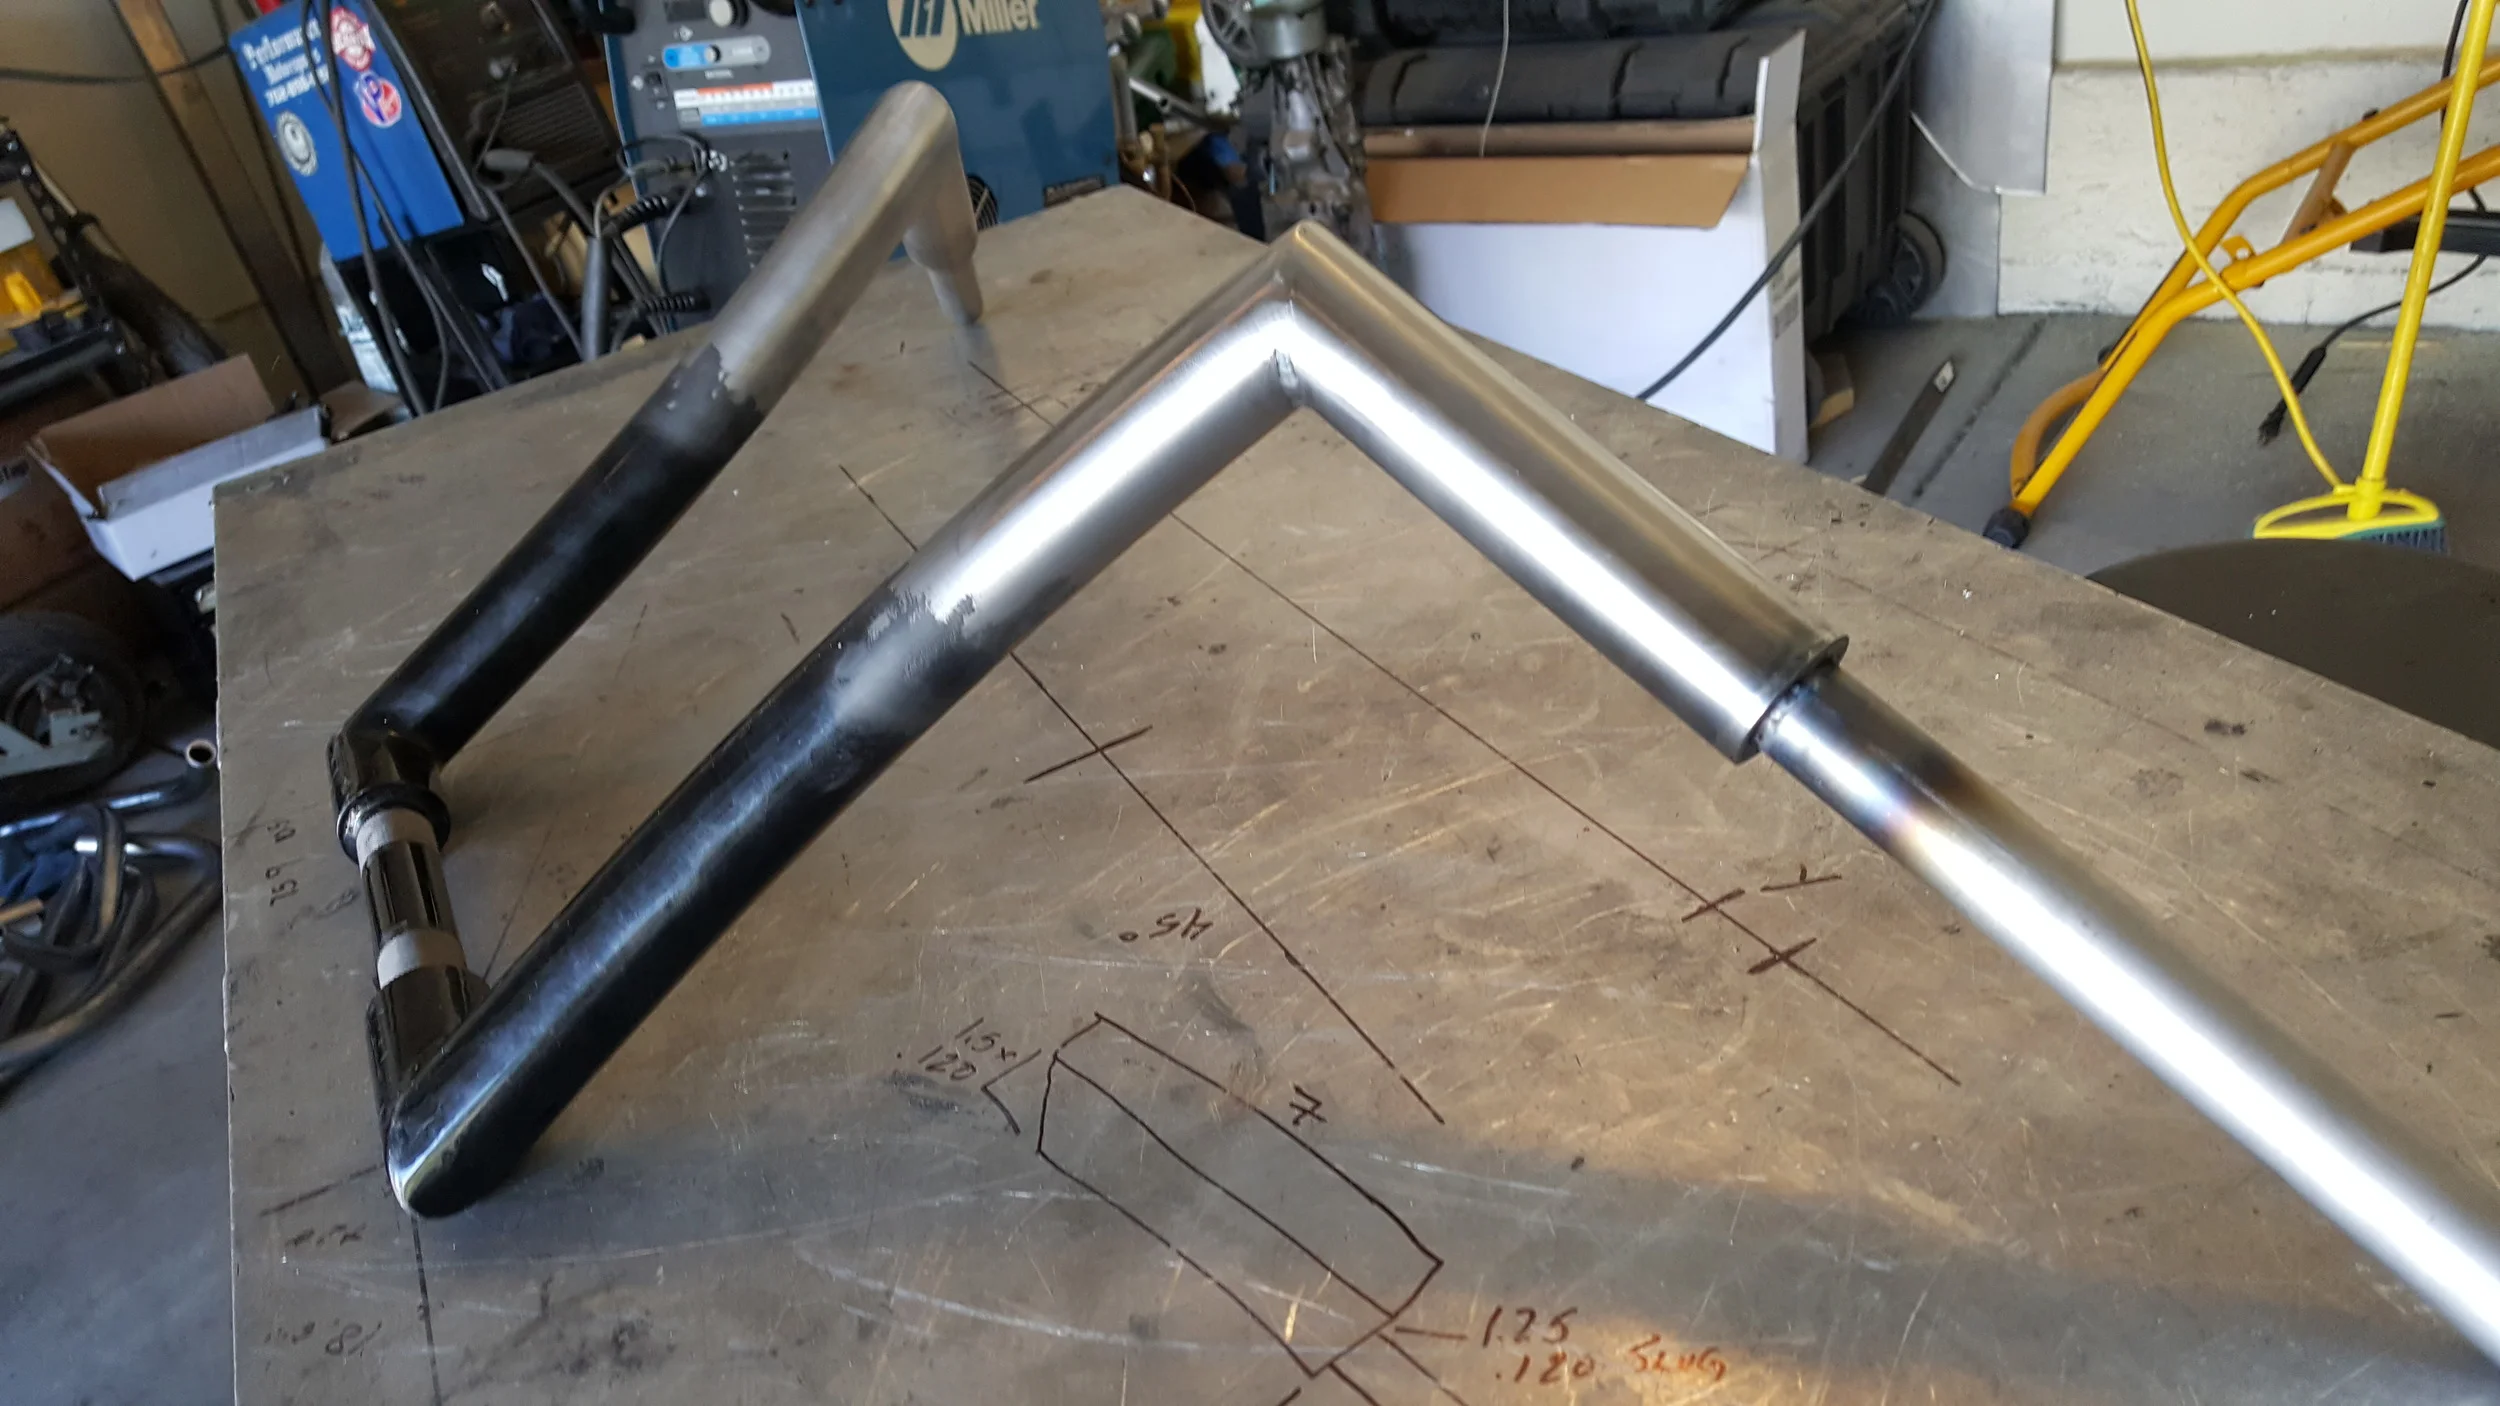
Before the peak could be removed, one more reference mark was added to reference the position of the assembled bars. This will ensure the grip section will be welded back in the exact same position as they sit with the peak.


In order to keep the bars sitting in the exact same position, only one side will be built at a time.
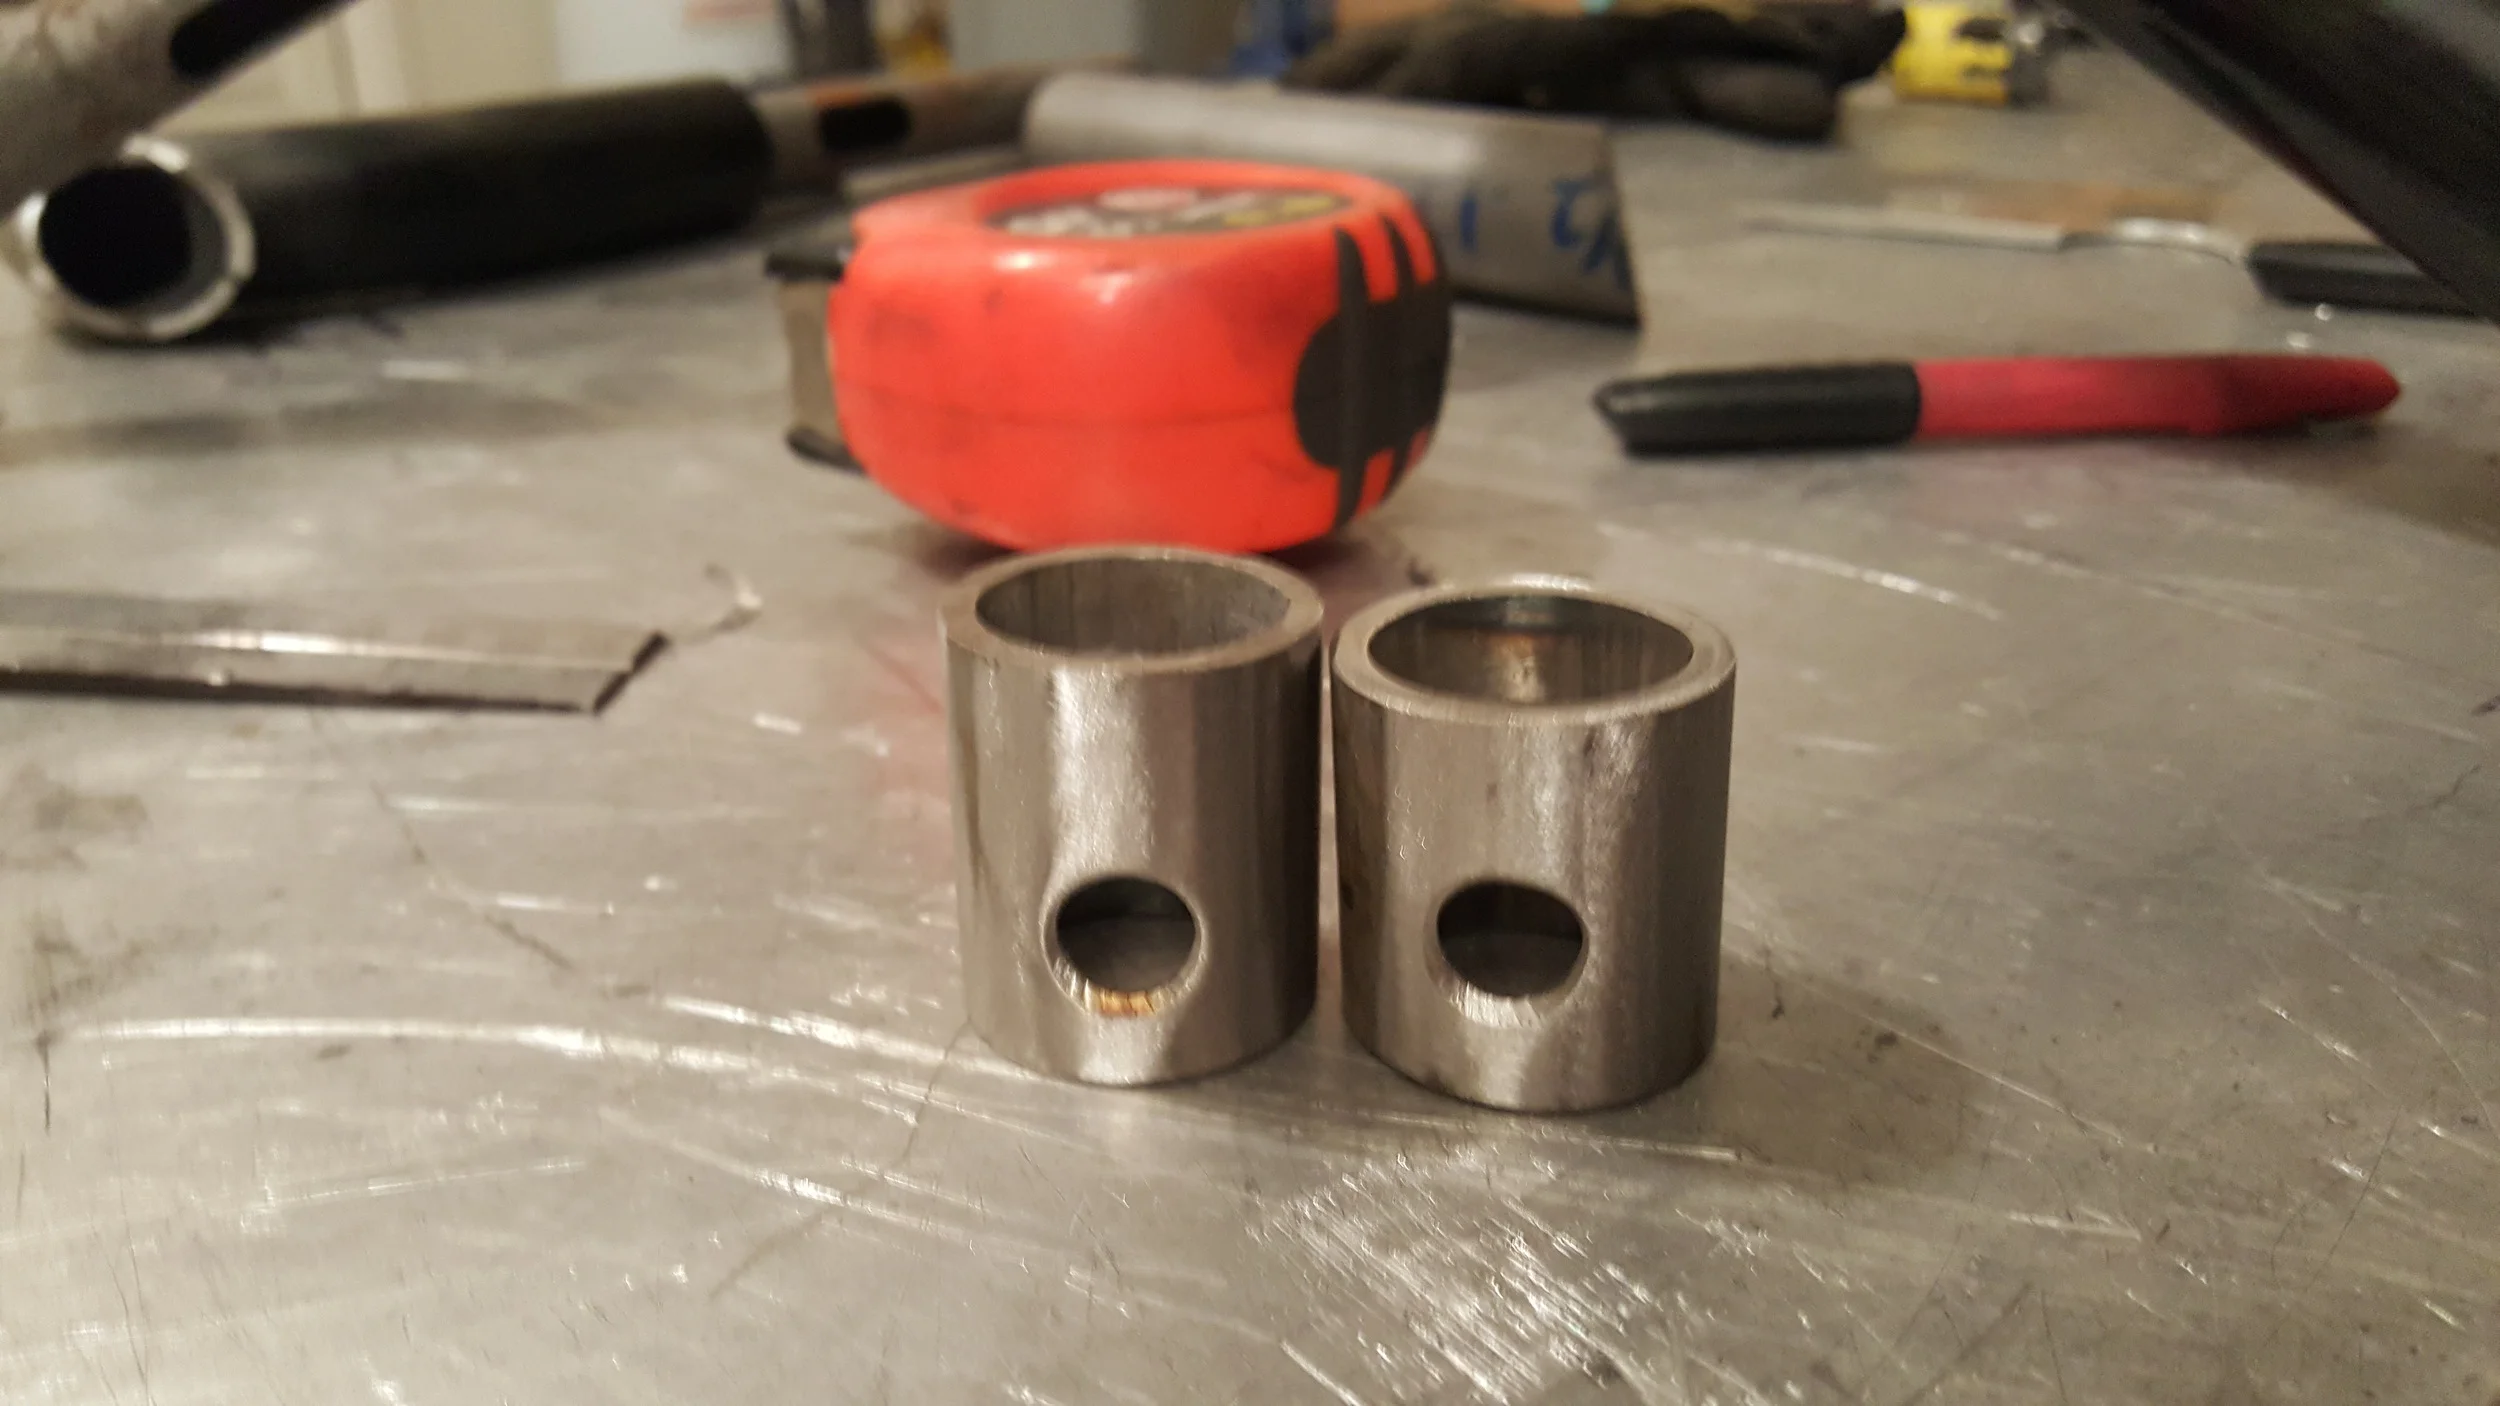
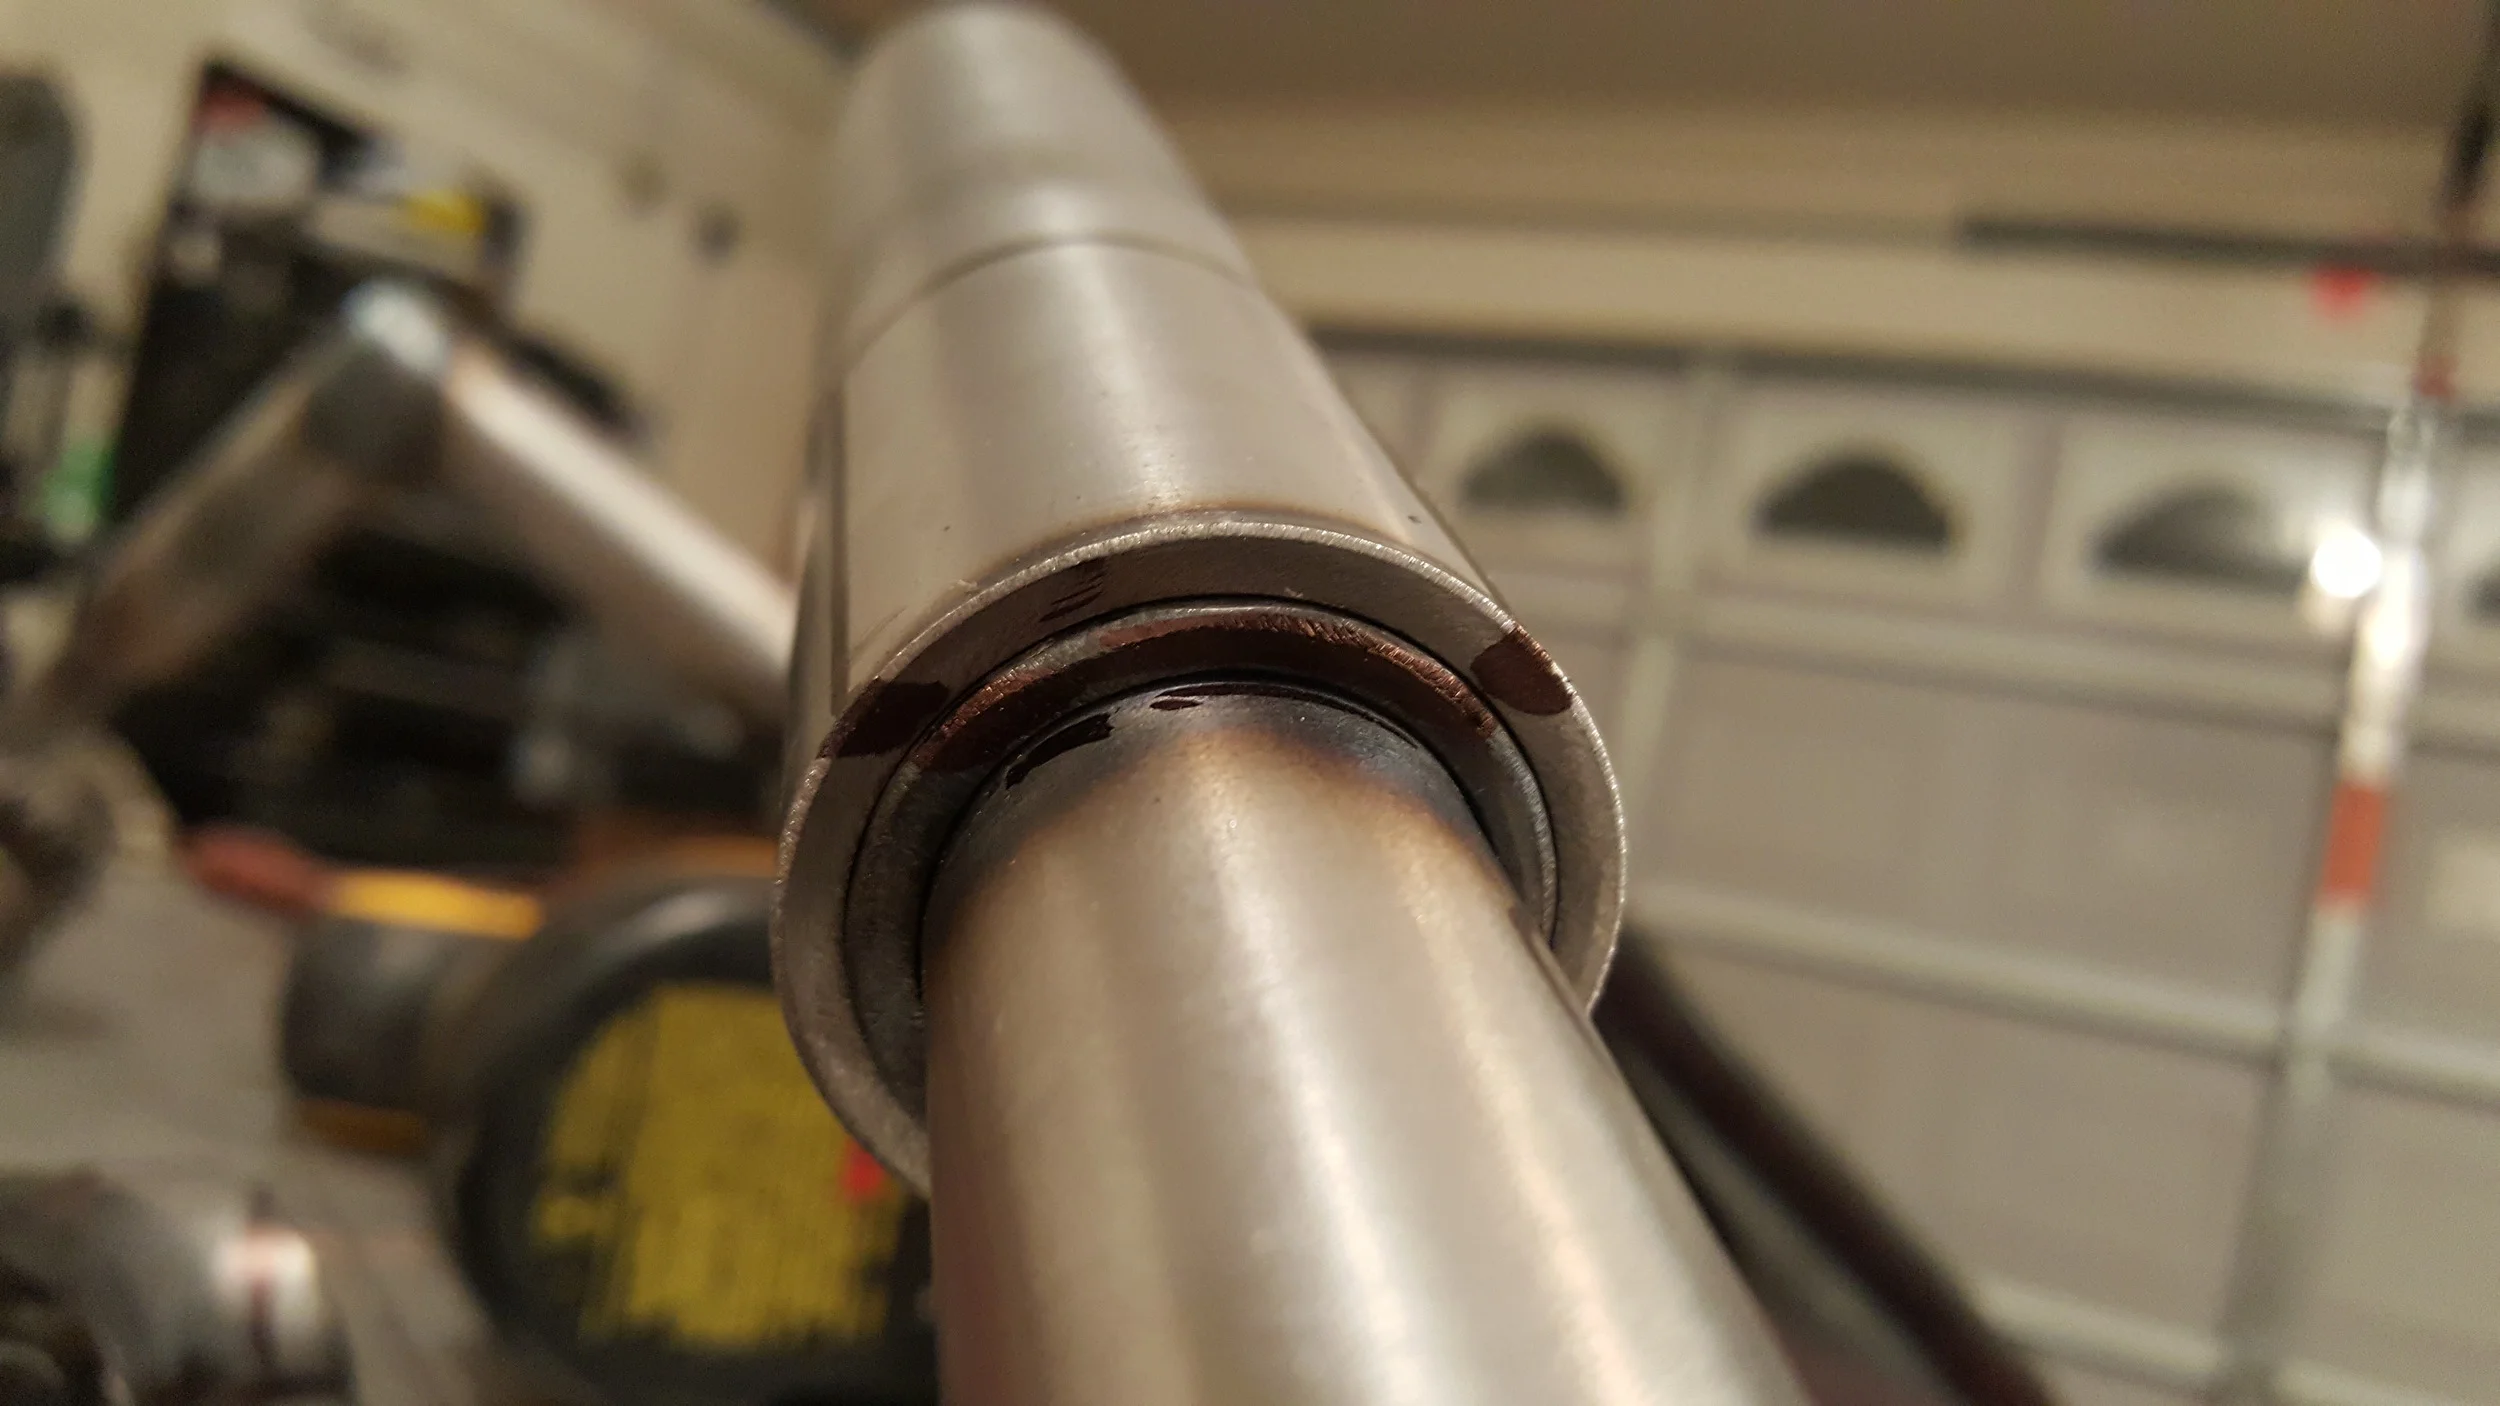
Since these bars are primarily constructed out of 1.5 inch tubing, and handle bar grips for most Harley's are made to fit 1 inch bars, a step down has to be created in order to facilitate the mounting of the grips.
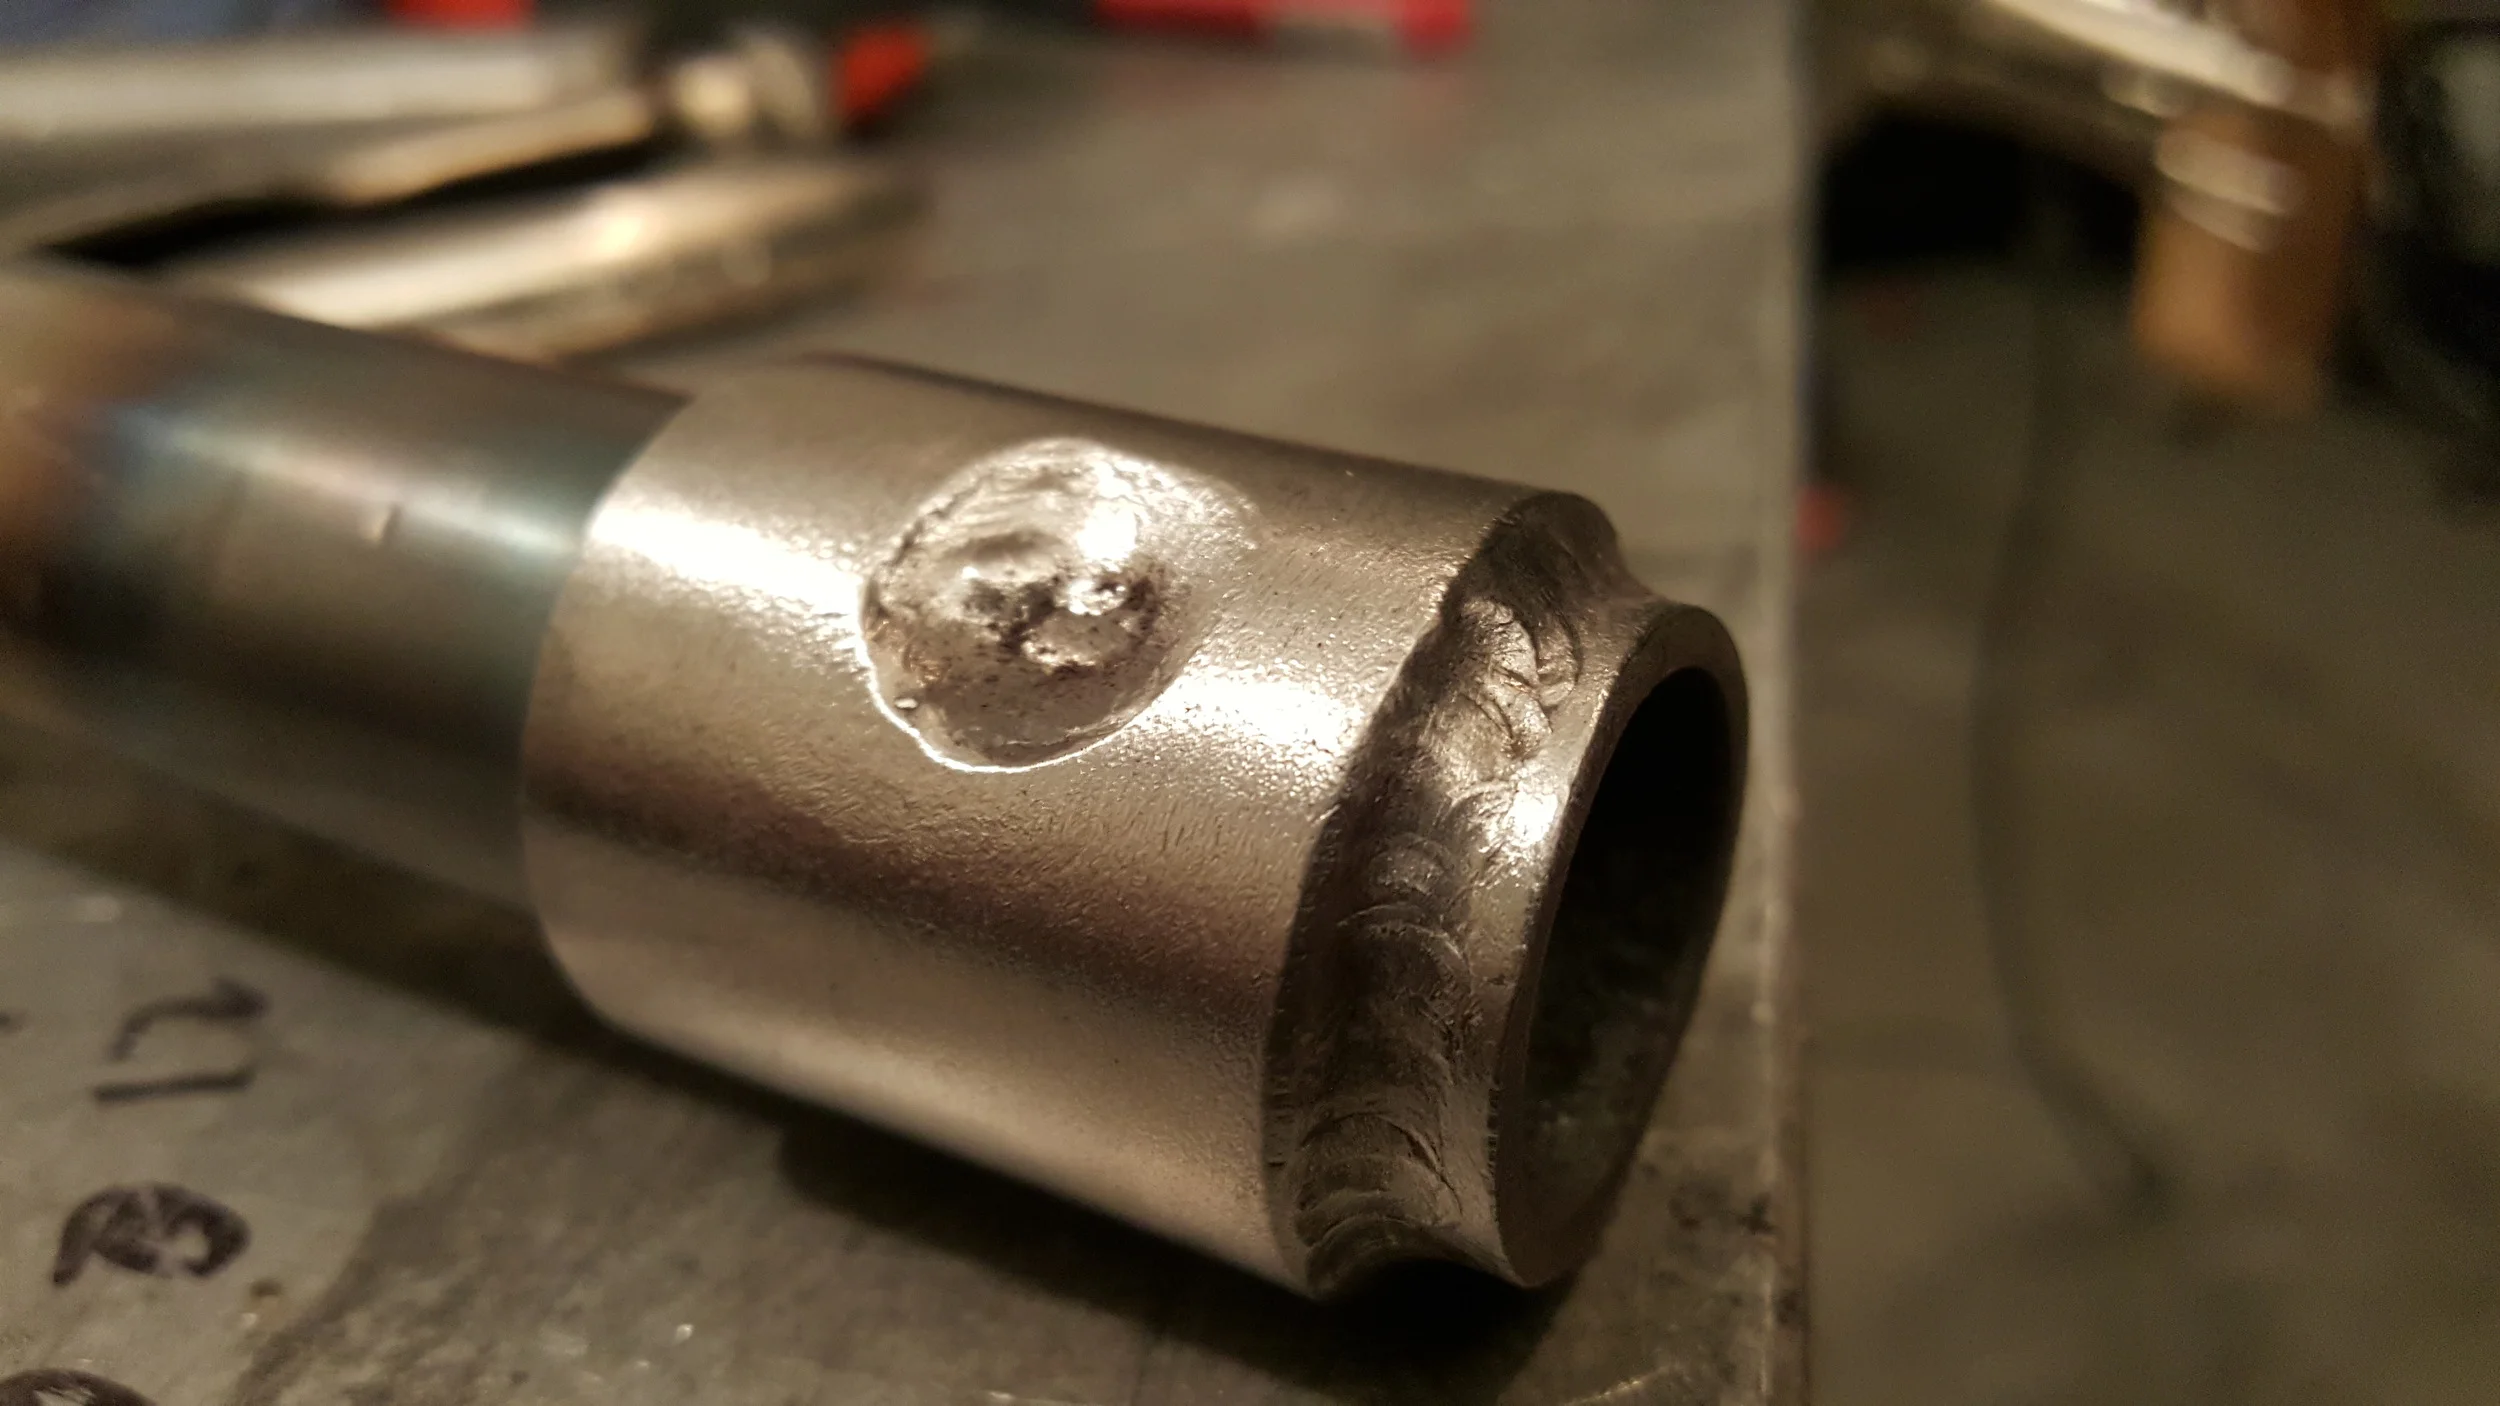
The step down section was constructed of 1.25"OD tubing welded to the 1" section which will serve as the mounting place of the grips. Each step down was first cut, then drilled for a plug weld, then fully welded to ensure it does not fall out at any given moment.


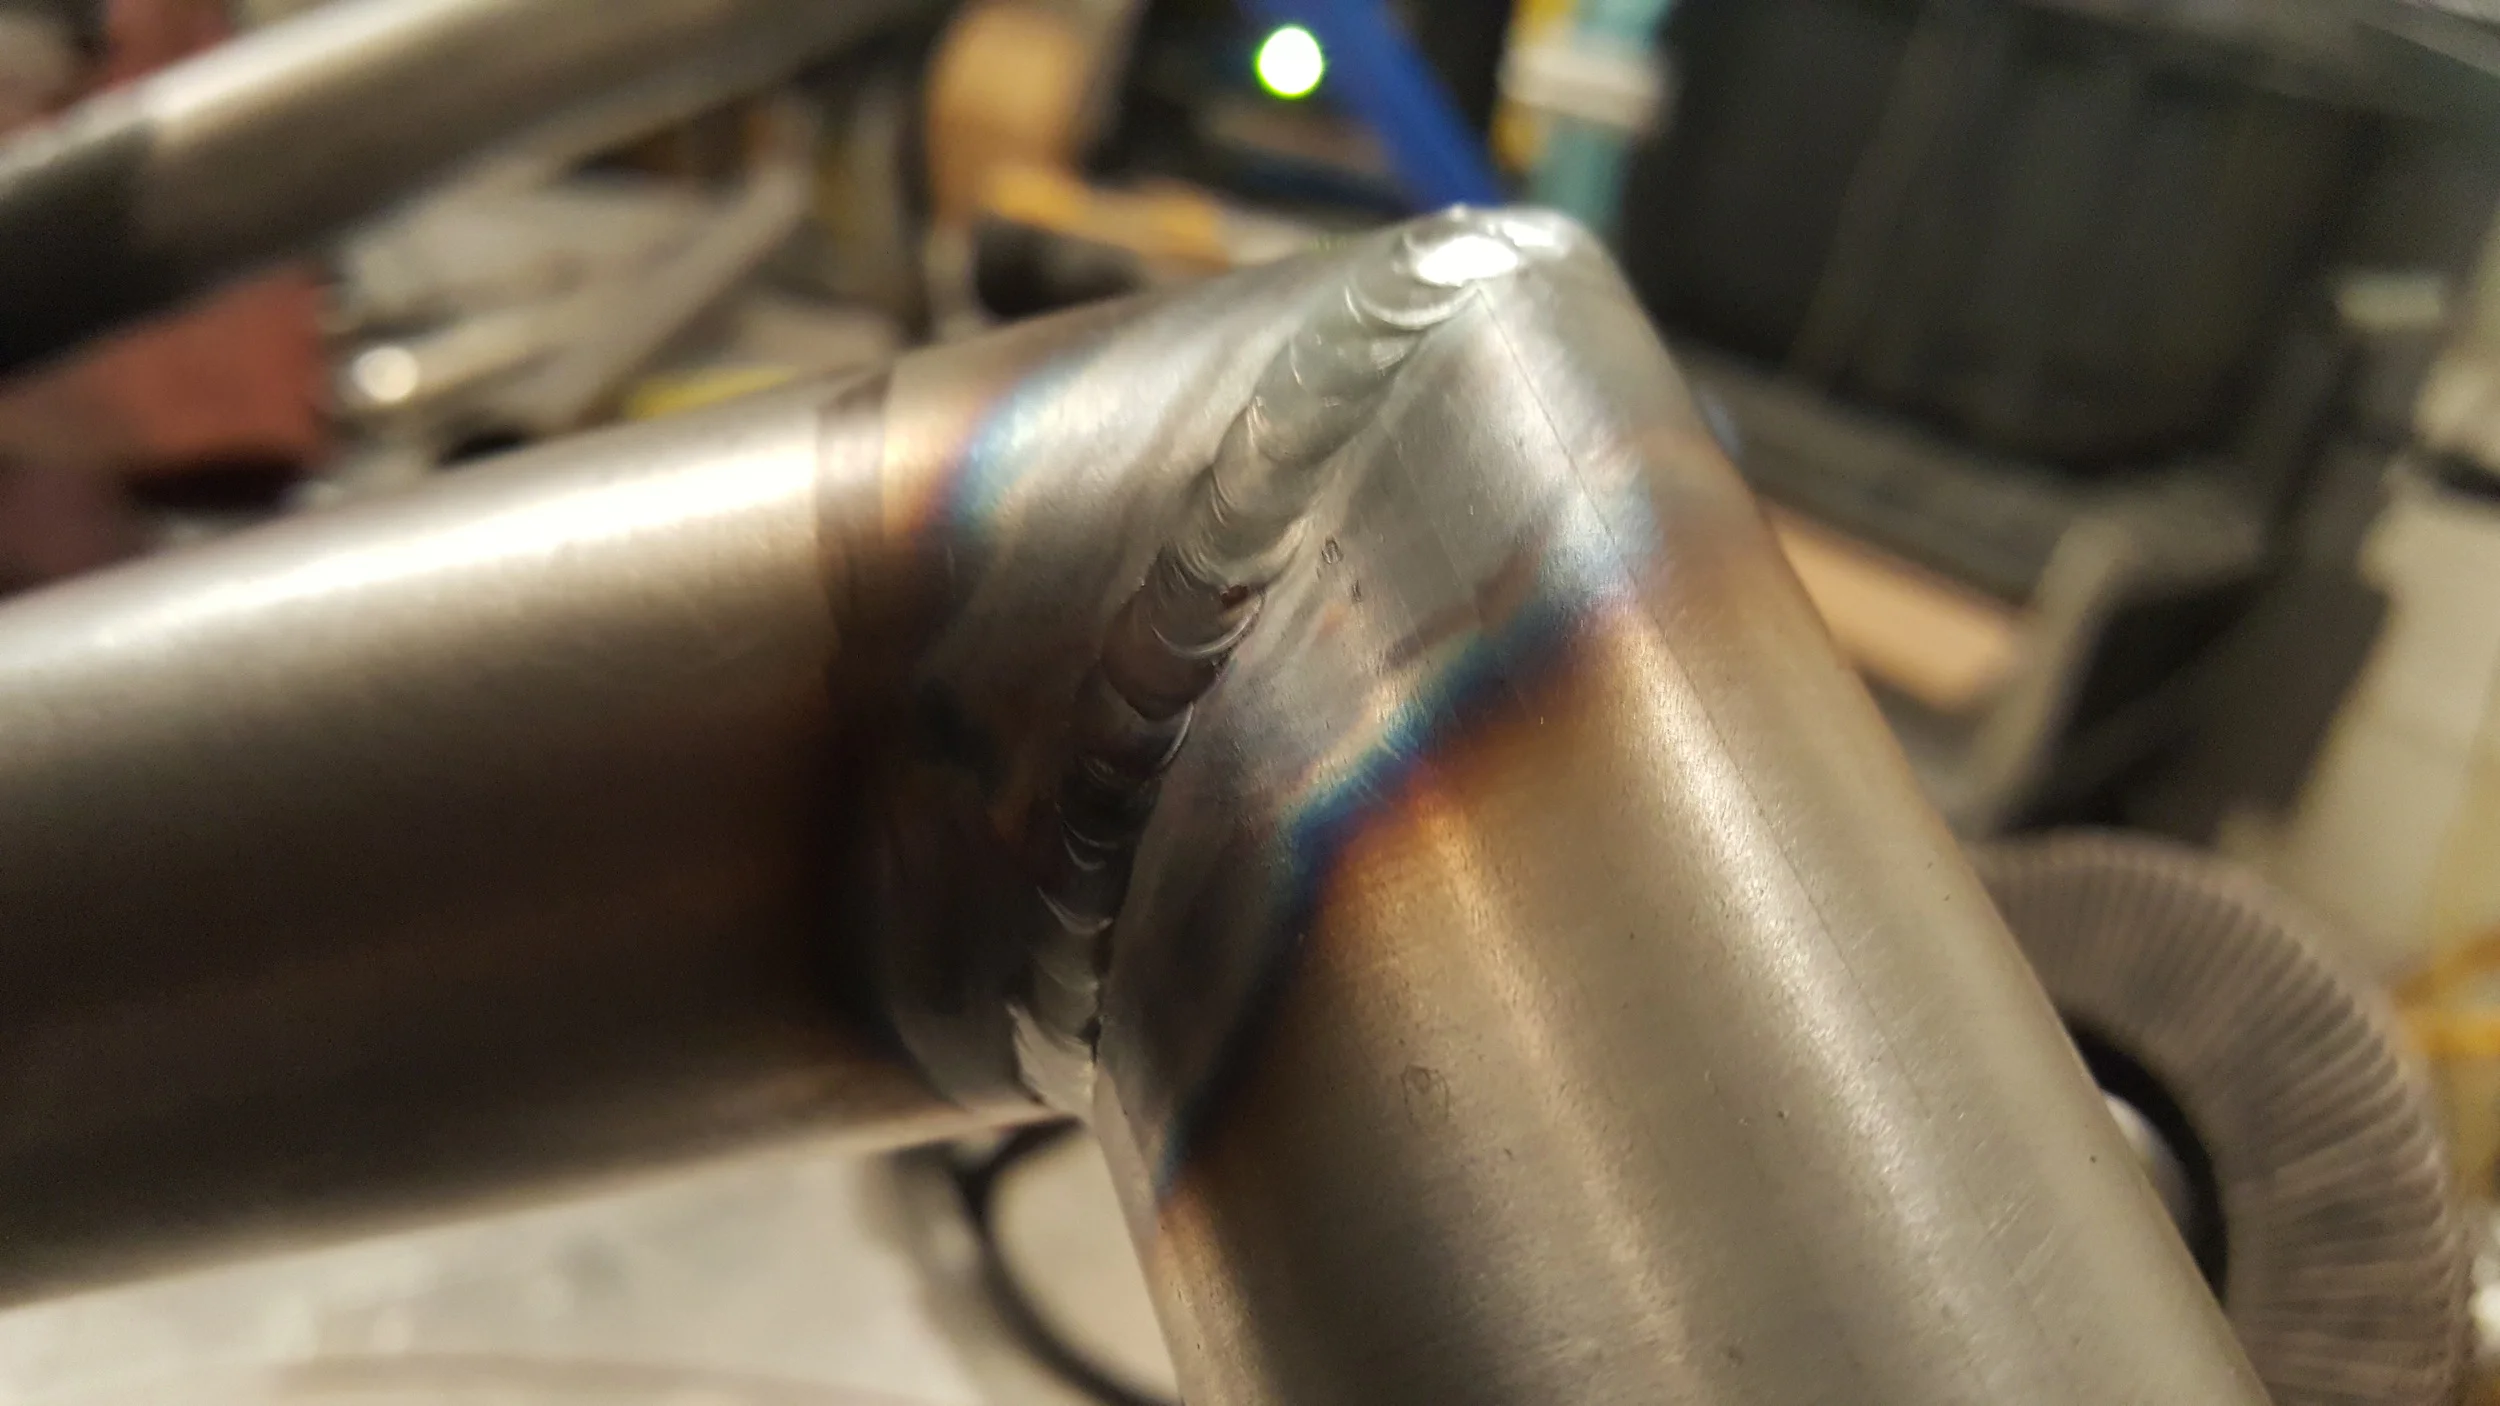
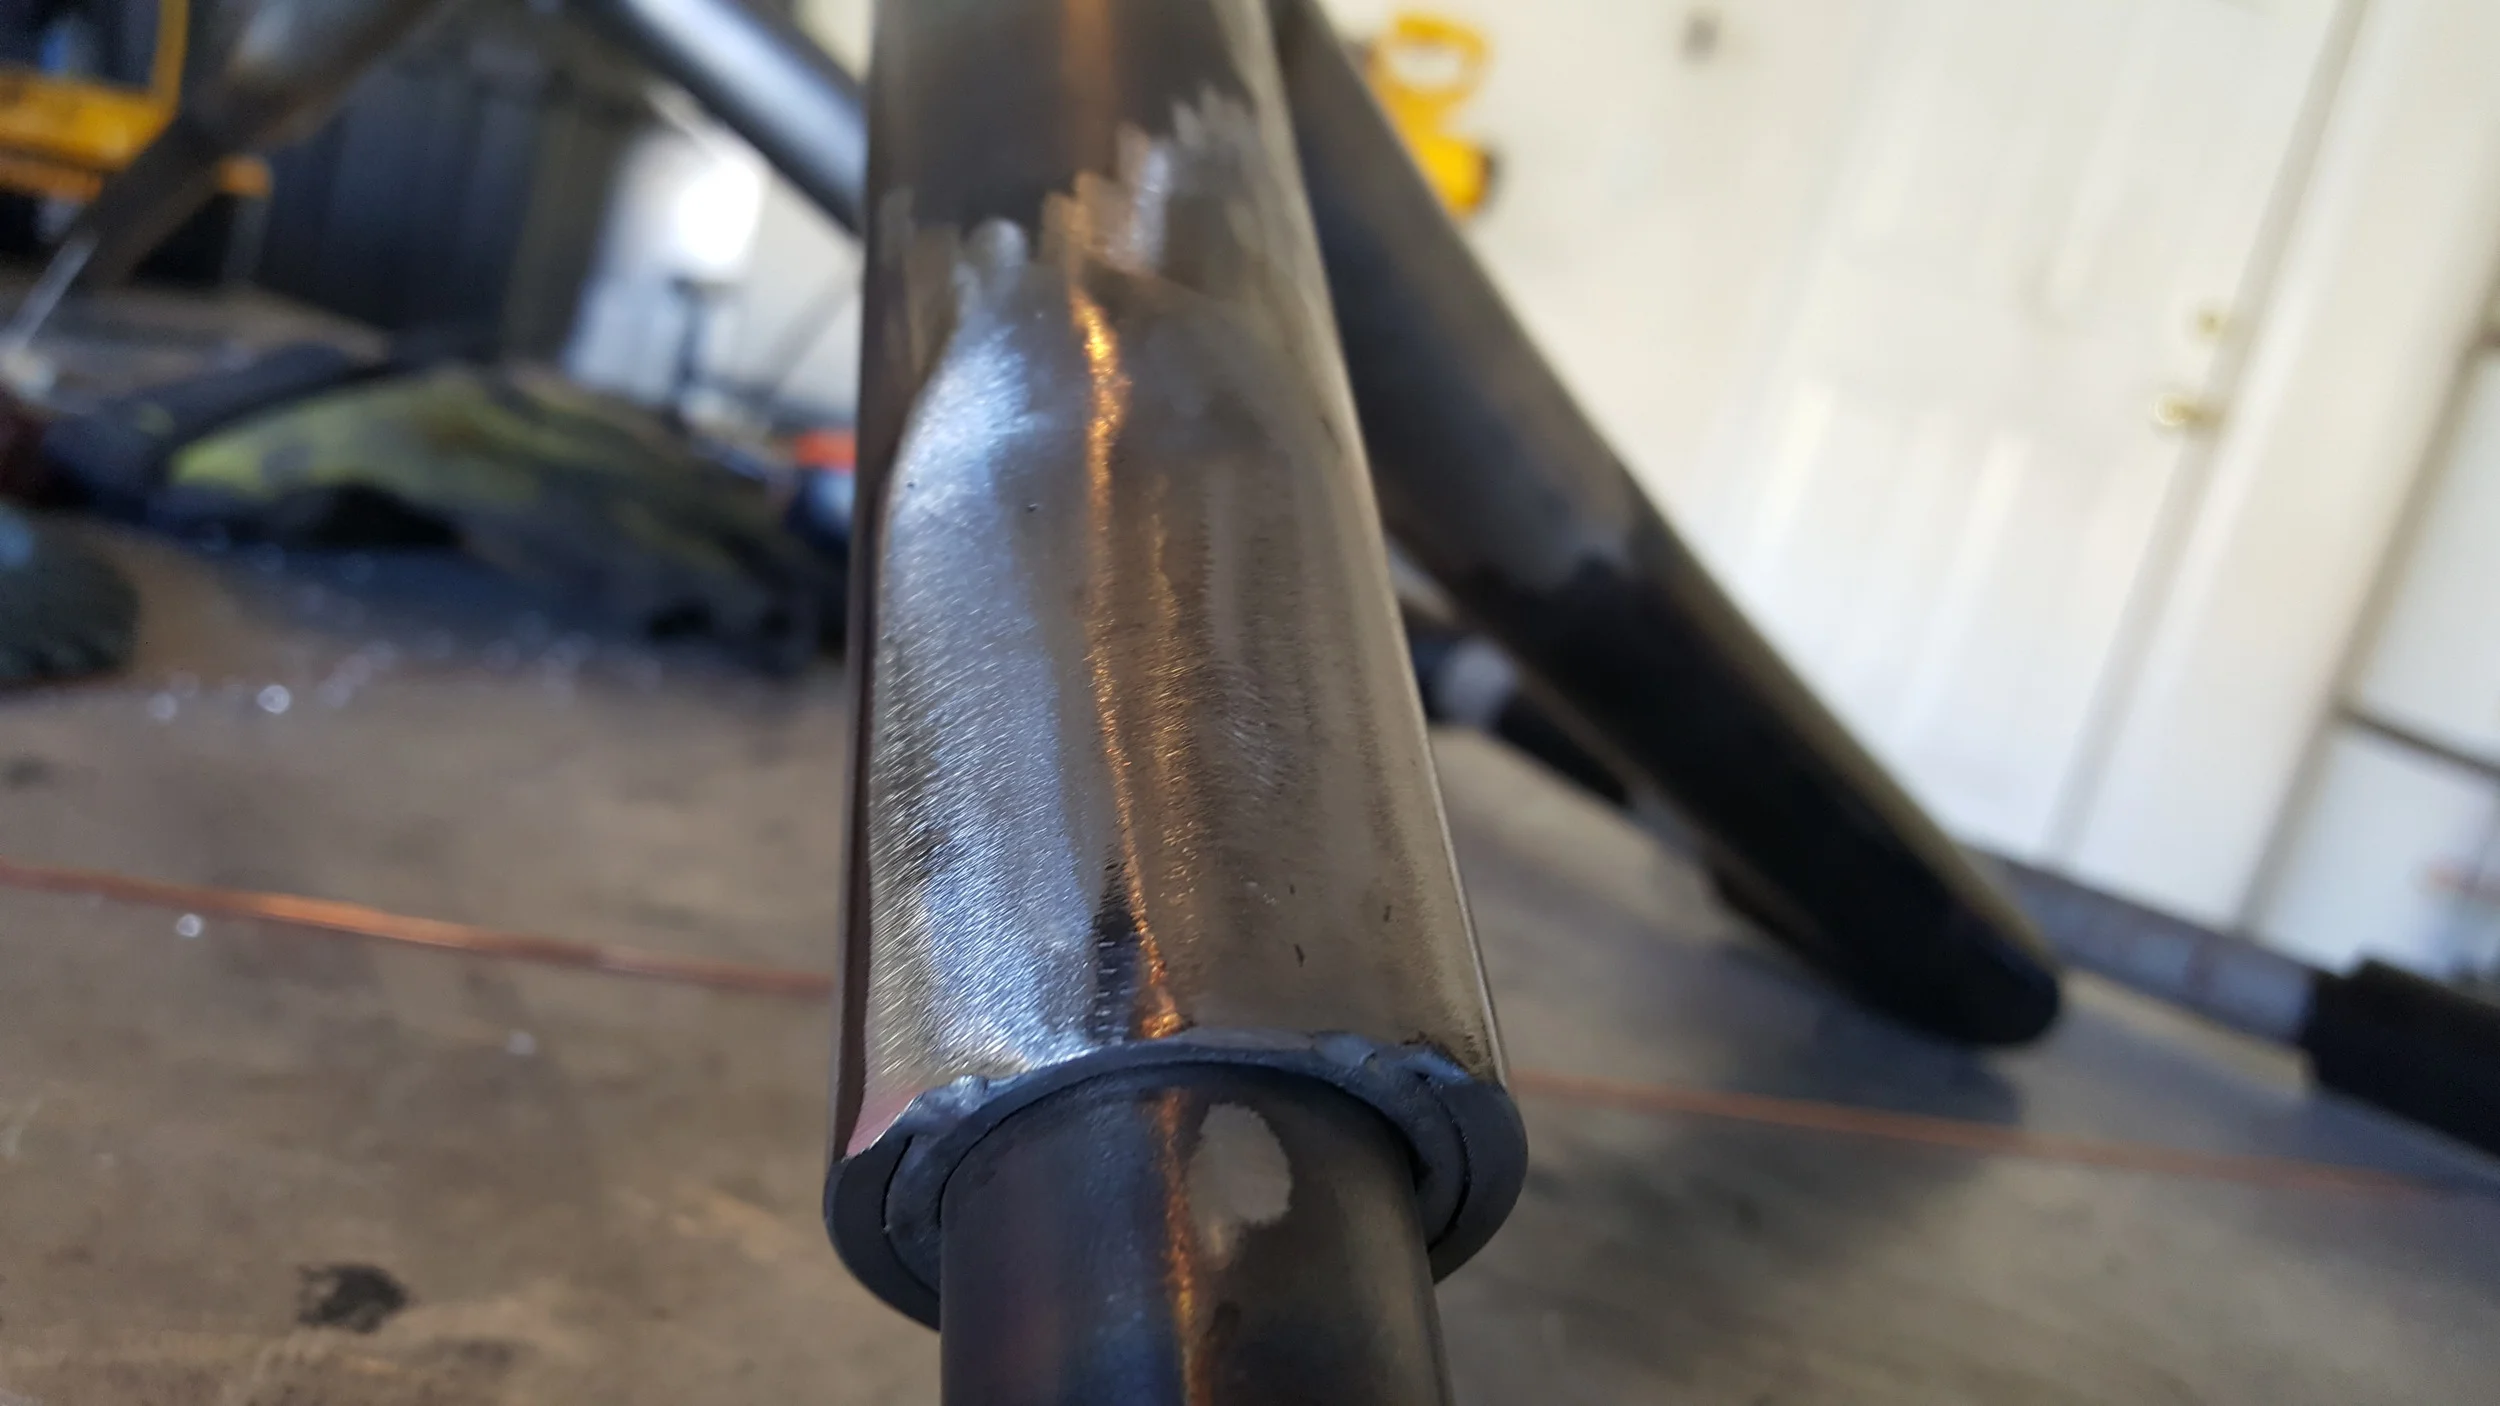
With a few tacks in place to keep the assembly together, it was carefully ground to precisely mate to the main tube.


Once every measurement was confirmed, a final welding was laid down.


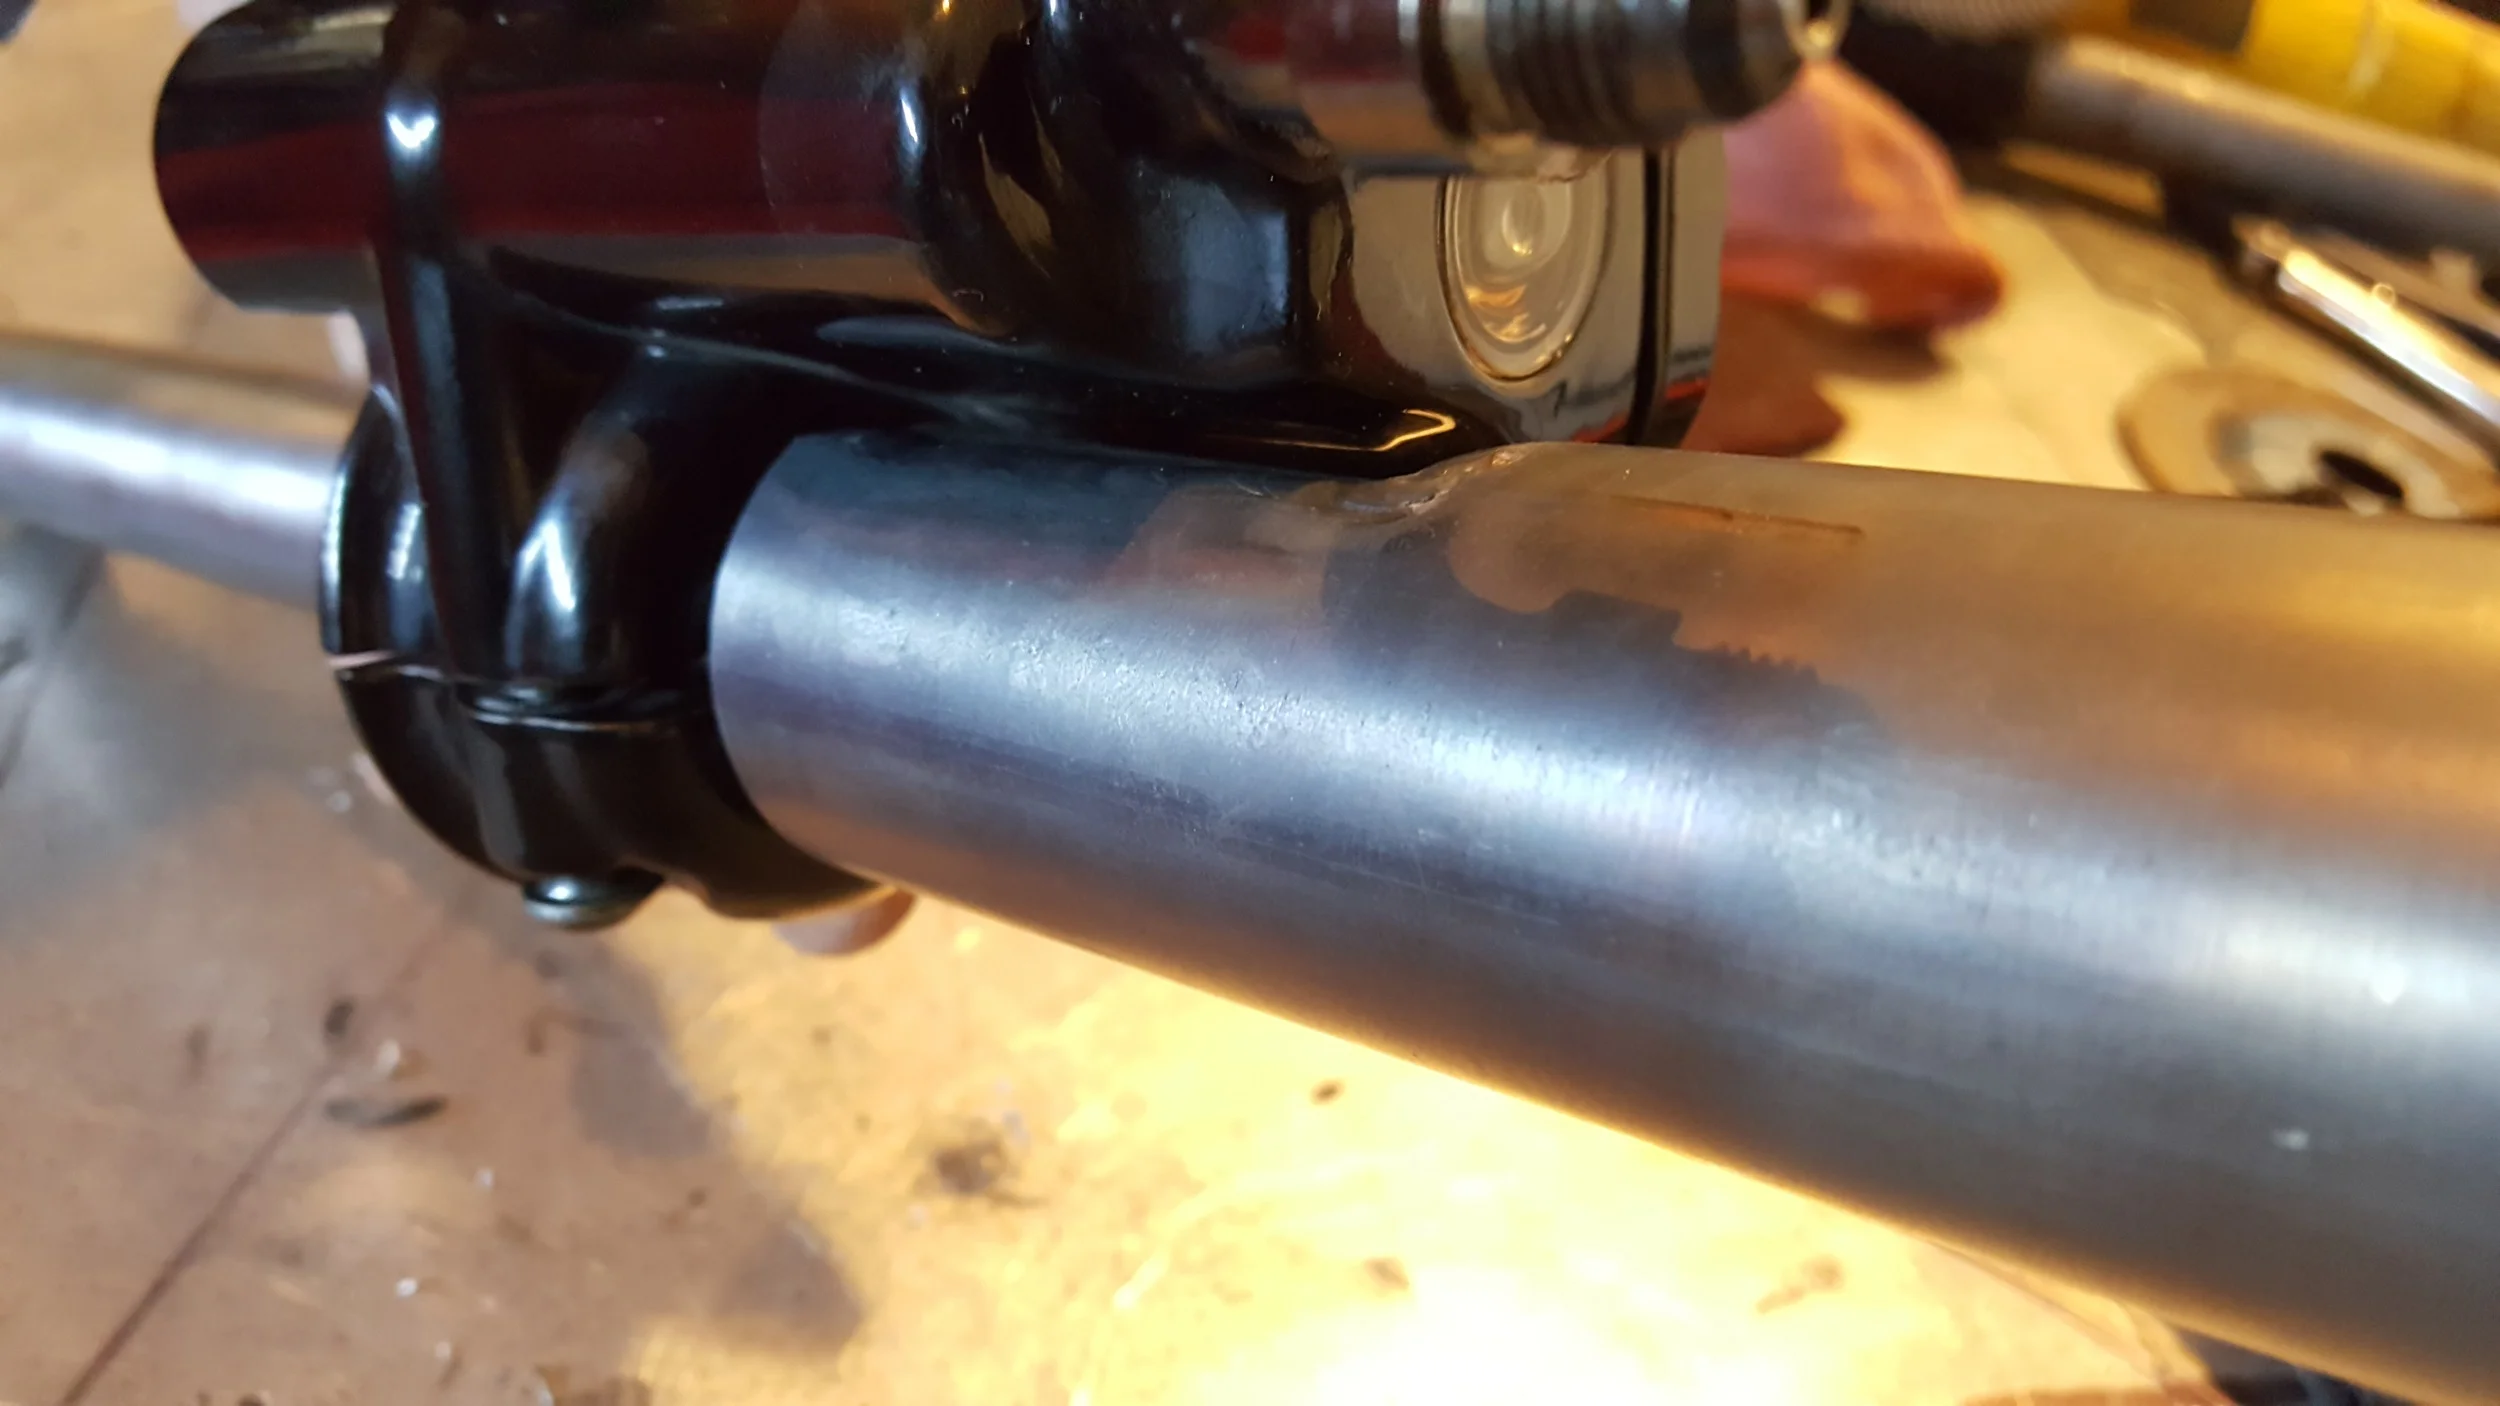
The process to modify both sides is the same, so after the right side was welded in place, the process could begin to clearance the right side bars for the brake master cylinder to clear.
The original bars were already clearanced, so some simple measurements were taken from the original bar and translated on to the new set.


After cutting, an initial weld was laid down to hold everything in place for a fit check. Once confirmed, the final welds were laid down and the finish work was done.

The hard part is over! All that remained was the final finish to the welds before sending them off to powder coat.


With only a few measurements, and a basic understanding, you can see that changing your mind in the middle of a build doesn't have mean you will be forking out a bunch of money. Fabrication can definitely save you in the long run.


Injuries are inevitable. Get used to it or find another profession.
-The Old Heads